These easy Sweet Potato Crumb Bars boast buttery flavors with a lovely flaky crust, crisp topping and the most amazing spiced sweet potato filling. Gluten-free, with dairy-free and grain-free options!
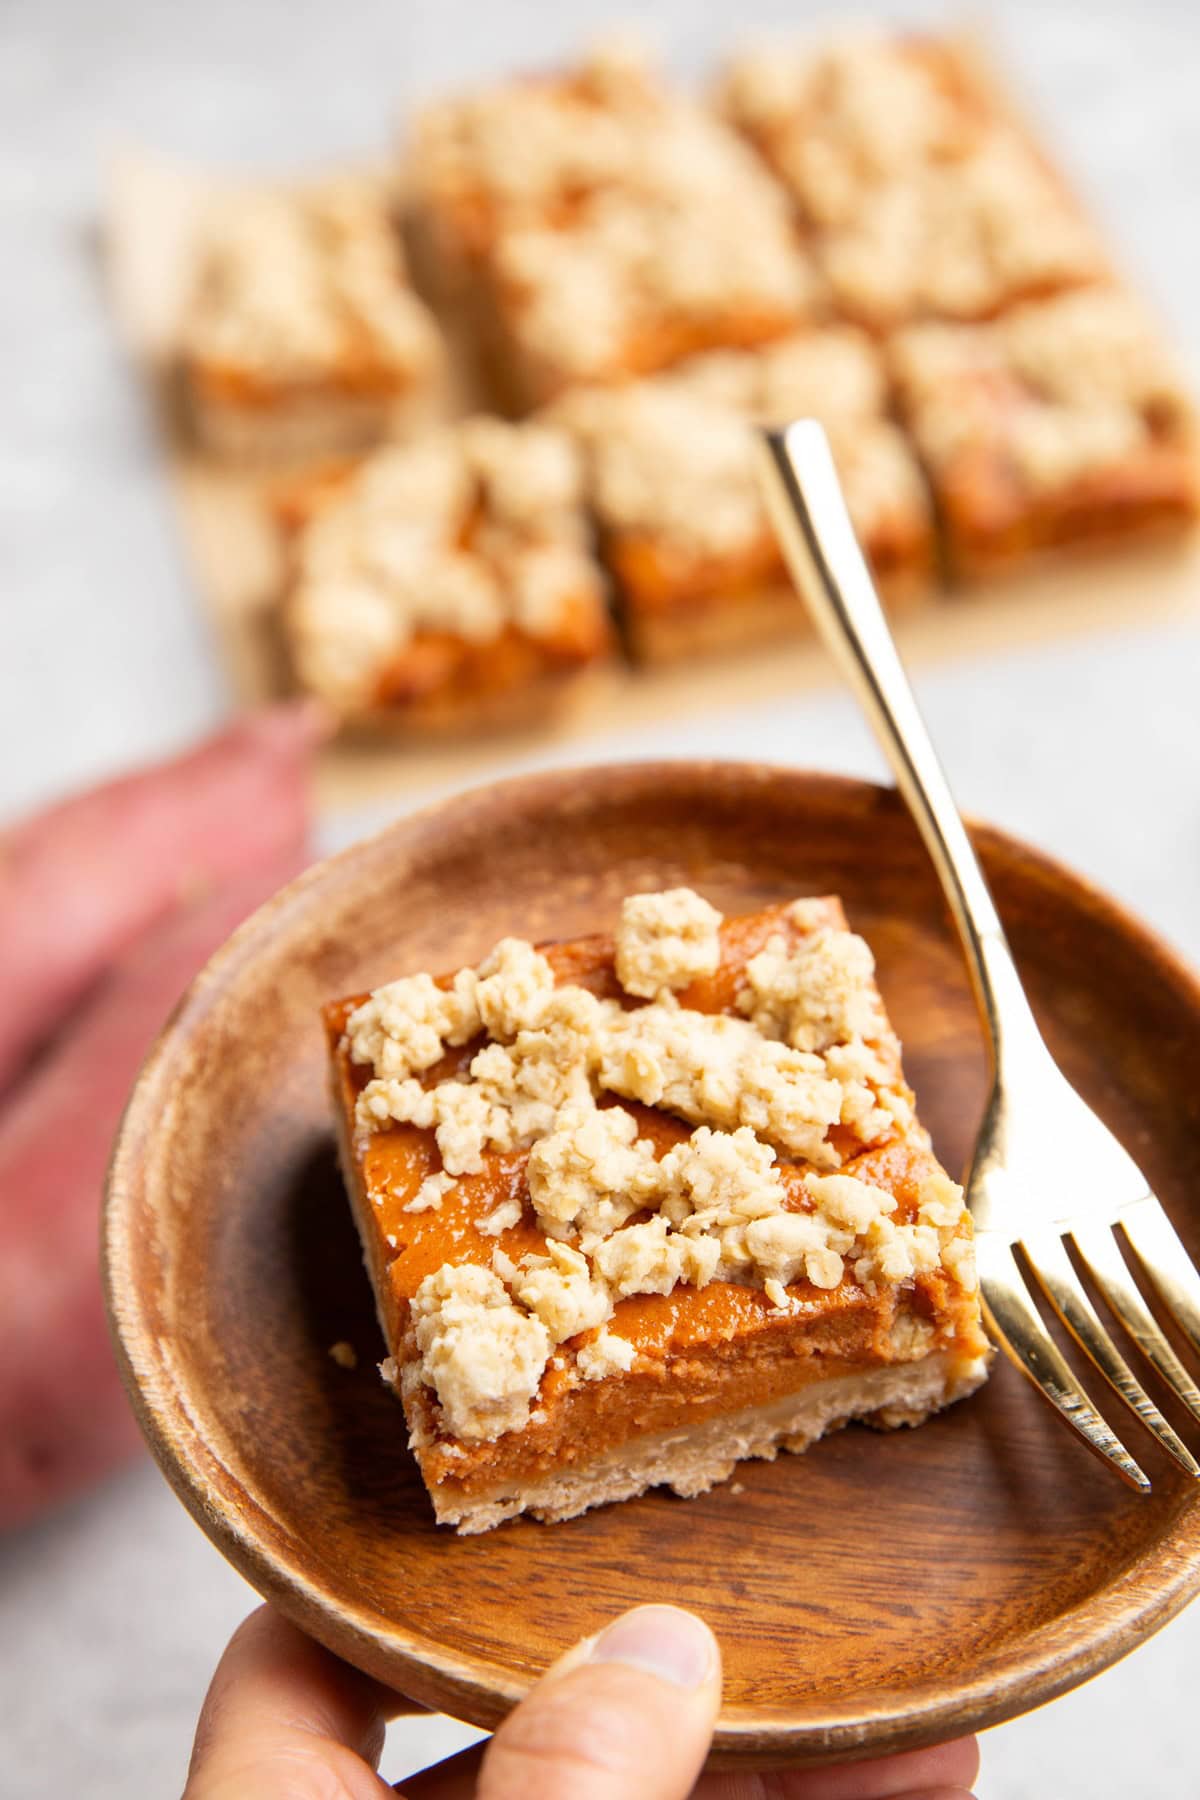
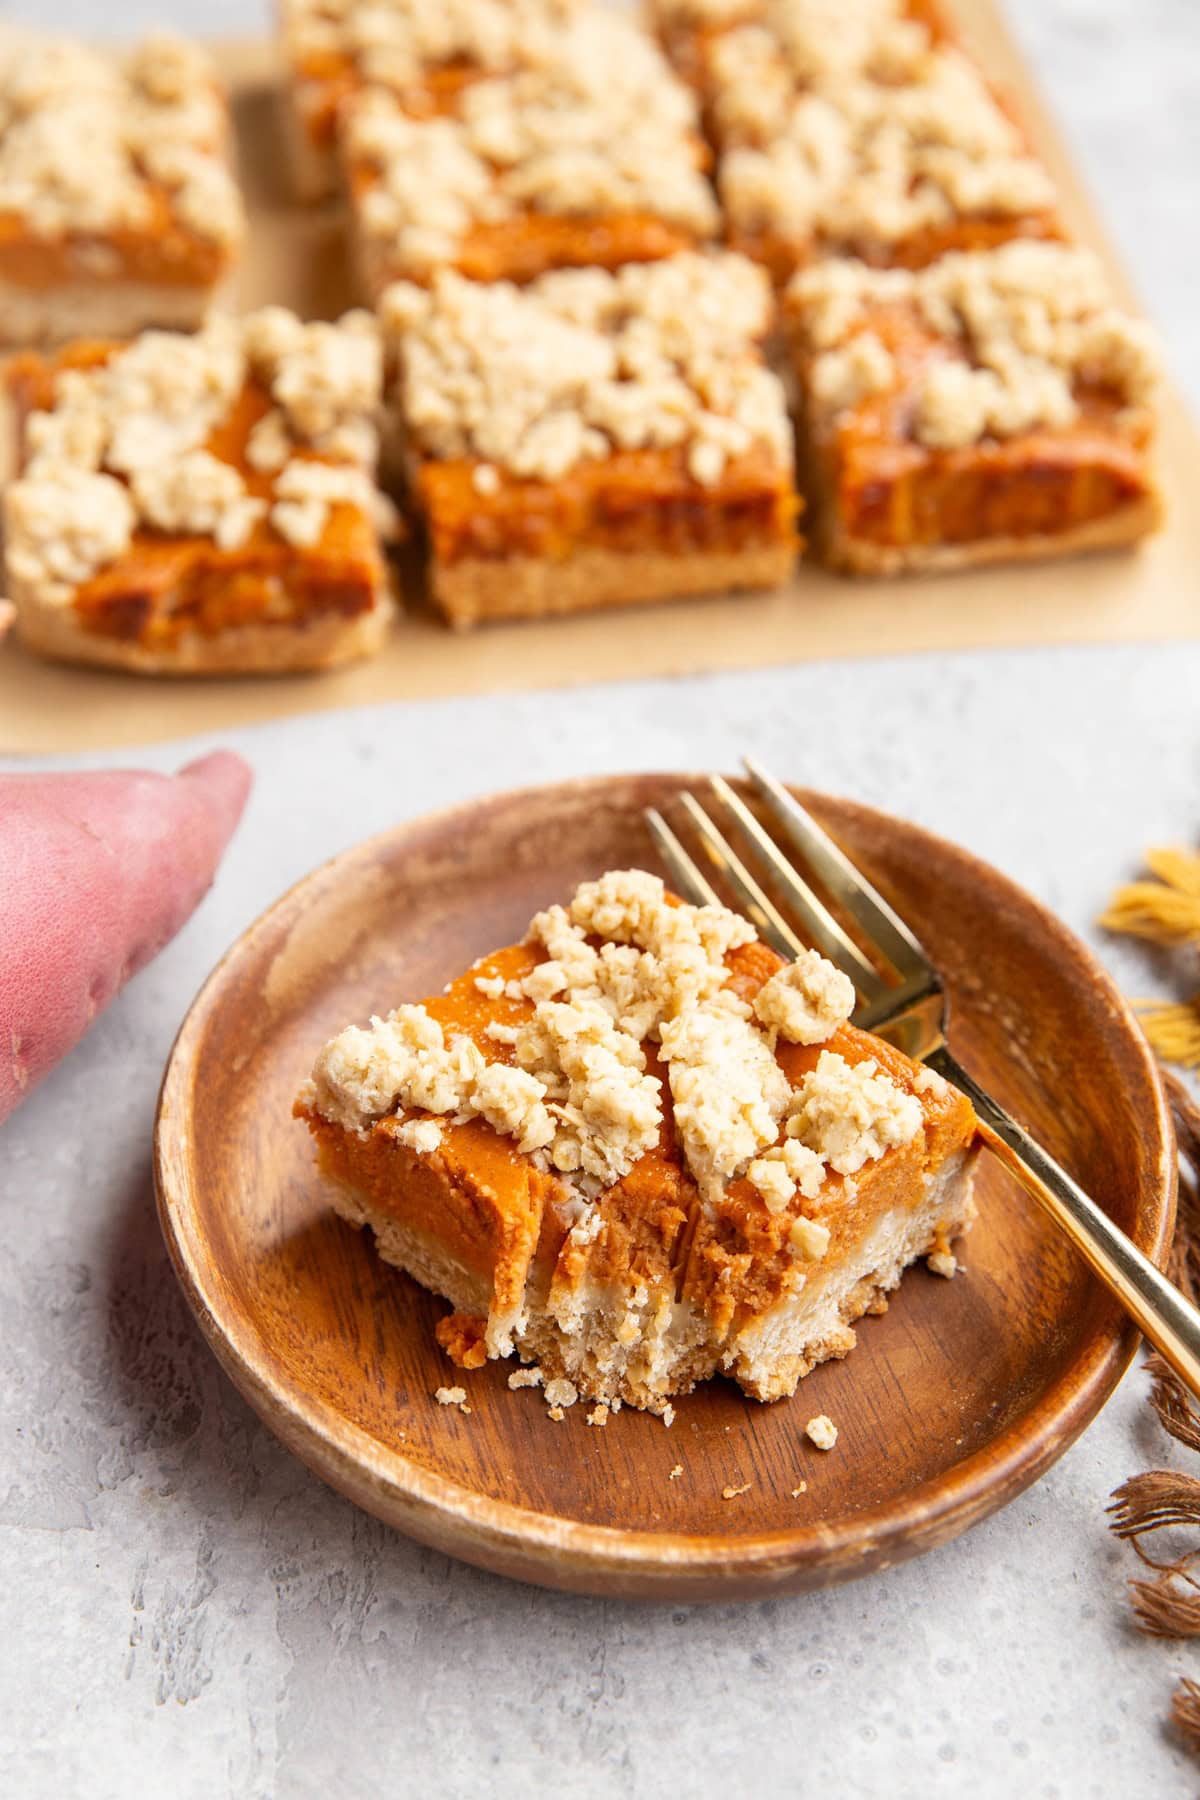
A buttery shortbread crust, silky smooth warmly-spiced sweet potato pie filling, and a delightful streusel topping are the recipe highlights here.
We have that amazing crumble texture with that creamy element and the perfect level of sweetness to really pique the interest of the taste buds.
The bars are gluten-free and can easily be made dairy-free or even grain-free. Keep reading to learn how to customize the recipe to fit your dietary restrictions.
The Inspiration For This Recipe:
With the fall season in full swing and the holidays upon us, I have delicious shareable desserts on the mind.
Silky Sweet Potato Pie has long been one of my favorite holiday desserts, and let’s be real: I consider my much-adored Sweet Potato Casserole to be dessert too, even though it’s disguised as a side dish.
Getting clever with my love for sweet potato treats, I wanted to fashion up a bar that is easier to prepare than an actual pie, yet still showcases the deliciousness of the traditional recipe.
So here we are! Turning sweet potato pie into sweet potato crumb bars.
I’m betting you’ll love the taste just as much as traditional sweet potato pie and the ease of preparation even more!
Let’s discuss the simple ingredients for this healthy sweet potato pie bars recipe!
Ingredients for Sweet Potato Crumb Bars:
Sweet Potato Pie Filling Ingredients:
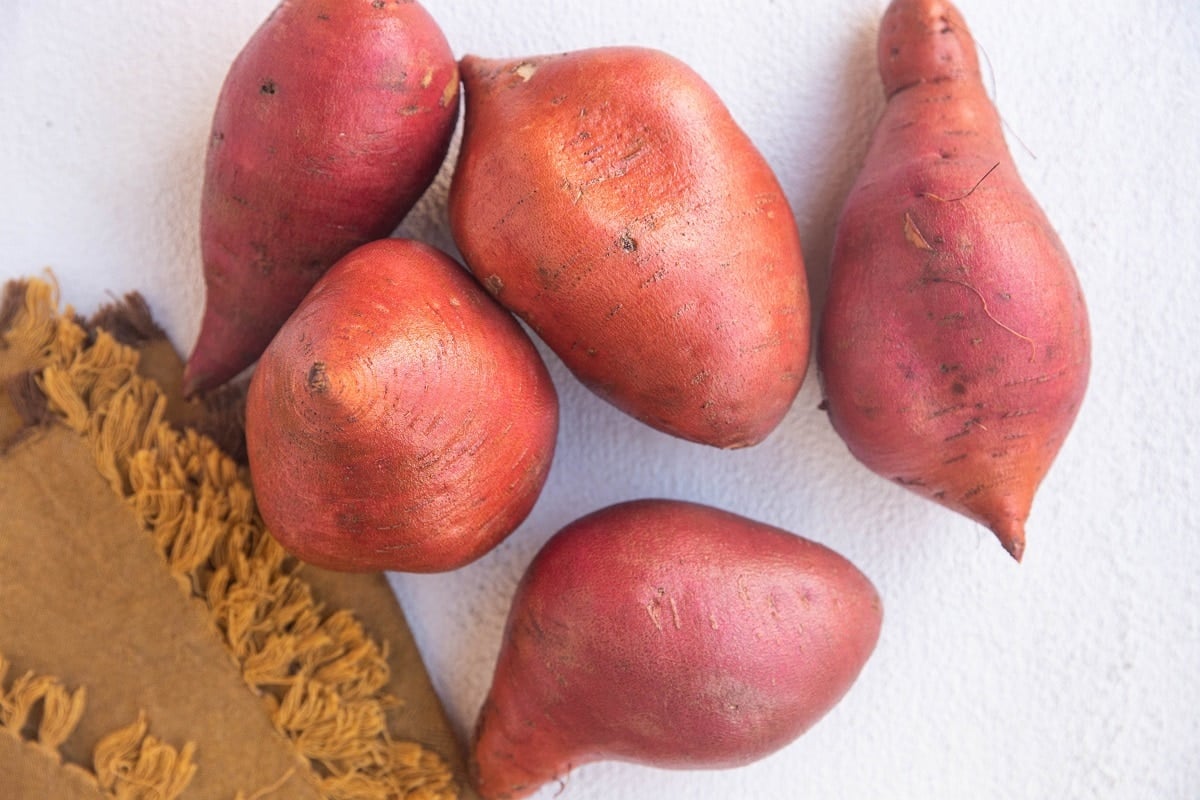
Large Sweet Potatoes: The main ingredient in sweet potato pie filling is (you guessed it!) fresh sweet potatoes.
What we typically call sweet potatoes are actually yams, so aim to purchase yams or orange-fleshed sweet potatoes from the store.
Yams produce the best results. We need 2 cups worth of mashed cooked sweet potato, so buy a large sweet potato or two medium-sized potatoes.
Eggs: A couple large eggs add both richness and some fluffy texture to the pie filling. While the filling can be made without eggs, I find the texture turns out best when eggs are included, because the filling sets up better for clean slices.
Pure Maple Syrup: Used to sweeten the crumb bars, we need some pure maple syrup. I love using this natural liquid sweetener here, because it adds maple flavor to this fall treat. Honey works great too.
Full-Fat Canned Coconut Milk: A little full-fat canned coconut milk adds richness and creaminess to the sweet potato pie filling.
Be sure to get a quality canned coconut milk that is full fat for the best results. The coconut milk can be replaced with heavy cream or half and half but no other non-dairy milk.
Fresh Ginger: A little fresh ginger gives a burst of flavor and a slight kick to add nuance to the otherwise one note filling.
Pumpkin Pie Spice: Similar to ginger, pumpkin spice levels up the flavor of the filling so that it has a warmly-spice flair.
Pumpkin pie spice is a combination of ground cinnamon, cloves, allspice and ground nutmeg, which adds so much deliciousness to sweet potato and pumpkin treats.
Sea Salt: A pinch of salt enhances the flavors so that everything comes together as a delicious treat.
Shortbread Crust and Streusel Ingredients:
Gluten-Free All-Purpose Flour: The majority of the crust and crumble topping is made out of gluten-free all-purpose flour for a shortbread like texture.
I use Bob’s Red Mill Gluten-Free 1-to-1 Baking Flour because I find it always results in the best texture.
Use regular all-purpose flour for these sweet potato bars if you don’t need them to be gluten-free.
Quick Oats: To bring delicious oatty flavor and some fun texture, we add some quick cooking oats to the crumble mixture. Rolled oats work too but they require a little more chewing.
If you need the recipe to be gluten-free, be sure to use certified gluten-free oats. I use gluten-free sprouted oats.
Pure Maple Syrup: To add sweetness to the crust, we use pure maple syrup. This also adds to the fall flavors by giving it that hint of maple flavor.
Butter: The real kicker here that makes for buttery crust. Melted butter adds that creamy delightful flavor to our shortbread crust and topping, which makes the taste buds swoon. You can also use melted coconut oil for a dairy-free option.
Pure Vanilla Extract: A splash of vanilla adds a hint of warm nuance to the crust and crumble. Replace it with brown sugar or coconut sugar if you prefer.
Sea Salt: Add a pinch of sea salt to enhance all the flavors!
Now that we’ve covered the simple ingredients for sweet potato bars, let’s bake a batch!
How to Make Sweet Potato Crumb Bars:
Cook The Sweet Potato:
Choose your favorite method to cook one large sweet potato. I like microwaving mine for the quickest method.
I simply wrap the potato in a wet paper towel, set it on a plate and microwave it for 5 minutes per side.
Gently press the potato to check for softness. If it isn’t very soft, flip it again and microwave for another 2-5 minutes or until very soft. Roasted sweet potatoes and boiled sweet potatoes work too!
Place the potato in the refrigerator to chill. Ideally, the sweet potato should be cold when used in the recipe but it can be slightly learn. Avoid using the potato when it is still very hot.
Once cool enough to handle, peel the outside of the potato and discard it.
Prepare the Crust and Crumble Topping:
Preheat the oven to 350 degrees Fahrenheit and line a 8-inch square baking pan with parchment paper. If you don’t have parchment paper, spray the pan liberally with cooking spray.
Add all of the ingredients for the crust and crumble topping to a large bowl and stir well until combined and a thick dough forms. There’s no need to separate the dry ingredients from the wet ingredients here. Everything can be mixed at the same time.
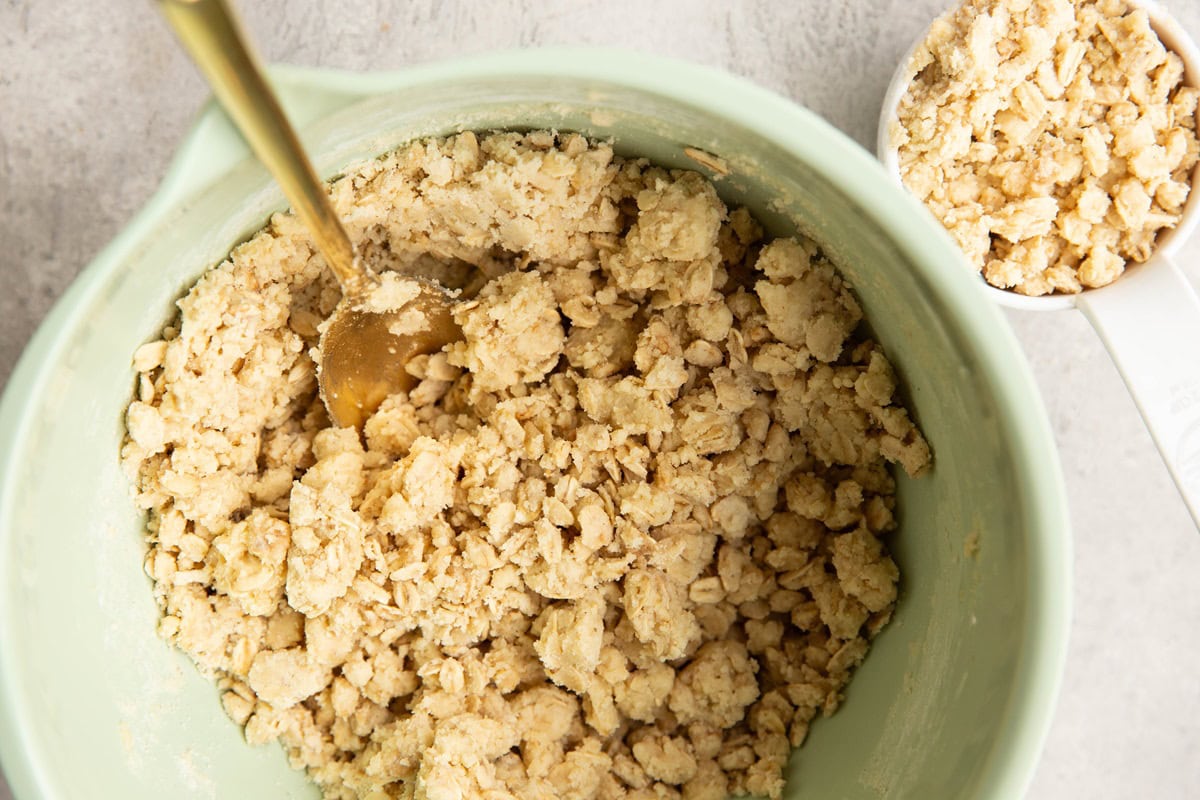
Measure out 1/2 cup of the crust mixture and set it aside to use it as the crumble topping later.
Transfer the remaining crust mixture to the prepared pan and press it into an even layer using your hands. Use a fork to poke many holes into the crust.
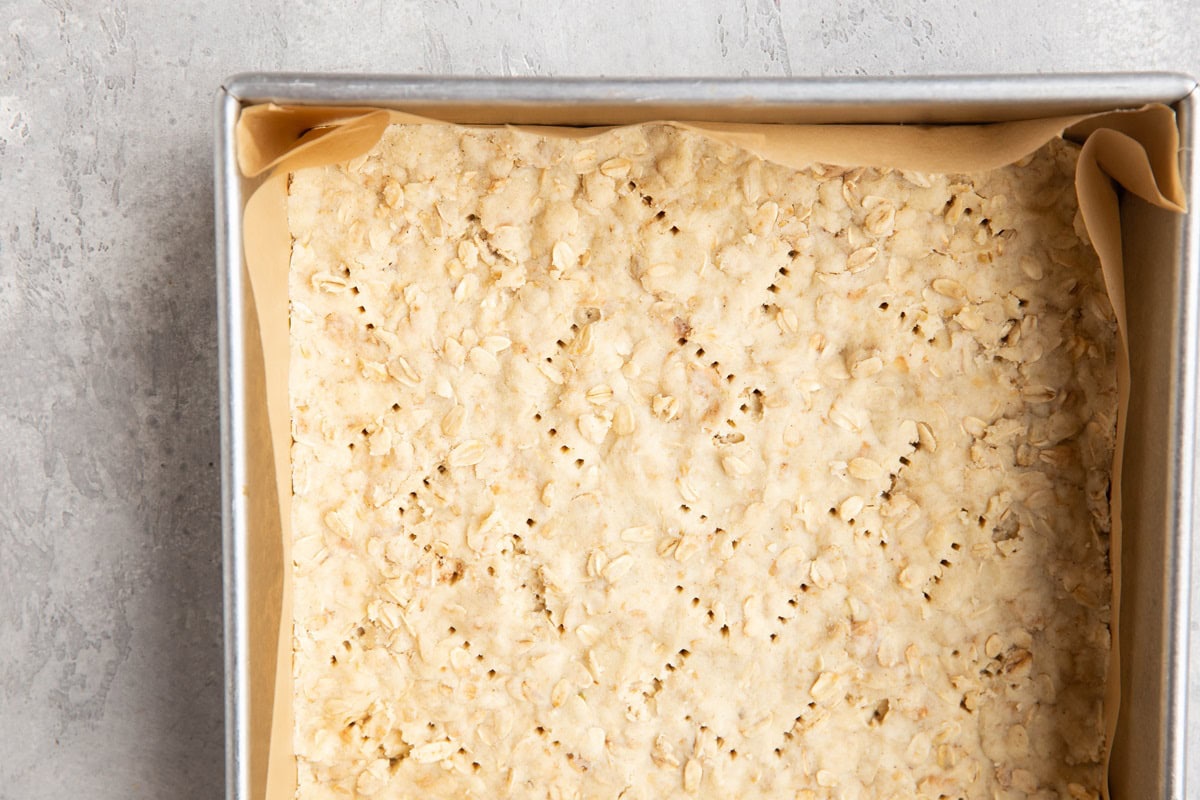
Bake crust on the center rack of the preheated oven for 10 minutes, or until the crust is slightly golden brown around the edges.
Make The Sweet Potato Filling:
Transfer the cooked sweet potato flesh to a blender (note: if you don’t own a quality blender, you can use a large mixing bowl and an electric hand mixer for this step).
I recommend measuring out the mashed sweet potato before using it in the recipe for the best results. You need 2 cups worth.
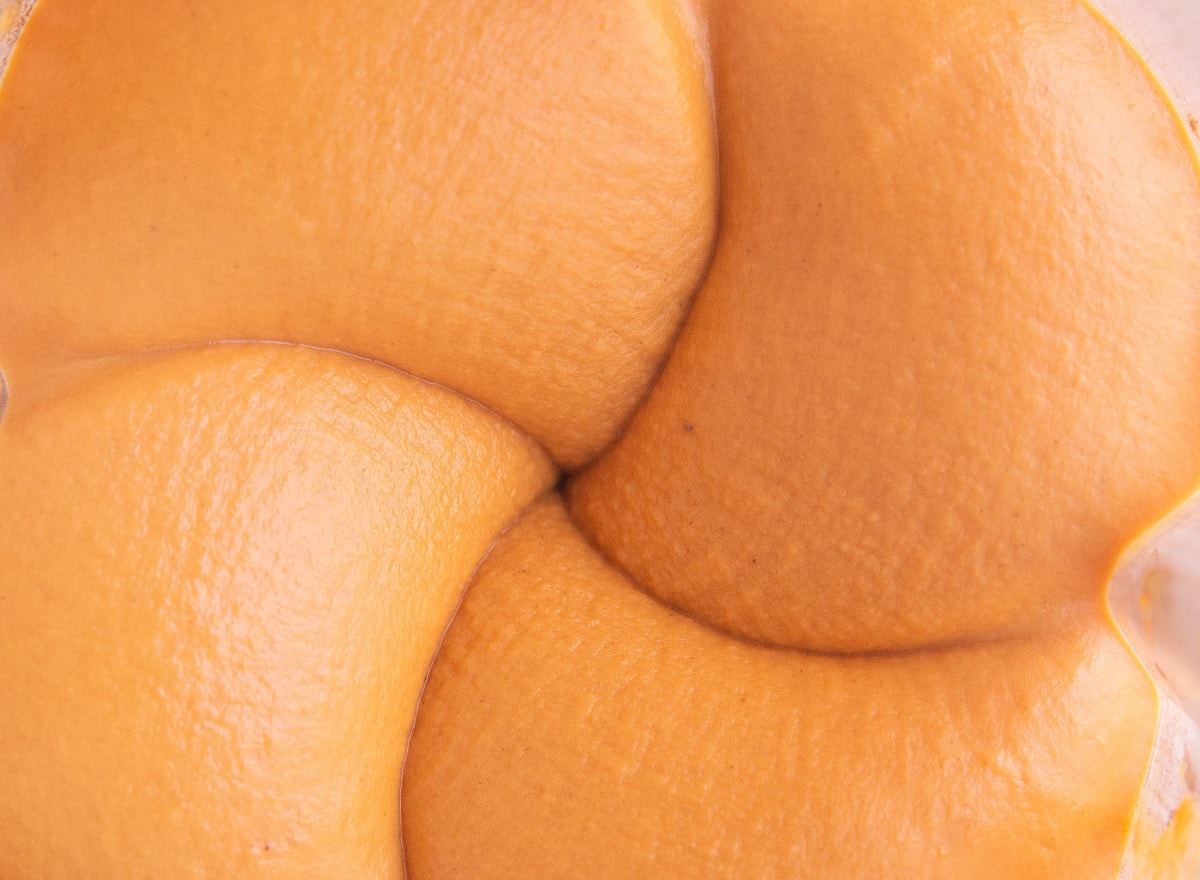
Add the remaining ingredients for the sweet potato filling to the blender. Cover and blend on a low speed or until the filling mixture is nice and creamy and any lumps are out.
Make the Bars:
Pour the sweet potato mixture into the baking dish over the pre-baked crust and spread it into an even layer.
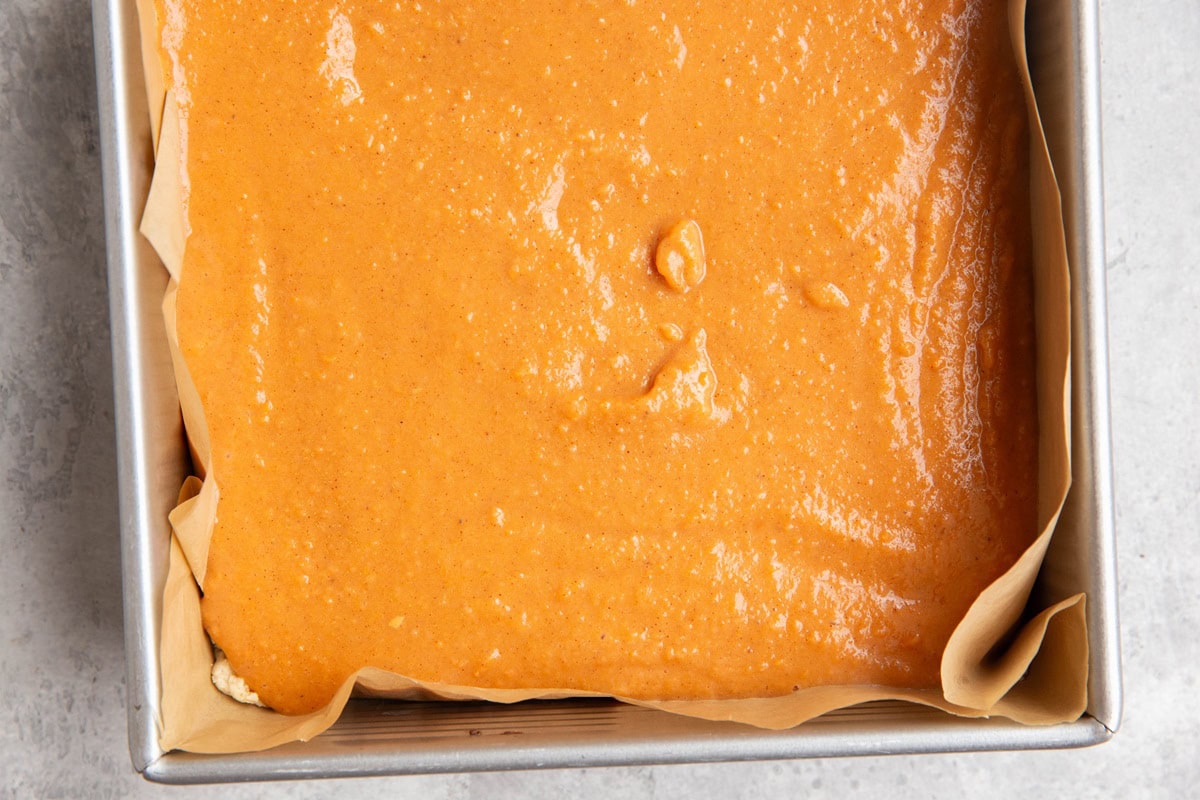
Cover the baking dish in foil and bake for 30-35 minutes, or until the filling appears to be mostly set up.
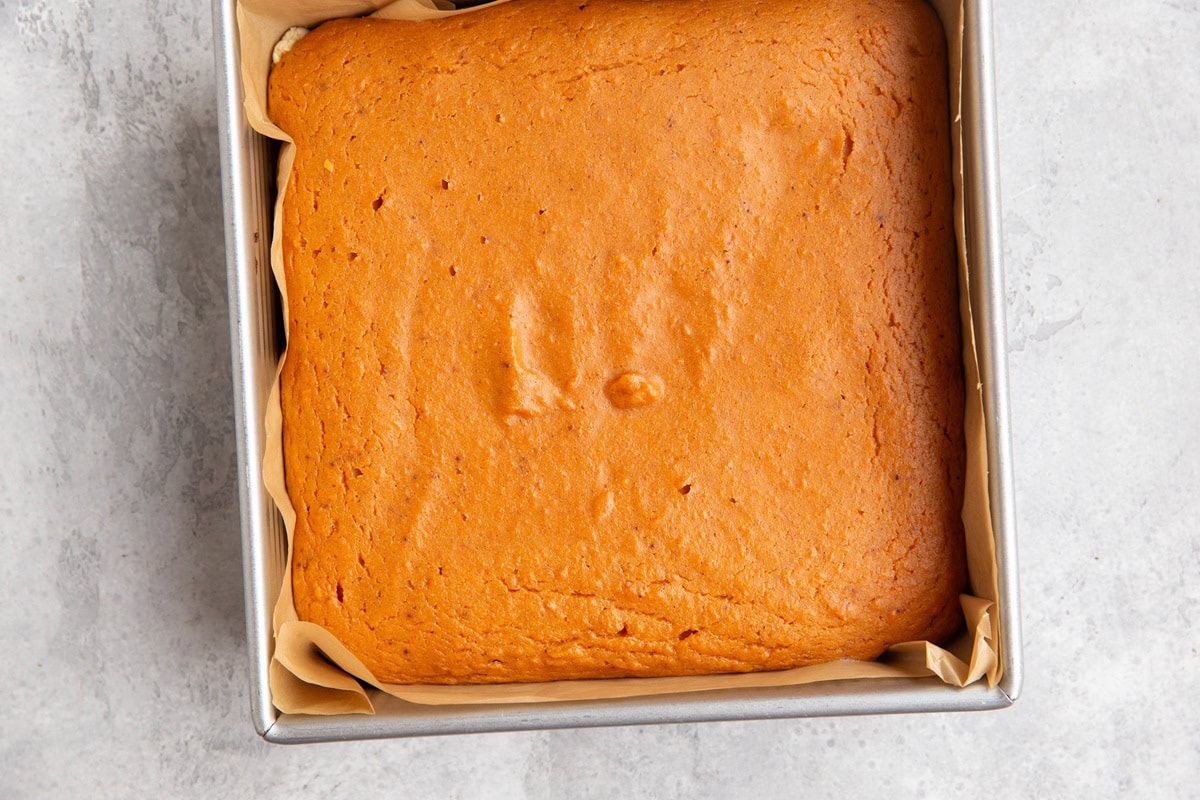
Remove the foil and sprinkle the crumble topping over the sweet potato filling. Gently press the topping into the filling.
Bake for another 10-20 minutes or until the topping is golden brown.
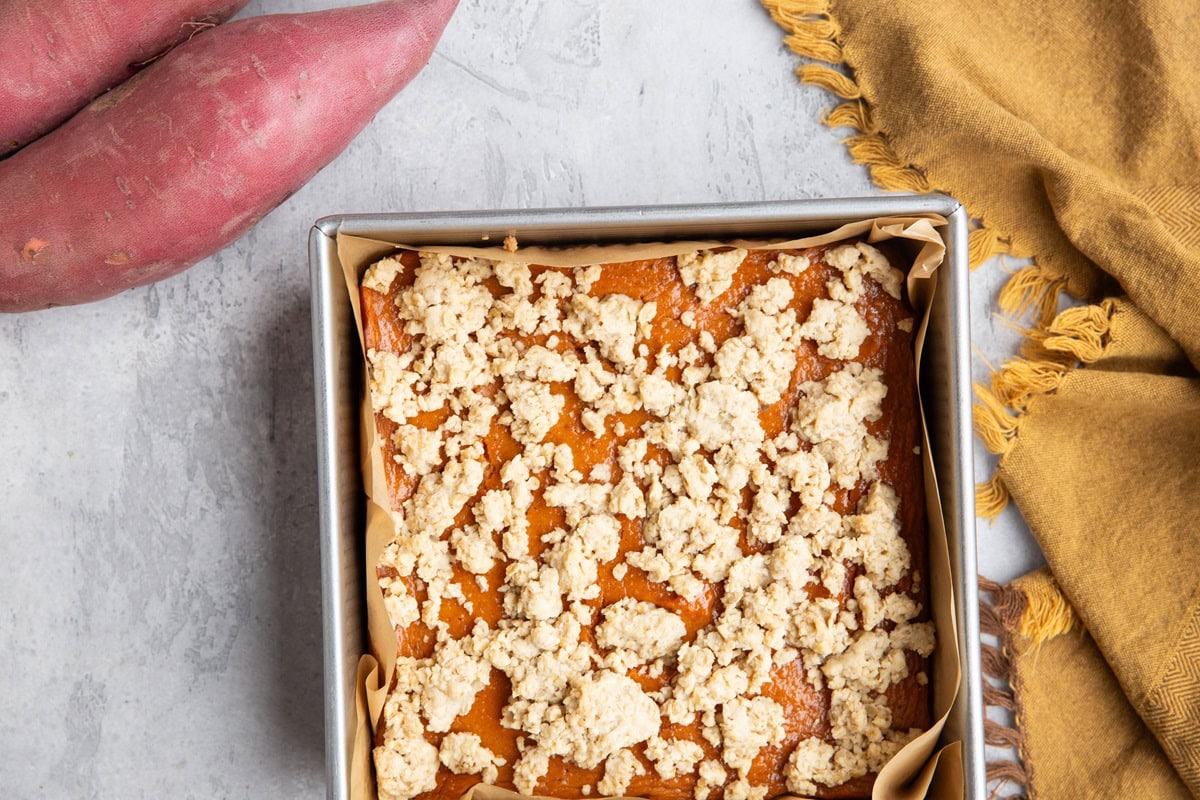
Remove the bars from the oven and allow them to cool for 20 minutes at room temperature before covering them with the same aluminum foil you used to bake them and place them in the refrigerator.
Chill for at least 3 hours, or until the bars are completely cold.
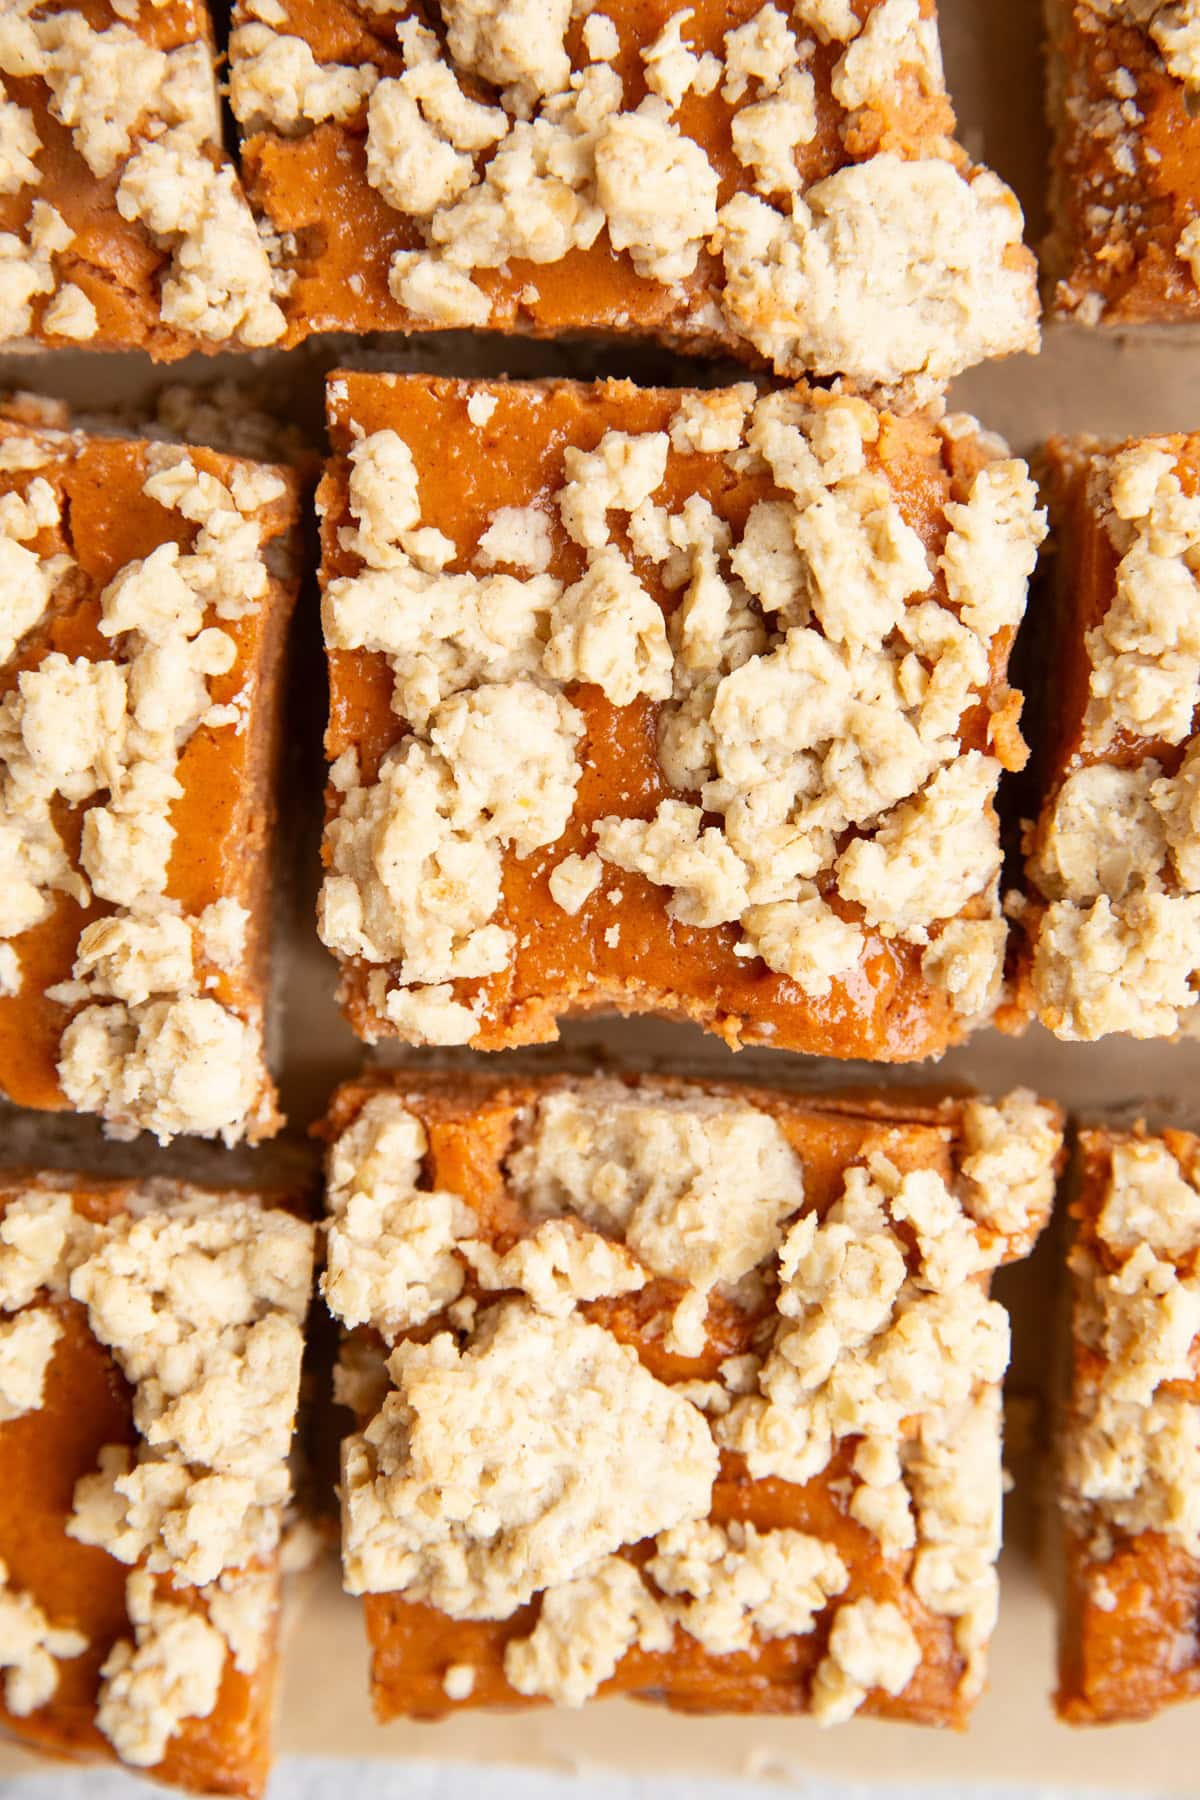
When you’re ready to serve, pull on the parchment paper to move the whole batch to a cutting board. Use a sharp knife to cut the bars into individual pieces, and serve!
Store leftovers in an airtight container or a zip lock back in r refrigerator for up to 5 days. Freeze for up to 3 months.
Can I Make These Grain-Free?
Yes! If you’re looking for a grain-free option, simply prepare my coconut flour pie crust or my almond flour pie crust. Once you have prepared the pie dough from one of those recipes, it can be used for the crumble topping and crust in this recipe.
Make Ahead Options:
Looking to prepare this recipe in parts to break up some of the work? You’re in luck, because there are plenty of options for making these bars ahead of time.
- Cook the sweet potato up to 5 days in advance and keep it in an airtight container in the refrigerator until you’re ready to use it.
- Prepare the crust and crumble mixture up to 5 days ahead of time and store it in a sealed container in the refrigerator. When you go to use it, take it out of the refrigerator 20 minutes in advance to allow it to come to room temperature.
- Bake the bars in advance! You can prepare the full recipe up to 5 days before you intend to serve it. Simply store the baking dish wrapped in plastic wrap or foil in the refrigerator.
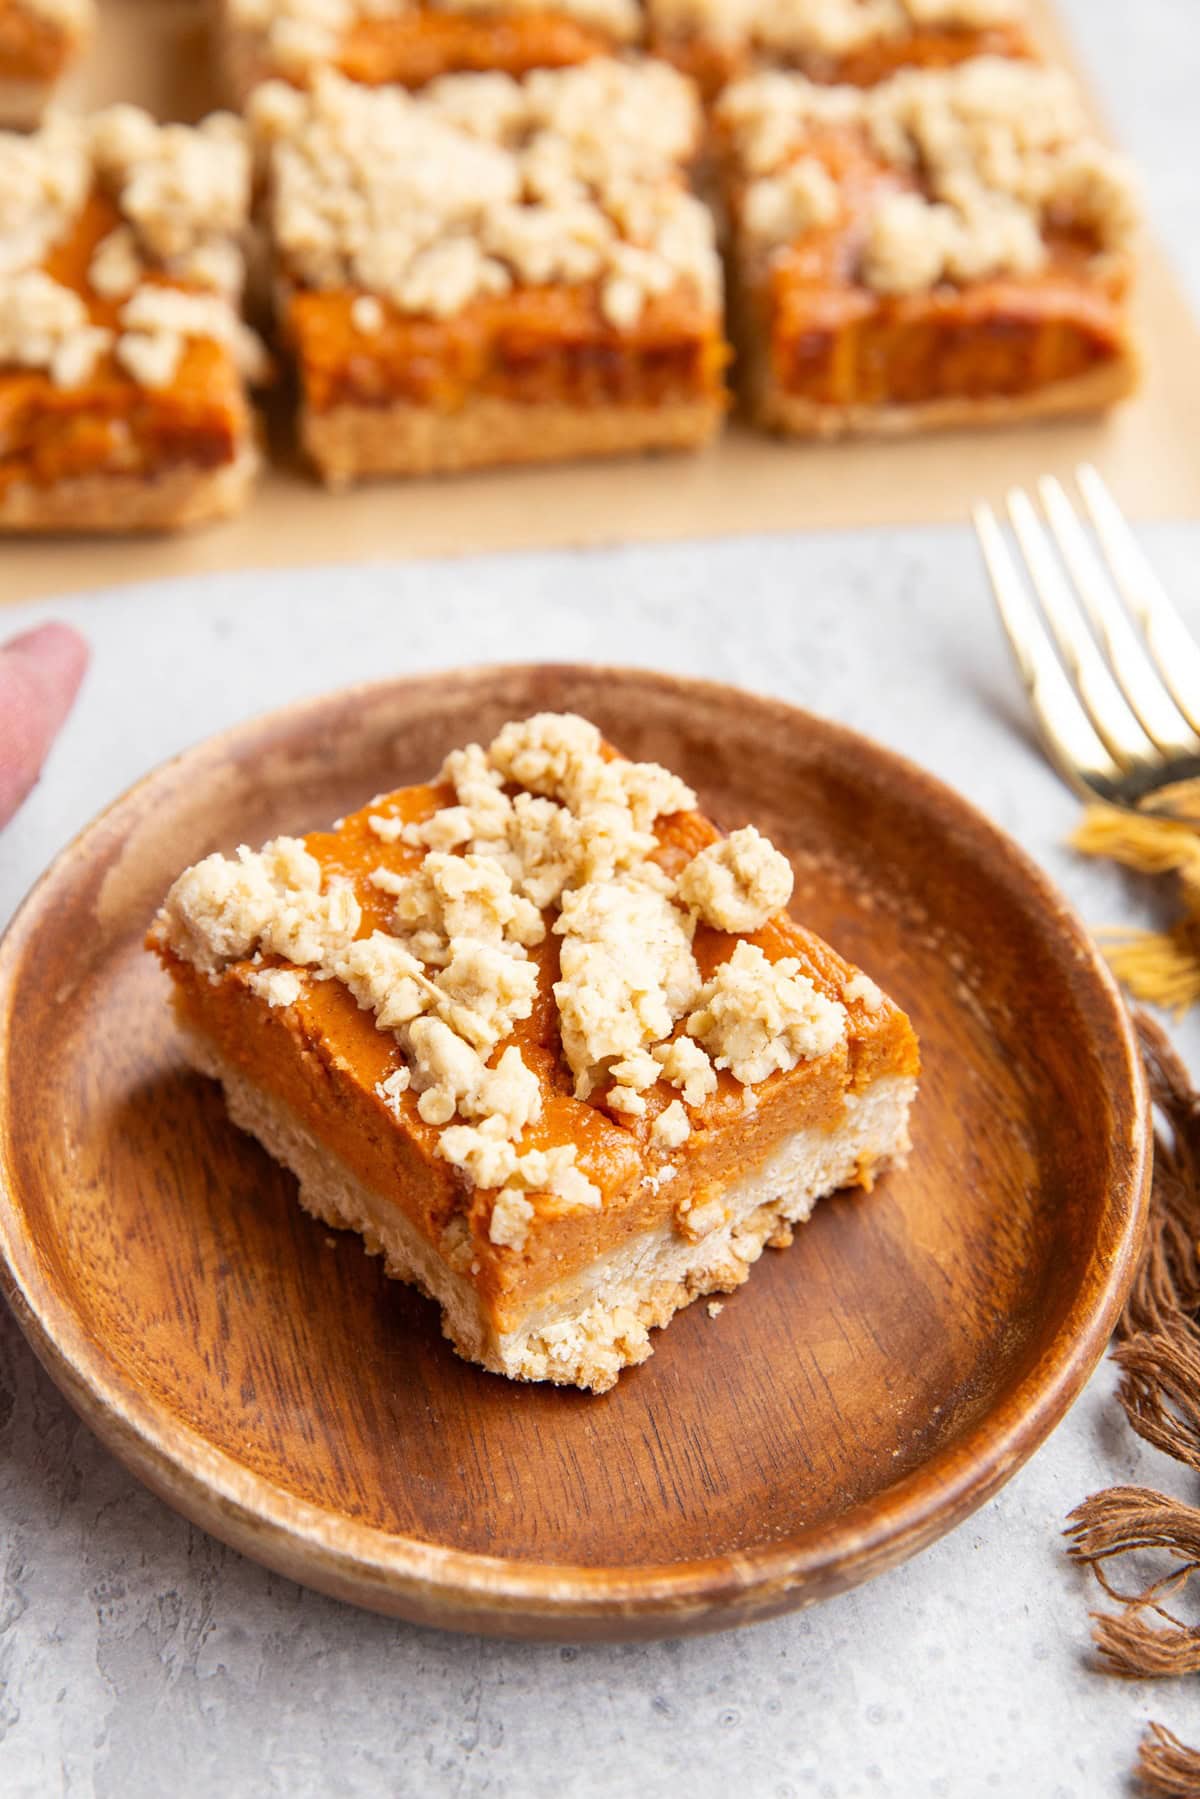
Whether you’re looking for a Thanksgiving dessert or Christmas cookie bar inspiration or you are simply craving a fall inspired treat, these delicious crumb bars are here to support your needs.
Enjoy this yummy dessert bar during the holiday season and beyond!
You’ll love the creamy sweet potato pie filling in combination with the buttery crust and streusel topping. The only thing that can make it better is some whipped cream!
If you love crumb bars, I have so many amazing recipes for you to check out! Here are some of my personal favorites.
More Crumb Bar Recipes:
- Paleo Apple Pie Bars
- Healthy Pear Crumb Bars
- Vegan Cranberry Crumb Bars
- Almond Flour Blackberry Crumb Bars
- Blueberry Oatmeal Crumb Bars
Sweet potato pie bars for breakfast!
Sweet Potato Crumb Bars
Equipment
Ingredients
For the Filling:
- 2 cups mashed sweet potato
- ½ cup full fat coconut milk
- ½ cup pure maple syrup
- 2 large eggs
- 1 Tbsp fresh ginger peeled and grated, optional
- 2 tsp pure vanilla extract
- 2 tsp pumpkin pie spice
- ¼ tsp sea salt
Shortbread Crust and Topping:
- 1.5 cups gluten-free all-purpose flour or regular all-purpose flour
- 1.5 cups gluten-free rolled oats
- 1/3 cup pure maple syrup
- 1/2 tsp sea salt
- 9 Tbsp unsalted butter melted *
- 1 tsp pure vanilla extract
Instructions
Cook The Sweet Potato:
- Choose your favorite method to cook one large sweet potato. I like microwaving mine for the quickest method. I simply wrap the potato in a wet paper towel, set it on a plate and microwave it for 5 minutes per side. Gently press the potato to check for softness. If it isn’t very soft, flip it again and microwave for another 2-5 minutes or until very soft. Roasted sweet potatoes and boiled sweet potatoes work too!
- Place the potato in the refrigerator to chill. Ideally, the sweet potato should be cold when used in the recipe but it can be slightly learn. Avoid using the potato when it is still very hot.
- Once cool enough to handle, peel the outside of the potato and discard it.
Prepare the Crust and Crumble Topping:
- Preheat the oven to 350 degrees Fahrenheit and line a 8-inch square baking pan with parchment paper. If you don’t have parchment paper, spray the pan liberally with cooking spray.
- Add all of the ingredients for the crust and crumble topping to a large bowl and stir well until combined and a thick dough forms. There’s no need to separate the dry ingredients from the wet ingredients here. Everything can be mixed at the same time.
- Measure out 1/2 cup of the crust mixture and set it aside to use it as the crumble topping later.
- Transfer the remaining crust mixture to the prepared pan and press it into an even layer using your hands. Use a fork to poke many holes into the crust.
- Bake crust on the center rack of the preheated oven for 10 minutes, or until the crust is slightly golden brown around the edges.
Make The Sweet Potato Filling:
- Transfer the cooked sweet potato flesh to a blender (note: if you don’t own a quality blender, you can use a large mixing bowl and an electric hand mixer for this step). I recommend measuring out the mashed sweet potato before using it in the recipe for the best results. You need 2 cups worth.
- Add the remaining ingredients for the sweet potato filling to the blender. Cover and blend on a low speed or until the filling mixture is nice and creamy and any lumps are out.
Make the Bars:
- Pour the sweet potato mixture into the baking dish over the pre-baked crust and spread it into an even layer.
- Cover the baking dish in foil and bake for 30-35 minutes, or until the filling appears to be mostly set up.
- Remove the foil and sprinkle the crumble topping over the sweet potato filling. Gently press the topping into the filling.
- Bake for another 10-20 minutes or until the topping is golden brown.
- Remove the bars from the oven and allow them to cool for 20 minutes at room temperature before covering them with the same aluminum foil you used to bake them and place them in the refrigerator. Chill for at least 3 hours, or until the bars are completely cold.
- When you’re ready to serve, pull on the parchment paper to move the whole batch to a cutting board. Use a sharp knife to cut the bars into individual pieces, and serve!
Notes
Nutrition
This post contains affiliate links, which means I make a small commission off items you purchase at no additional cost to you.




Hi Julia,
I am a big fan of your recipes! Thank you. How can I make a crust that has NO FLOUR?
Hi Lori! Forgive me, I just want to be sure I understand what you mean by no flour. Do you consider almond flour or coconut flour to be flour? If not, I linked to two options in the post, one using almond flour and the other using coconut flour. If you’re looking for a completely crustless recipe, you could bake just the filling for a crustless pie effect, similar to my crustless pumpkin pie recipe: https://www.theroastedroot.net/crustless-pumpkin-pie-dairy-free/ Let me know if you have any other questions! xo
Thanks so much! I will use anything except white flour or wheat flour. Almond flour is perfect and so is coconut flour, oat flour, or even brown rice flour. I am allergic to traditional flour, but so many of your recipes I am able to make, I just love your site, Thank you.
I love your cranberry crumb bars and make them every Thanksgiving but I may give these sweet potato ones a try. Could I substitute canned sweet potato puree for the fresh?
Aww I’m so happy you enjoy the cranberry crumb bars! That’s one of my favorites around the holidays too 🙂 I’ve actually never used canned sweet potato puree, so I’m not positive how it would turn out, but I’m betting it will work just great 🙂 The bars could take slightly longer to bake if the puree contains more water than mashed sweet potatoes, but otherwise, you shouldn’t need to make any changes. Happy baking, and happy holidays! xo