Grain-Free Paleo Pumpkin Pie Bars feature an almond flour crust and a delicious pumpkin filling that tastes just like pumpkin pie! Paleo, dairy-free and refined sugar-free, this easy pumpkin pie bars recipe is simple to prepare because it doesn’t require any fancy equipment or techniques. No baking experience required!
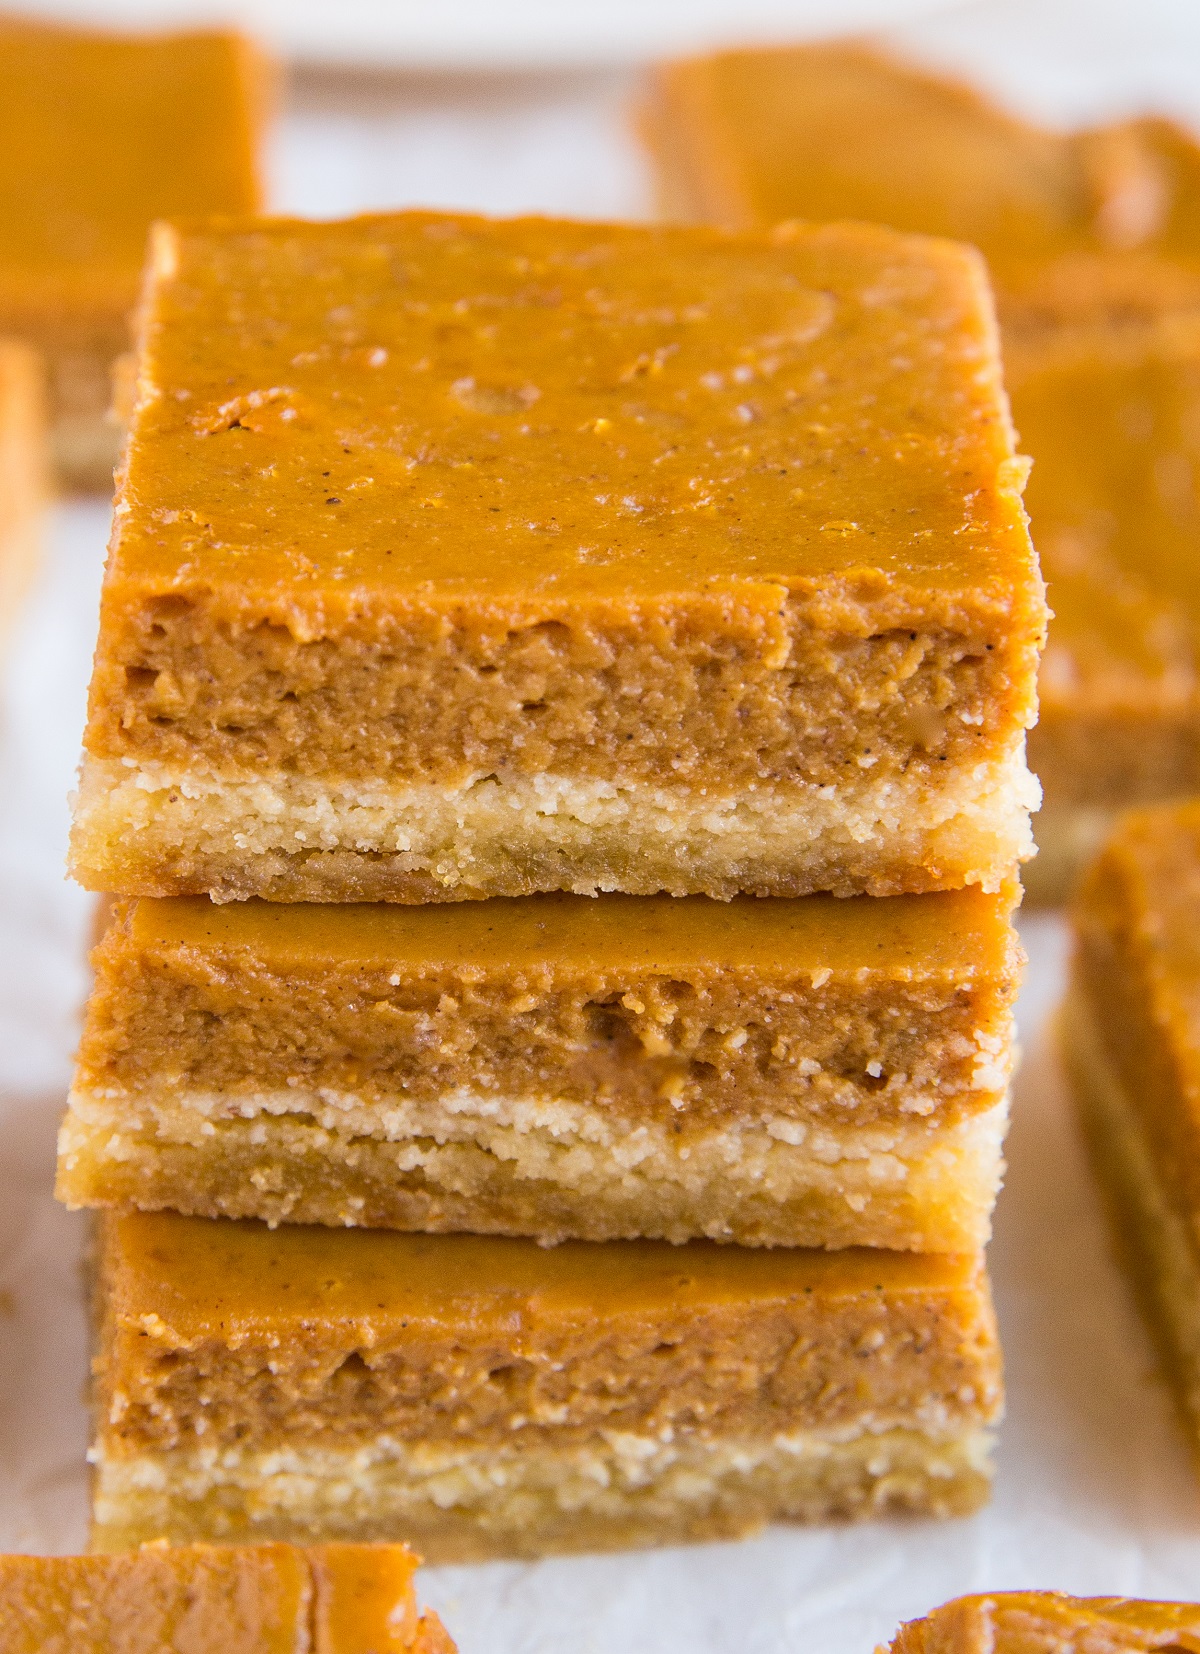
Have you ever found yourself craving pumpkin pie but you don’t actually feel like baking pumpkin pie?
Enter: These Grain-Free Pumpkin Pie Bars.
Made with wholesome ingredients, these delicious healthy pumpkin bars are refined sugar-free and dairy-free.
They are perfect for sharing with friends and family during the fall and winter months and are a lovely addition to holiday gatherings. A perfect healthy dessert no matter the time of year in my humble opinion.
You’re getting all the benefits of traditional pumpkin pie without the hassle of cutting butter into pie crust and questioning how your pie crust is going to land. No pie pan needed!
The bar form version is much less complicated.
Same great pumpkin taste, just wearing a different outfit.
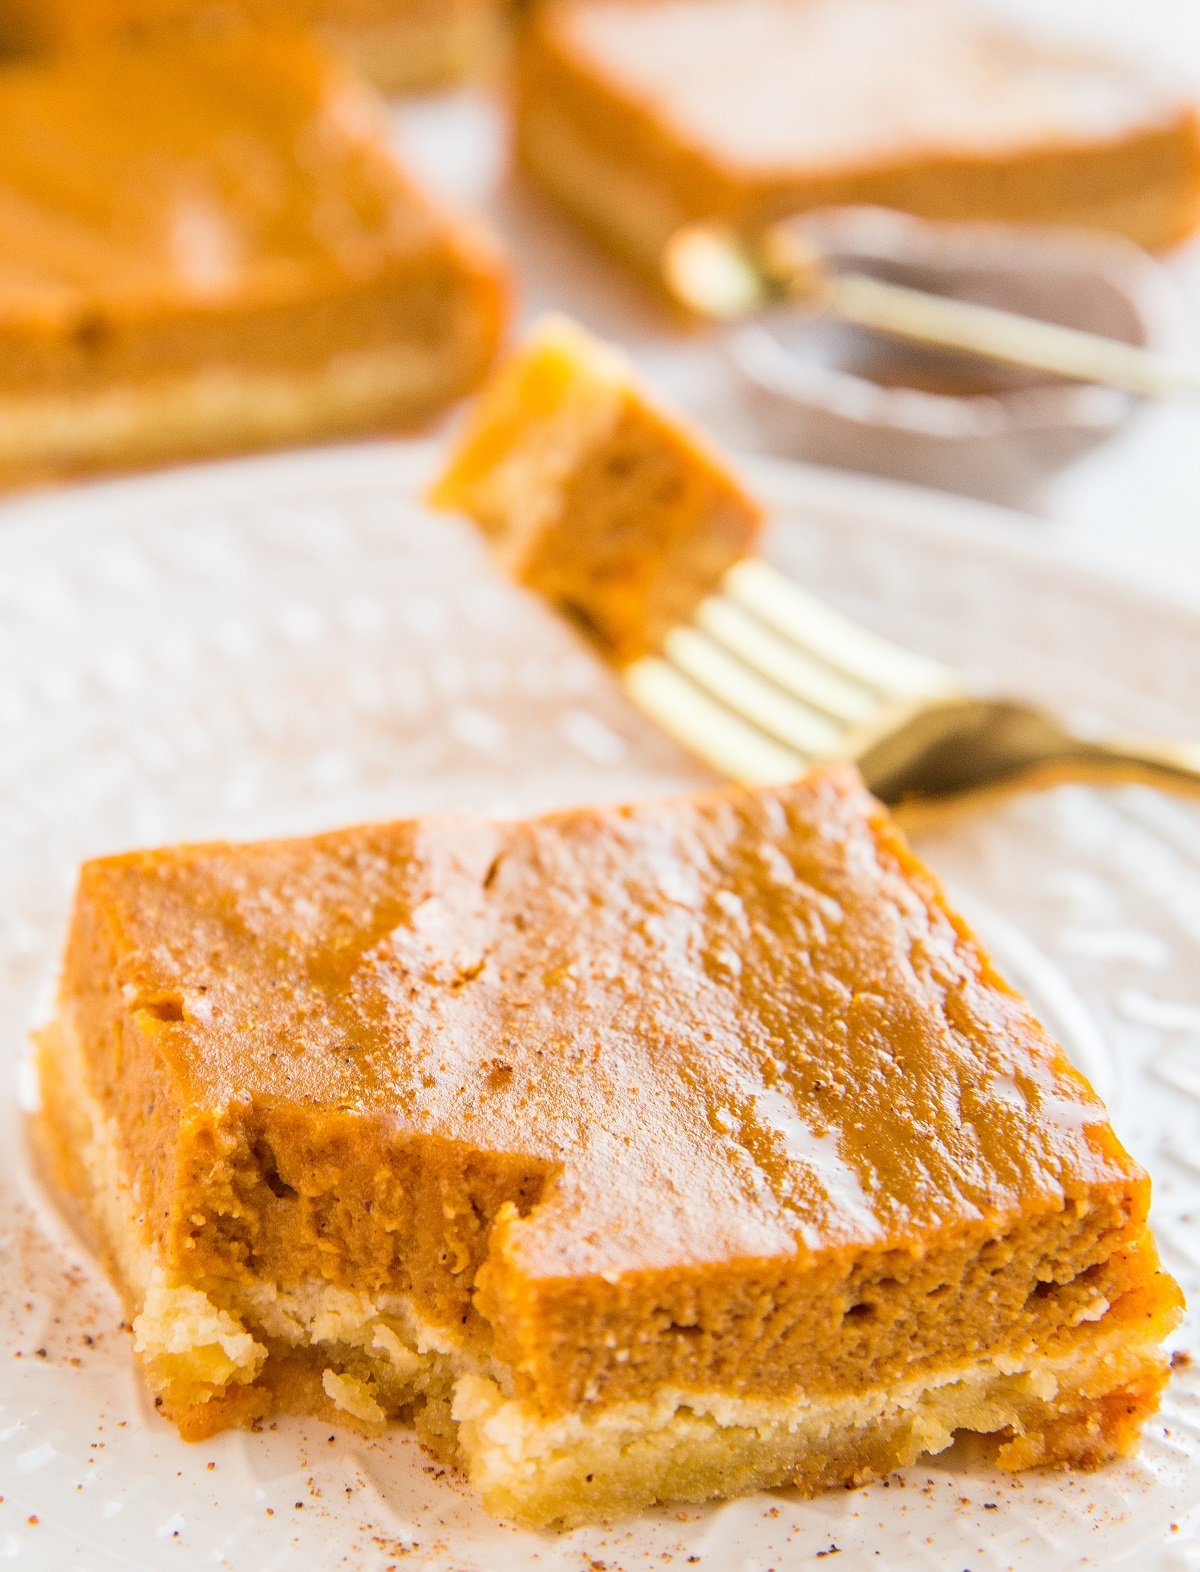
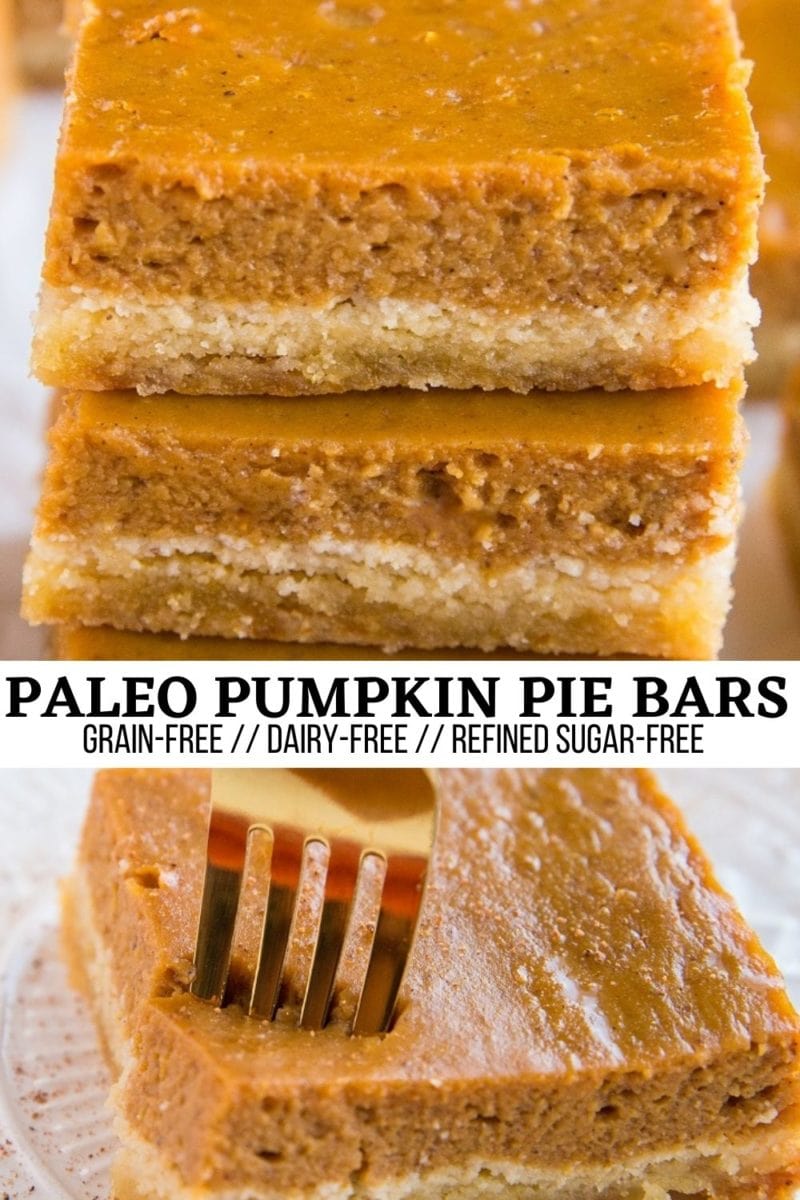
The warmly-spiced pumpkin filling atop a shortbread-like grain-free pie crust is absolutely mouth-watering, and an amazing dessert to share. The texture of the bars is identical to regular pumpkin pie!
But don’t worry if you’re seeking an actual pie shape. You can check out my Paleo Pumpkin Pie, or my Paleo Pumpkin Cheesecake.
If you follow a low-carb or ketogenic diet and prefer using sugar-free sweeteners, no problem. Simply follow my Keto Pumpkin Pie Bars.
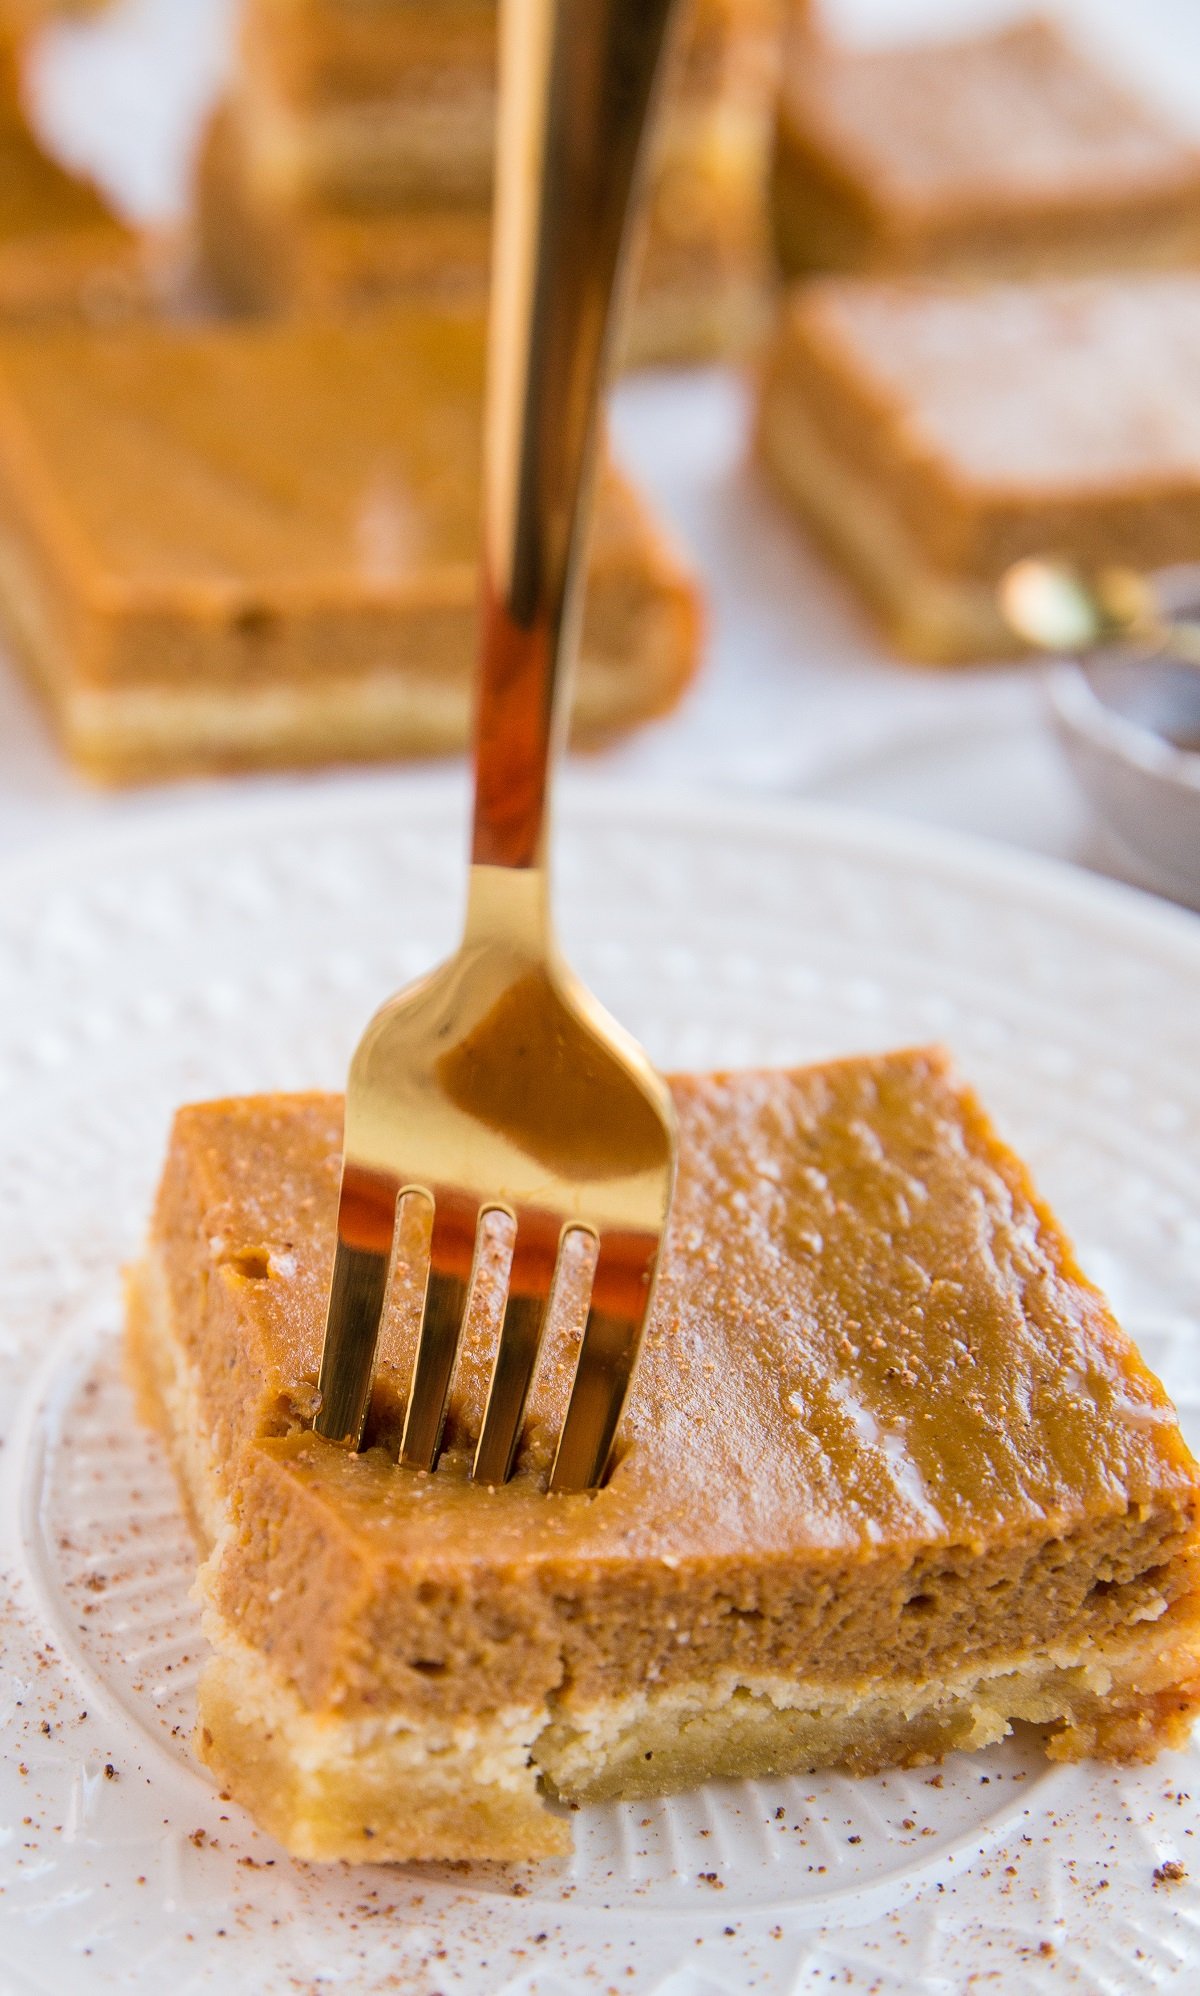
Let’s discuss the simple ingredients for these gluten-free pumpkin pie bars.
Ingredients for Grain-Free Paleo Pumpkin Pie Bars:
Grain-Free Pie Crust Ingredients:
Almond Flour: Taking the place of regular all-purpose flour, we use finely ground almond flour to make a grain-free easy pie crust. I don’t recommend using almond meal as a replacement for finely ground almond flour because it will result in a crumbly texture.
I use Bob’s Red Mill’s Super Fine Almond Flour for the best results. I have found varying brands of almond flour have different absorbances, which can create different results.
If you don’t use Bob’s Red Mill’s almond flour and the crust mixture seems overly dry, continue adding oil and pure maple syrup, one tablespoon at a time, until a thick, sticky dough forms that can easily be pressed into a cookie layer.
If the crust is crumbly, keep adding oil and pure maple syrup until it is no longer crumbly.
If you prefer baking with coconut flour over almond flour, follow my recipe for Coconut Flour Pie Crust.
Pure Maple Syrup (or coconut sugar or sugar-free sweetener): Used to sweeten the pie crust, we use a touch of pure maple syrup to give a little subtle natural sweetness.
Coconut Oil: Melted coconut oil brings the crust together and creates rich flavor
Egg: One large egg gets mixed in with the grain-free crust ingredients to ensure it holds together nicely and ends up with a great texture. For a vegan version, replace the egg with one flax egg. Flax eggs are a combination of 1 tablespoon of ground flax seed and 3 tablespoons of water.
Sea Salt: A pinch of sea salt enhances the flavors and makes the crust taste rich.
Pumpkin Pie Filling:
Canned Pumpkin Puree: The pumpkin portion of this recipe! Pick up one can of pureed pumpkin to use as the pumpkin filling.
Just be sure the only ingredient on the label is pumpkin so that you’re using pure pumpkin puree.
Canned pumpkin pie filling comes with sweeteners and spices, which we don’t want since we’re adding our own.
Full-Fat Canned Coconut Milk: Full-fat coconut milk gets mixed in with the pumpkin to create a custardy tender filling.
Be sure to use full-fat canned coconut milk and not a different non-dairy milk because we’re looking for the higher fat content for richness here.
You can replace the coconut milk with heavy cream if you do dairy. I don’t recommend using almond milk, oat milk, or any other type of low-fat milk.
Pure Maple Syrup: Used to sweeten the bars! You can also use honey but just know that honey burns at a lower temperature than pure maple syrup so be sure to keep an eye on the bars as they become close to being done.
For sweeter pumpkin bars, add 1 to 3 tablespoons of brown sugar.
Pumpkin Pie Spice: The spice we all love so dearly during the fall months! Pumpkin spice is a combination of cinnamon, cloves, nutmeg, allspice and sometimes cardamom.
Adding it to pumpkin treats is what amplifies that warmly-spiced pumpkin feel. If you make homemade pumpkin pie spice, feel free to put it to use here.
Eggs: Eggs help generate the custard texture of the filling and also help the filling set up so that the bars cut nicely. For vegan pumpkin pie bars, replace the eggs with 3 tablespoons of tapioca flour or tapioca starch.
Pure Vanilla Extract: A splash of vanilla extract brings warm flavor to the filling.
Sea Salt: Used to enhance all of the flavors so that the bars taste rich and bold.
If you love the combination of pumpkin and chocolate, feel free to add a layer of chocolate chips and even almond butter or peanut butter on top of the pie crust for an added layer of fun!
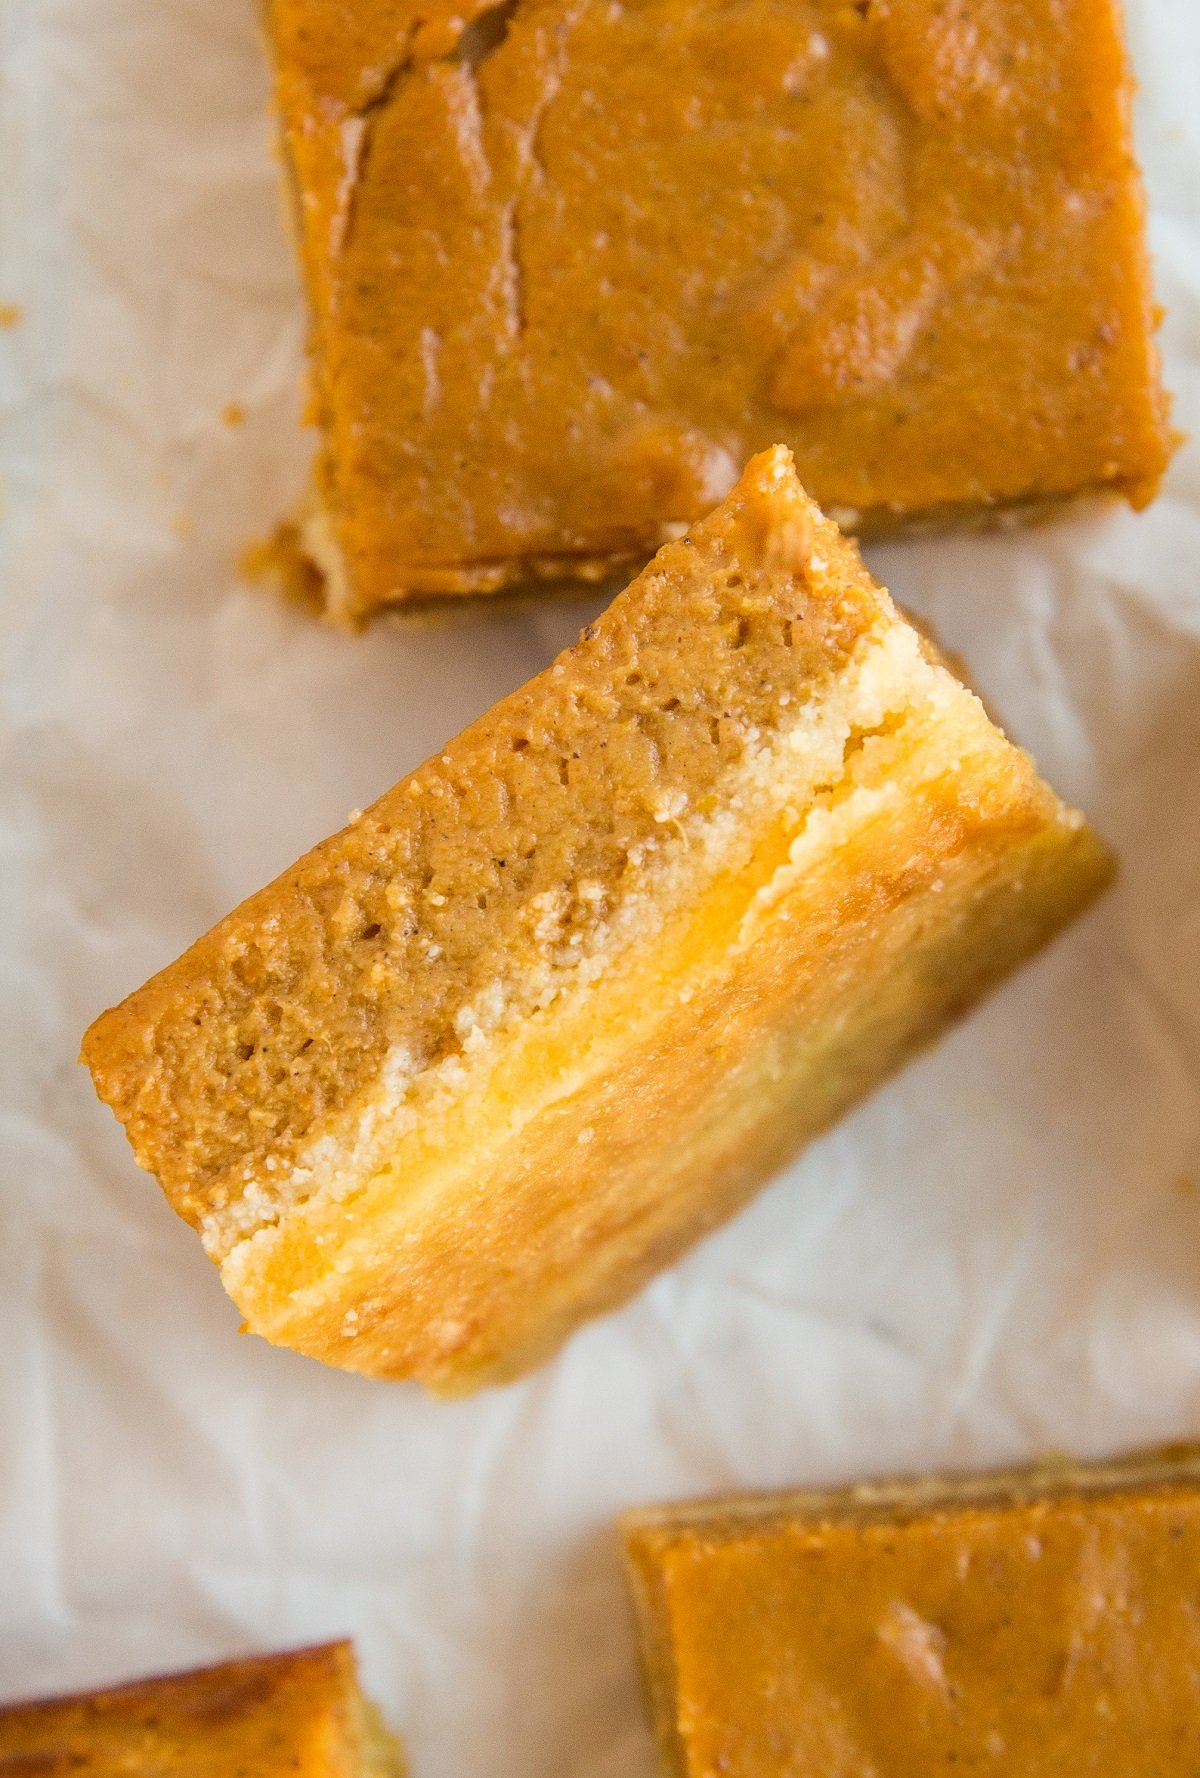
Now that we’ve covered the basic ingredients for these healthy pumpkin pie bars, let’s make them!
How to Make Paleo Pumpkin Bars:
Preheat the oven to 350 degrees F and line a 9” x 9” baking pan with parchment paper.
Add the almond flour, pure maple syrup, sea salt, and coconut oil to a large mixing bowl and stir well. Stir in the well-beaten egg until a thick dough forms.
Transfer the dough to the prepared baking pan and press into the bottom of the pan into an even layer. I use a rubber spatula for this because it helps spread the pumpkin mixture evenly.
Use a fork to poke many holes in the pie crust dough to ensure it doesn’t bow up with air bubbles while baking.
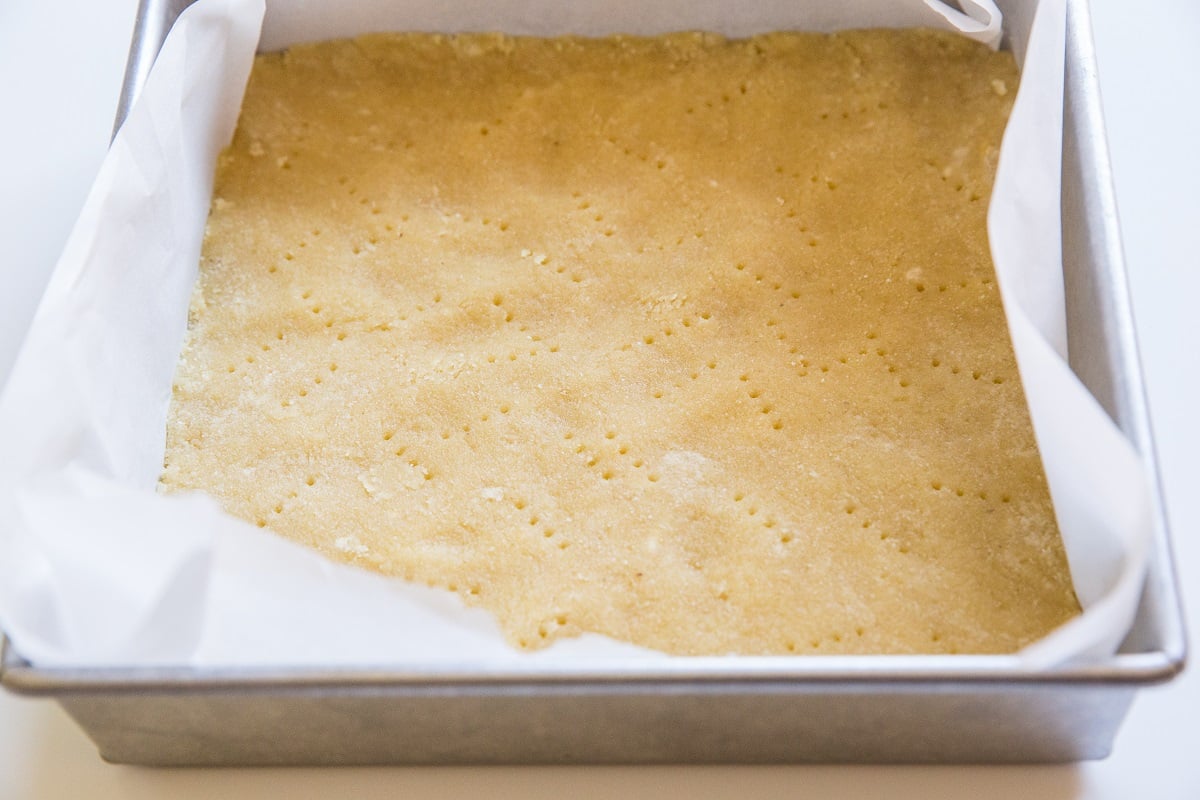
Bake crust on the center rack of the preheated oven for 10 to 15 minutes, until you notice a small amount of color around the edges.
While the pie crust is baking, prepare the pumpkin pie filling. Transfer the ingredients for the filling to a blender or a food processor and blend for 20-30 seconds until smooth and combined. You can also do this in a large bowl using an electric hand mixer instead of a blender or food processor.
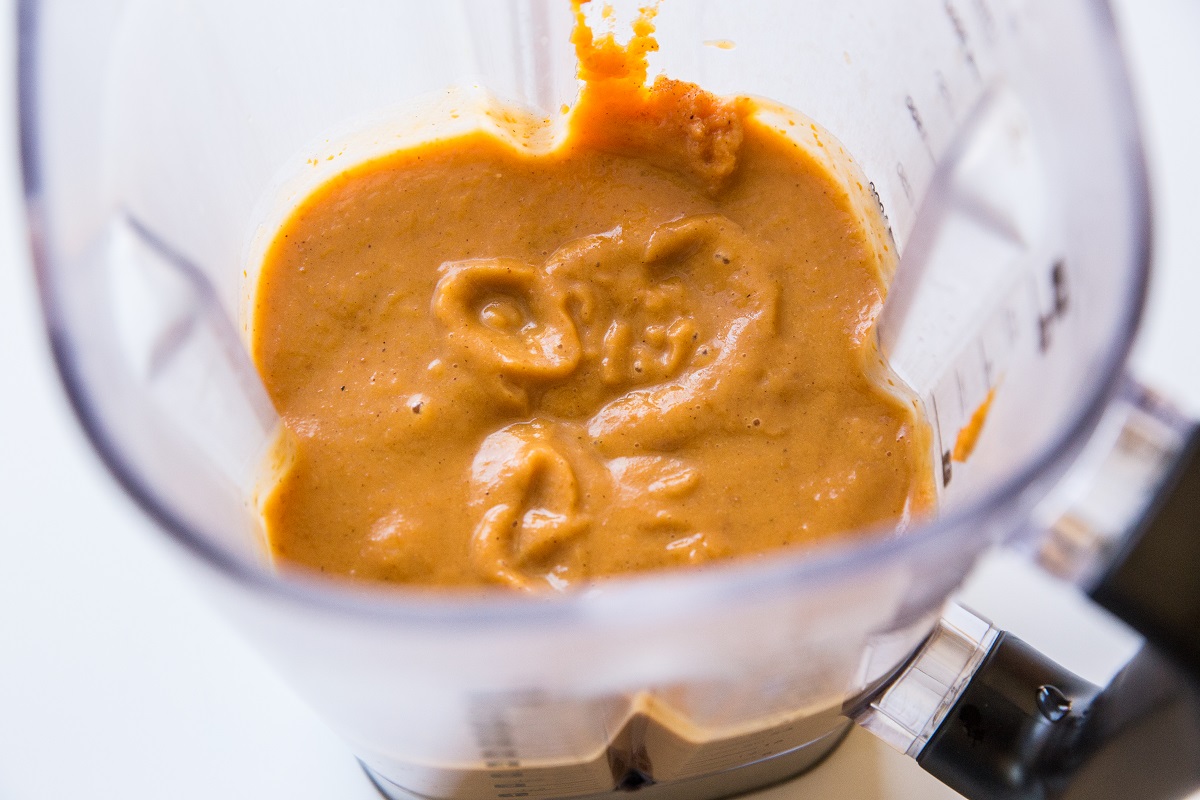
Remove the pie crust from the oven and allow it to cool for 5 minutes.
Pour the pumpkin filling over the pie crust and smooth into an even layer.
Bake bars in the preheated oven for 50 to 60 minutes, until the bars appear as though they have set up.
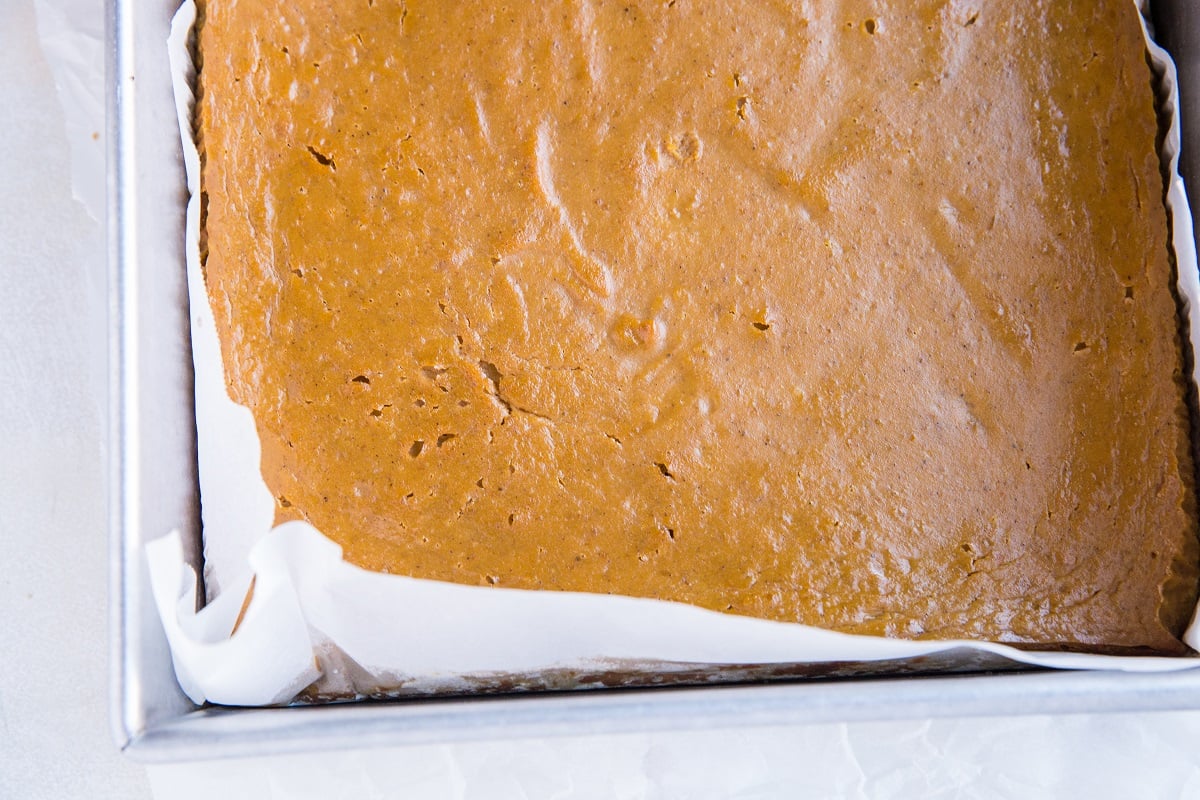
Remove the gluten-free pumpkin bars from the oven and allow them to cool completely. Transfer paleo pumpkin pie bars to the refrigerator and chill for at least 45 minutes before slicing and serving.
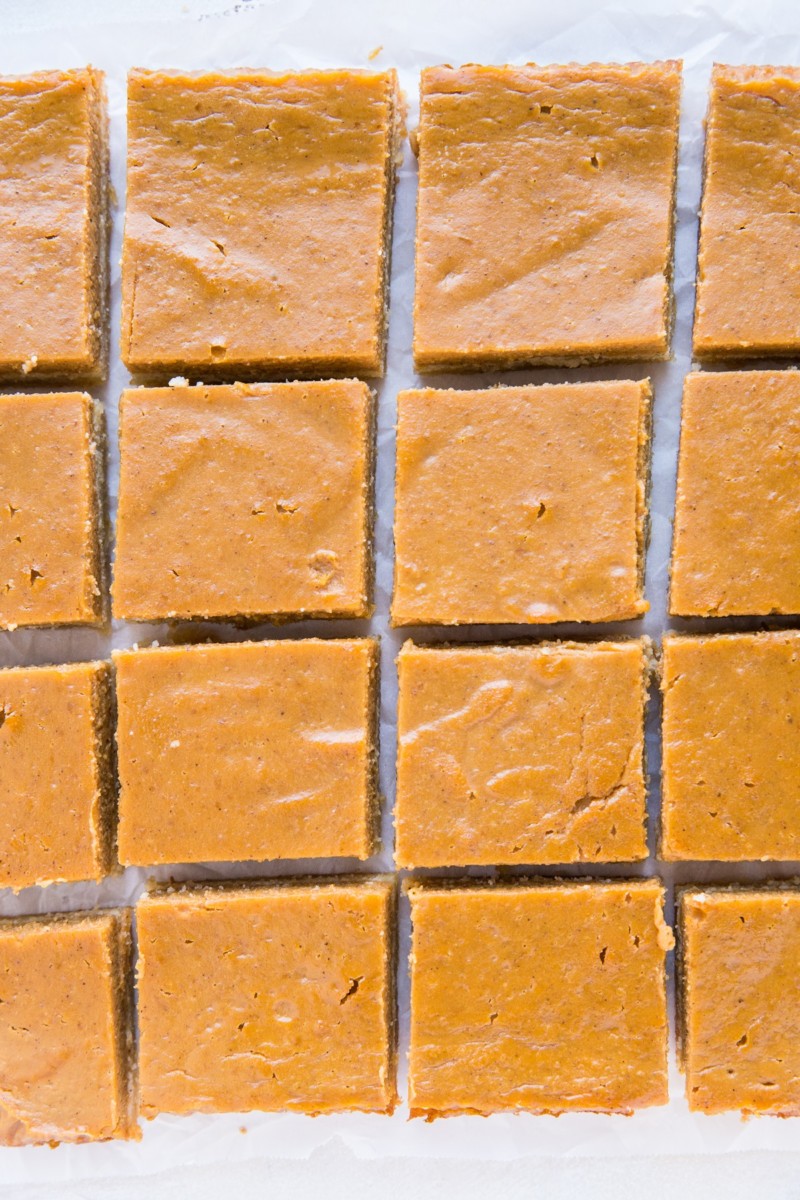
You can serve these delicious pumpkin bars with store-bought or homemade whipped cream on top. For a dairy-free version, make my Coconut Milk Whipped Cream.
Store these healthy dessert bars in an airtight container in the refrigerator for up to 1 week. You can also freeze them in a large zip lock bag or freezer-safe bag for up to 3 months.
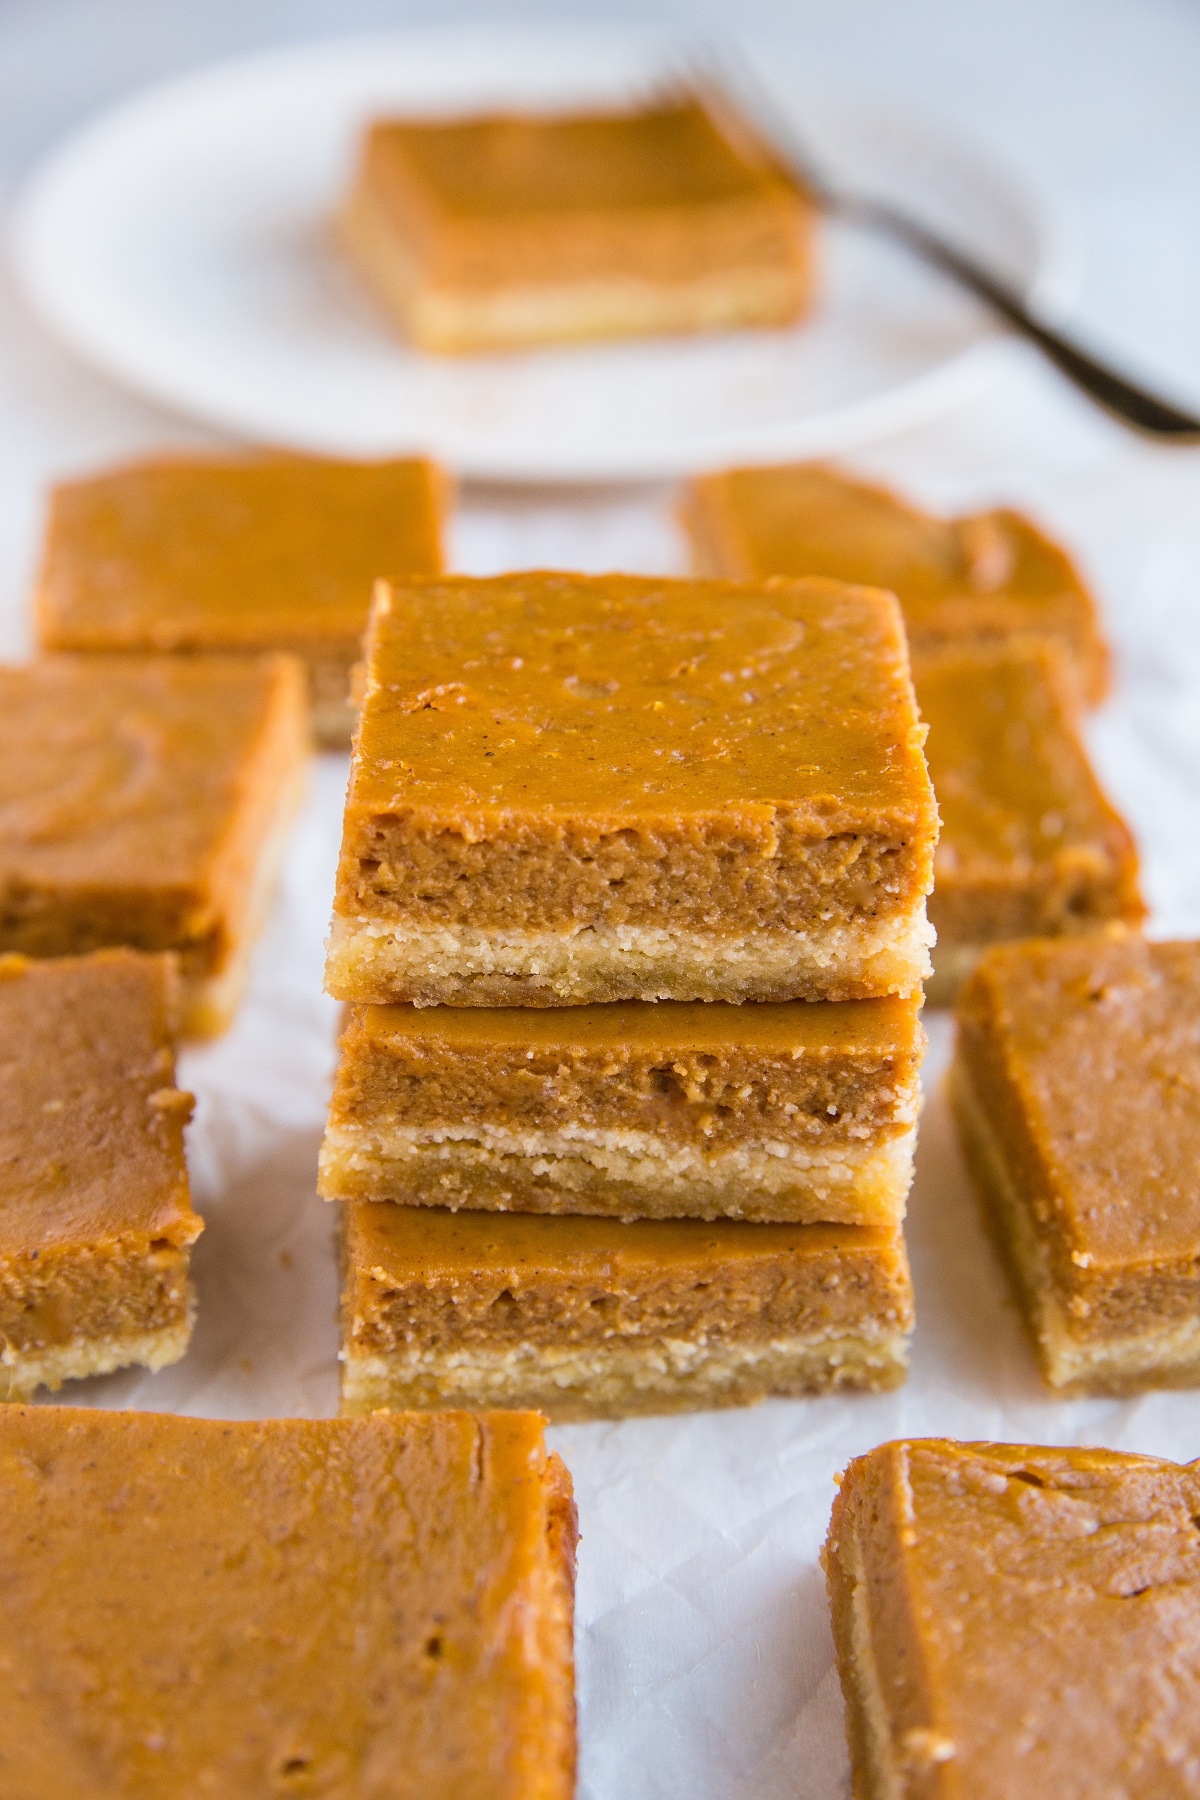
And that’s it! Classic pumpkin pie made easier and healthier with a few simple ingredient swaps.
Looking for more fall-inspired treats to share, or Thanksgiving dessert recipes for planning your holiday menu? Here are some ideas.
More Thanksgiving Dessert Recipes:
- Vegan Bourbon Orange Sweet Potato Pie
- Paleo Pumpkin Cheesecake
- Dairy-Free Keto Pecan Pie
- Vegan Pumpkin Snack Cake
- Gluten-Free Apple Bundt Cake
Whip up these well-loved paleo pumpkin bars the next time the craving for pumpkin flavor strikes or you’re entertaining guests.
Paleo Pumpkin Pie Bars
Equipment
Ingredients
For the Crust:
- 2 cups finely ground almond flour
- 2 Tbsp pure maple syrup
- 3 Tbsp coconut oil melted and cooled
- 1 large egg well-beaten
- 1/4 tsp sea salt
For the Filling:
- 1 (15-oz) can pureed pumpkin
- 1/2 cup full-fat canned coconut milk
- 1/2 cup pure maple syrup
- 2 large eggs
- 1 tsp pure vanilla extract
- 2 tsp pumpkin pie spice
- 1/4 tsp sea salt
Instructions
Make the Crust:
- Preheat the oven to 350 degrees F and line a 9” x 9” baking pan with parchment paper.
- Add the almond flour, sweetener, sea salt, and coconut oil to a mixing bowl and stir well. Stir in the well-beaten egg until a thick dough forms.
- Transfer the dough to the prepared baking pan and press into the bottom of the pan into an even layer. Use a fork to poke many holes in the pie crust dough to ensure it doesn’t bow up while baking.
- Bake on the center rack of the preheated oven for 10 to 15 minutes, until you notice a small amount of color around the edges. Remove the pie crust from the oven and allow it to cool for at least 5 minutes.
Make the Pumpkin Filling:
- While the pie crust is baking, prepare the pumpkin pie filling. Transfer the ingredients for the filling to a blender and blend until smooth and combined.
- Pour the pumpkin filling over the pie crust and smooth into an even layer.
- Bake in the preheated oven for 50 to 60 minutes, until bars appear as though they have set up.
- Remove bars from the oven and allow them to cool completely. Transfer to the refrigerator and chill for at least 45 minutes before slicing and serving.
Video
Notes
Nutrition
This post contains affiliate links, which means I make a small commission off items you purchase at no additional cost to you.
I originally shared this recipe on November 24, 2020. I added more information and updated the photographs, but the recipe itself remains the same.



How far in advance can I make these bars? Will they stay fresh for two-three days without freezing? I like to get as much done in the days before Thanksgiving so it’s easier on the actual day! Thank you!
Hi Erin! The bars will stay fresh for 5 days after preparing them. I would keep them stored in the refrigerator, as they should be served cold 🙂 Hope you enjoy!
Would reduced fat canned coconut milk work ok?
Hi Shelley! For the best texture and flavor, I’d recommend sticking with full-fat canned coconut milk 🙂
I tried this recipe with King Arthur’s Organic Whole Wheat Flour and it came together nicely! The only think I had to change was I needed about 10 tbsp of coconut oil it seemed 😅 don’t take my work for it on the exact amount. Just kinda keep adding some until it clumps together. I honestly should have probably added a little more bc after I baked it, the crust was very firm to cut through. But it wasn’t tough to bite through. Probably should have used a pie cutter 🙈 that would have been easier. Definitely bake for the max amount of time, though! I did only 50 mins and after chilling, the filling was very soft still, so I’m gonna try the full 60 next time 😊
Thanks so much for sharing your experience, Melissa! This is super helpful to others who want to change up the flour selection 🙂