An easy tutorial on how to make pickled peppers at home. This fun and simple recipe is perfect for those who are new to canning and enjoy a little spice, or for canning aficionados as well as those who grow their own vegetable garden.
Once upon a time, I wrote A Guide to Hot Sauces for the website, Oh My Veggies, which was quite the spicy episode.
I procured an armful of hot sauces and chilies so that I could snap photos for the post, which resulted in lots of excess hot sauce…and chilies.
Because hot sauce keeps for eternity and I use it frequently, I had no question about how all the bottles would be used. Put it on everything. Drink it down, son!
I did, however, wonder what to do with all the chilies. Stuff them, similar to my Cream Cheese Stuffed Baby Bell Peppers?
What about the habaneros? What in the world will I do with the habaneros?
I came across this recipe from Eating Well (formerly Cooking Light) for Hot Pepper Vinegar, which is what inspired me to make quick pickled peppers.
The process of making quick pickles is simple.
All you need is some mild or hot peppers like jalapeno peppers, banana peppers, red chiles, etc., some garlic cloves, a couple cups vinegar, water, sugar, salt, and storage jars like mason jars.
If you grow a garden, making pickled peppers is a great way of preserving your garden goodies.
Let’s dive into the details.
I promise I won’t make any Peter Piper jokes.
Ingredients for Pickled Peppers:
Peppers and Chiles: Choose your favorite small peppers based on your heat preference. Banana peppers and jalapeño peppers are relatively mild compared to the fire that is the hotter peppers like habaneros and serrano peppers, so chose wisely.
As you can see in the photos, I chose several varieties of peppers. You can go with different types of peppers or stick with one variety.
For large peppers like green peppers or red bell peppers, simply cut the peppers into smaller chunks so that they will fit into the jar easily.
Vinegar and Water: The liquid we use to preserve the pickled peppers is a combination of white vinegar (rice vinegar works too) and water. The ratio of vinegar does matter for preservation purposes.
Garlic Cloves: A few fresh cloves garlic adds lovely flavor to this home canning project! You can also add red onions or yellow onions to this easy recipe if you’d like.
Kosher Salt: A natural preservative, you can add sea salt or iodized salt to your personal taste. I only add about 1/2 teaspoon.
Sugar and Pickling Spices: While optional, both sugar and pickling spices bring flavor to quick pickle brines. Pickling spices include whole peppercorns, mustard seeds, coriander seeds, and sometimes cloves.
How to Make Pickled Peppers:
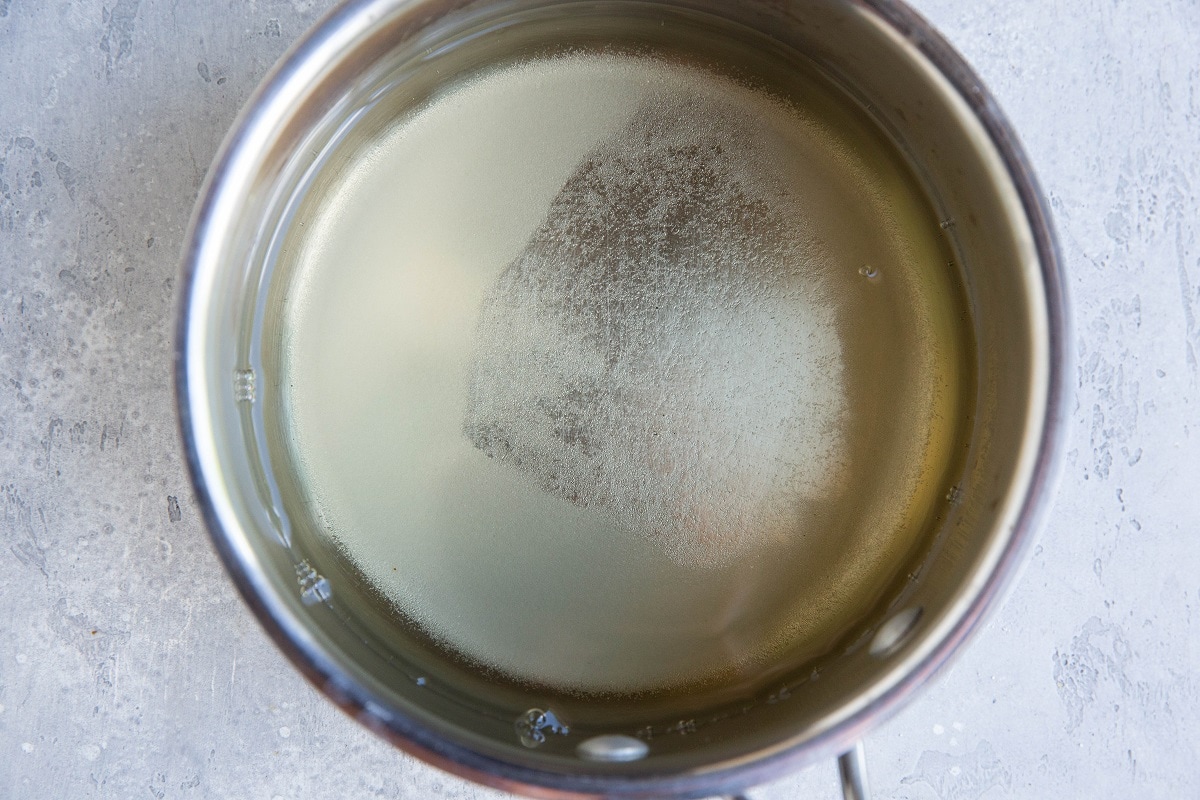
Begin by preparing the hot brine. Add the vinegar, water, sugar and any pickling seasonings to a small saucepan and bring it to a full boil.
Remove the brine liquid from the stove top and allow it to cool.
Put on some disposable gloves and wash peppers well under lukewarm water. You can either leave the peppers whole, slice them in half, or slice peppers into small pieces using a paring knife on a cutting board.
If you’re minimizing the spice level, be sure to remove the seeds and membranes of the peppers. You won’t need to worry about this when using sweet peppers like shishito peppers.
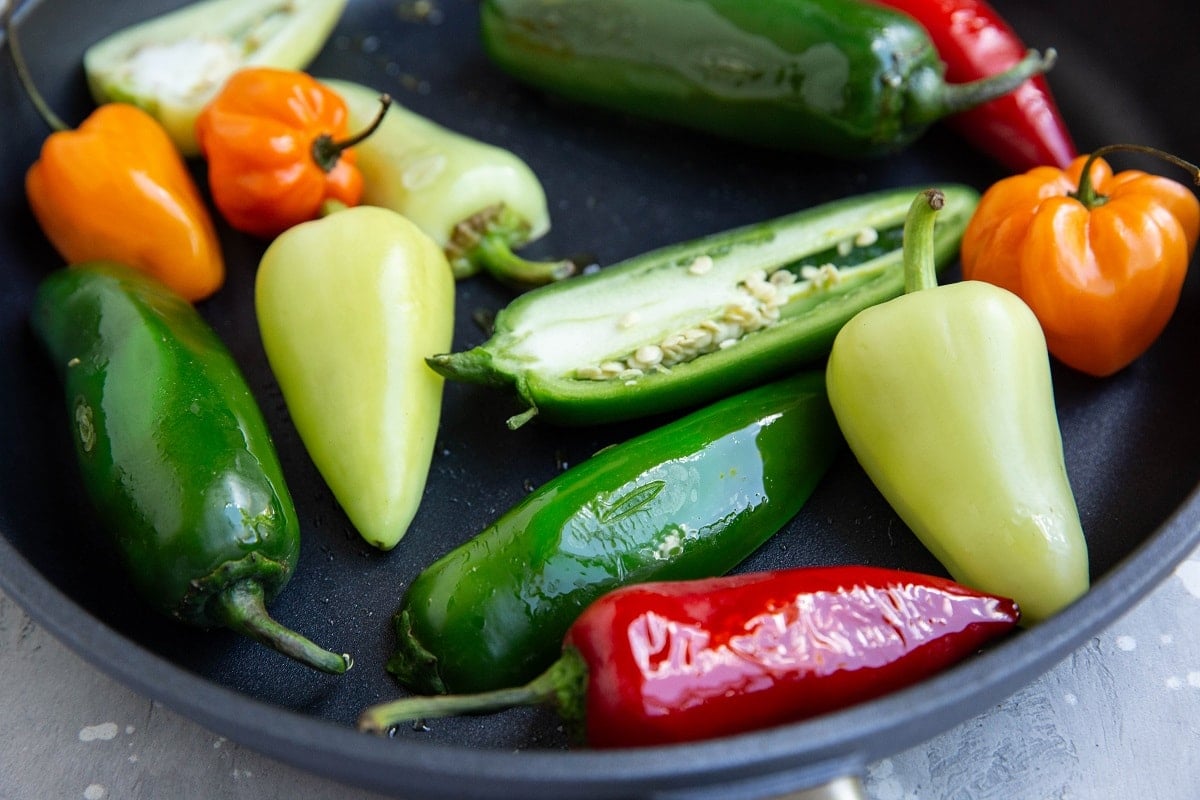
Pre-cook the peppers to open up the flavor of the chilis and ensure they soften up during the pickling process. To do so, heat 1 to 2 tablespoons of avocado oil or olive oil in a large skillet over medium heat.
Place peppers (either whole peppers or sliced peppers) on the hot skillet and sauté, stirring occasionally, until they begin to soften, and the skin begins to turn brown.
As an alternative, you can roast the chilis in the oven on a baking sheet at 400 degrees F for 20 minutes in the hot oven. You can also use the broiler method and broil the peppers for 5 to 8 minutes in the oven.
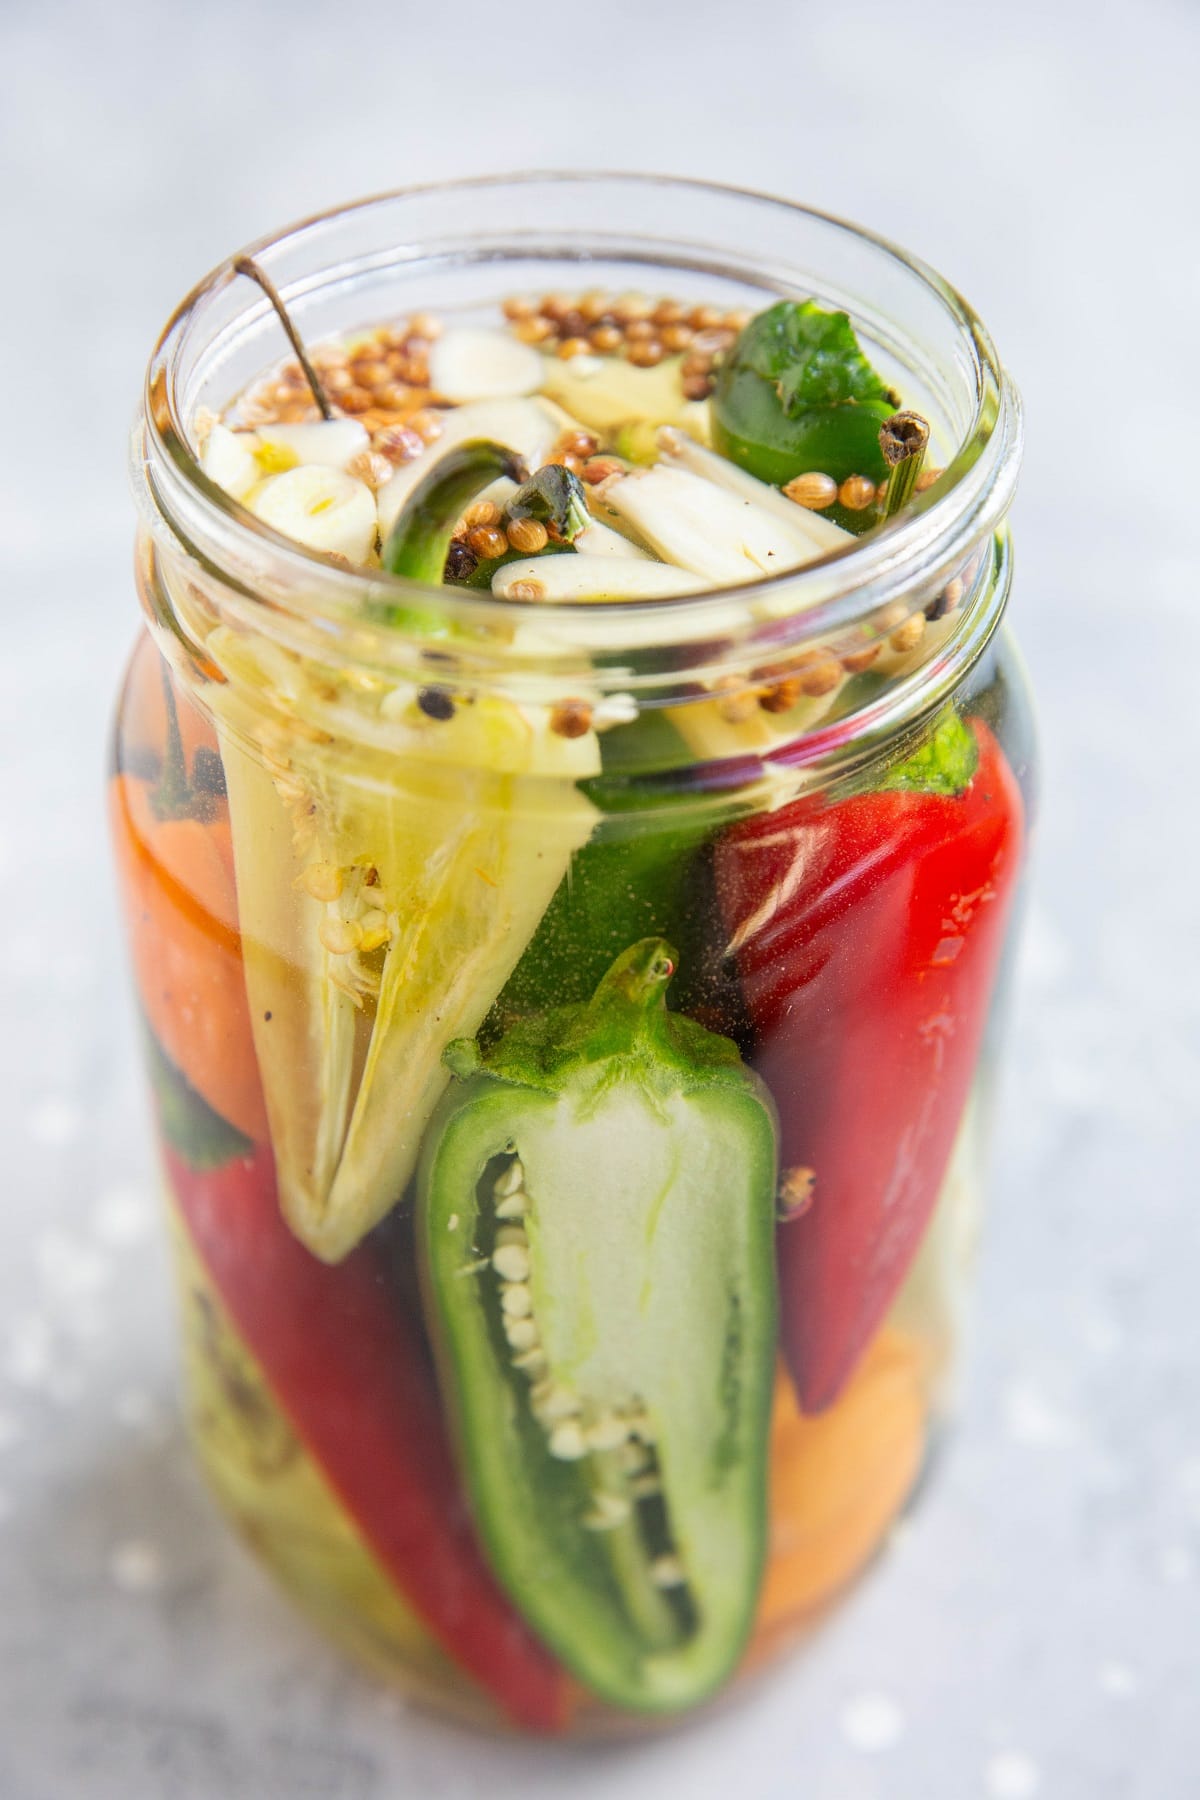
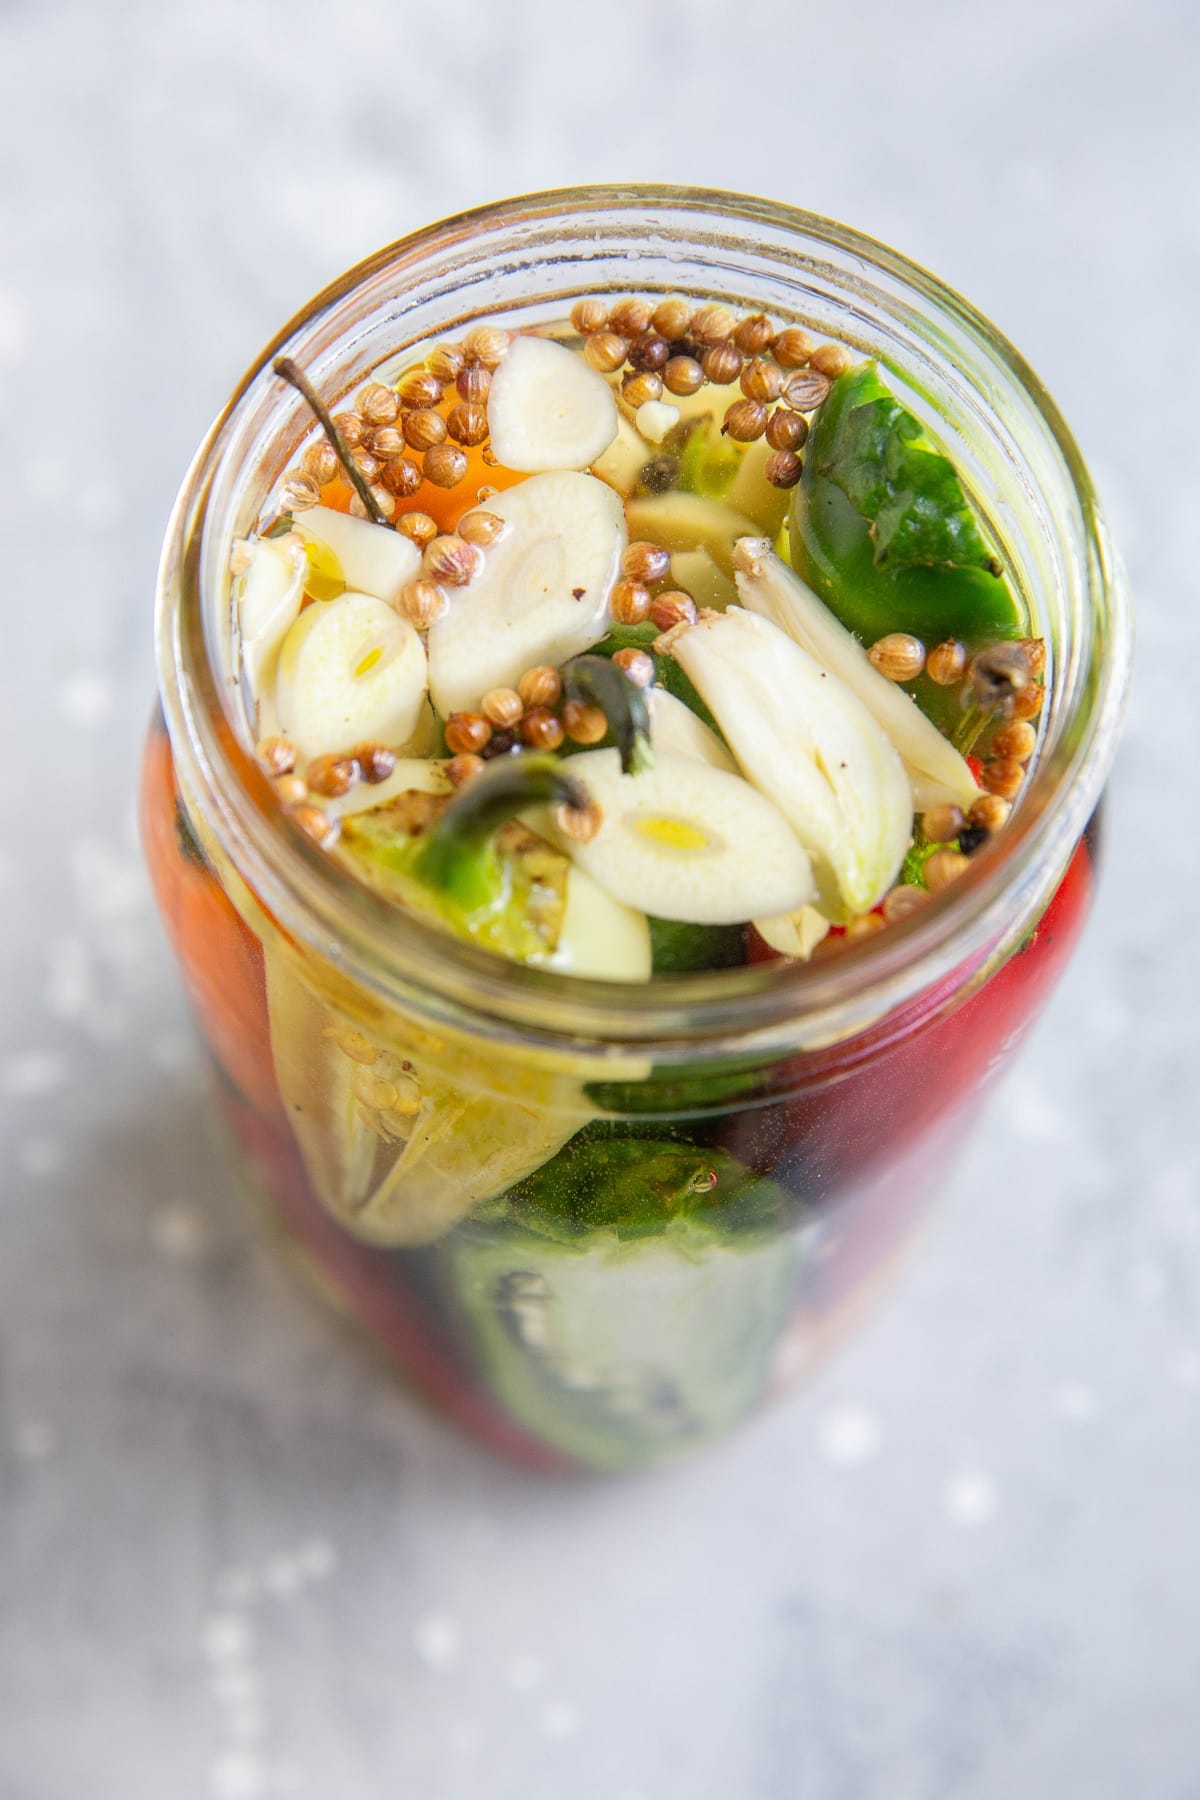
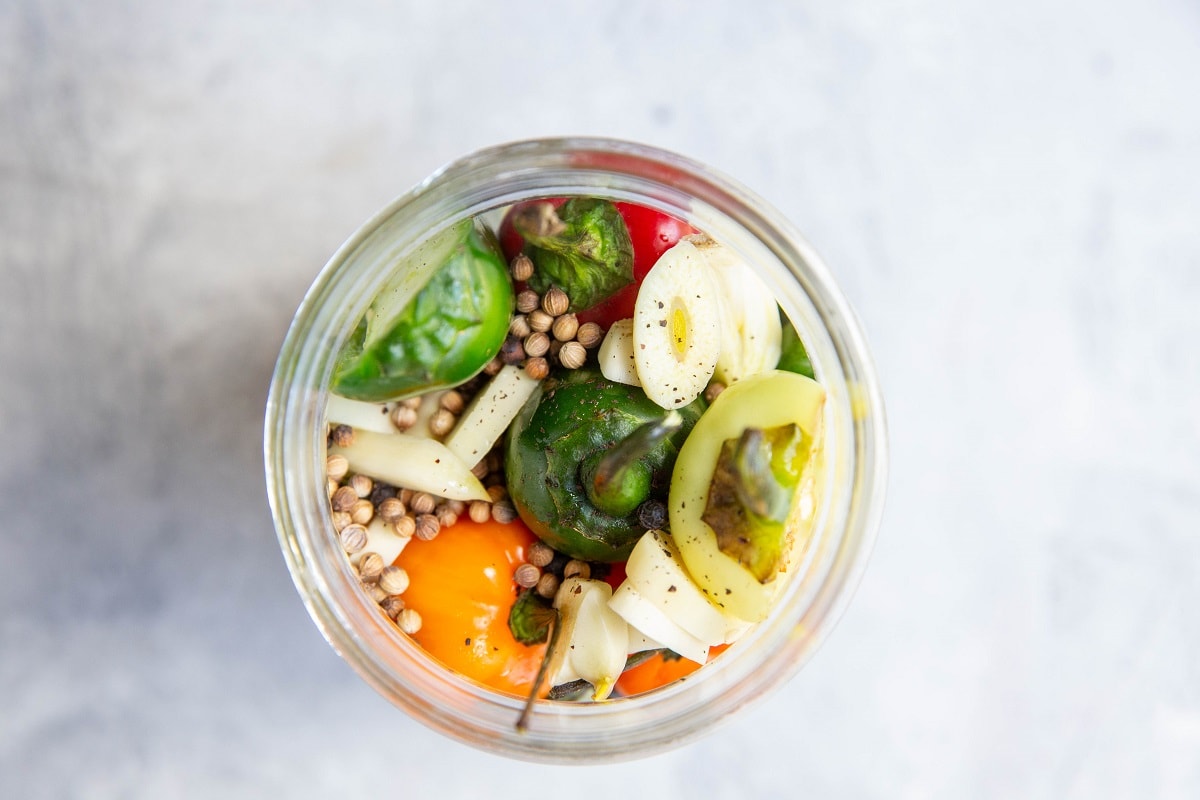
Pack peppers into two 1-quart sanitized jars, or four sterile half pints. Add in the remaining ingredients (sliced garlic and pickling spices).
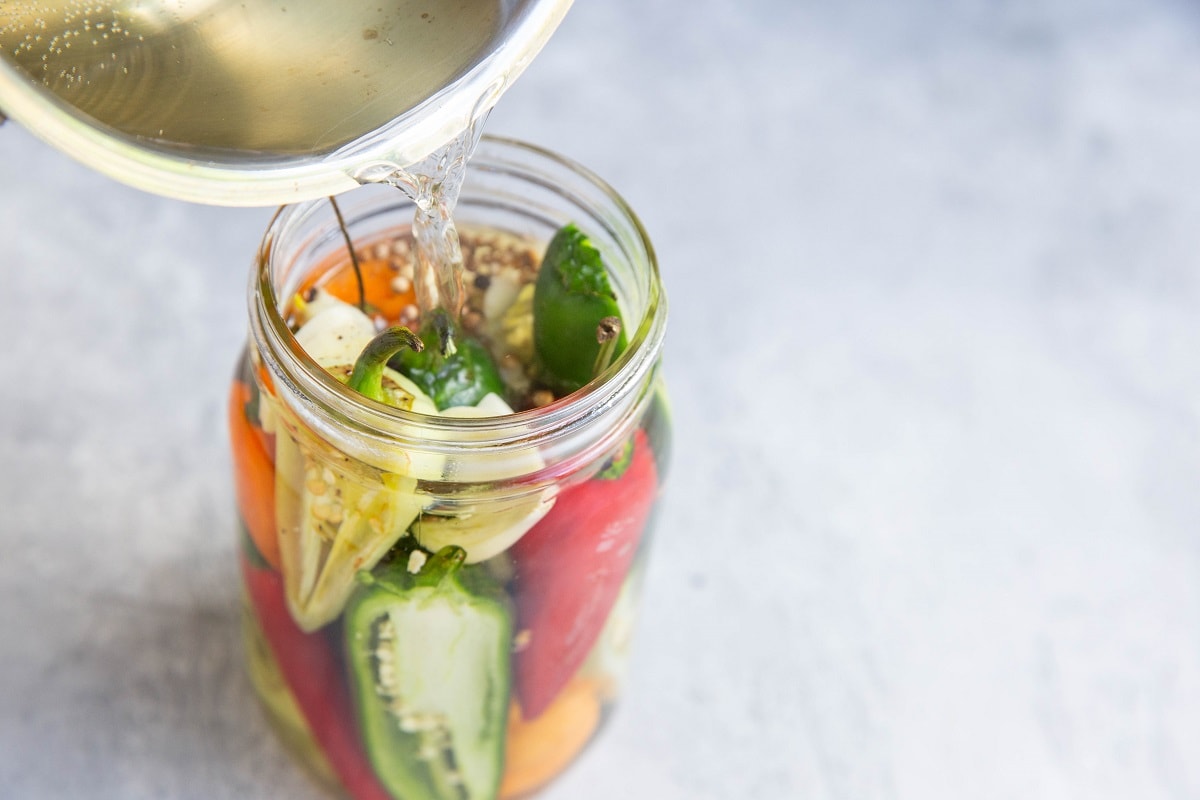
Pour the vinegar solution mixture over the peppers, filling the jars up to the top. Seal the jars tightly with an airtight lid, then refrigerate.
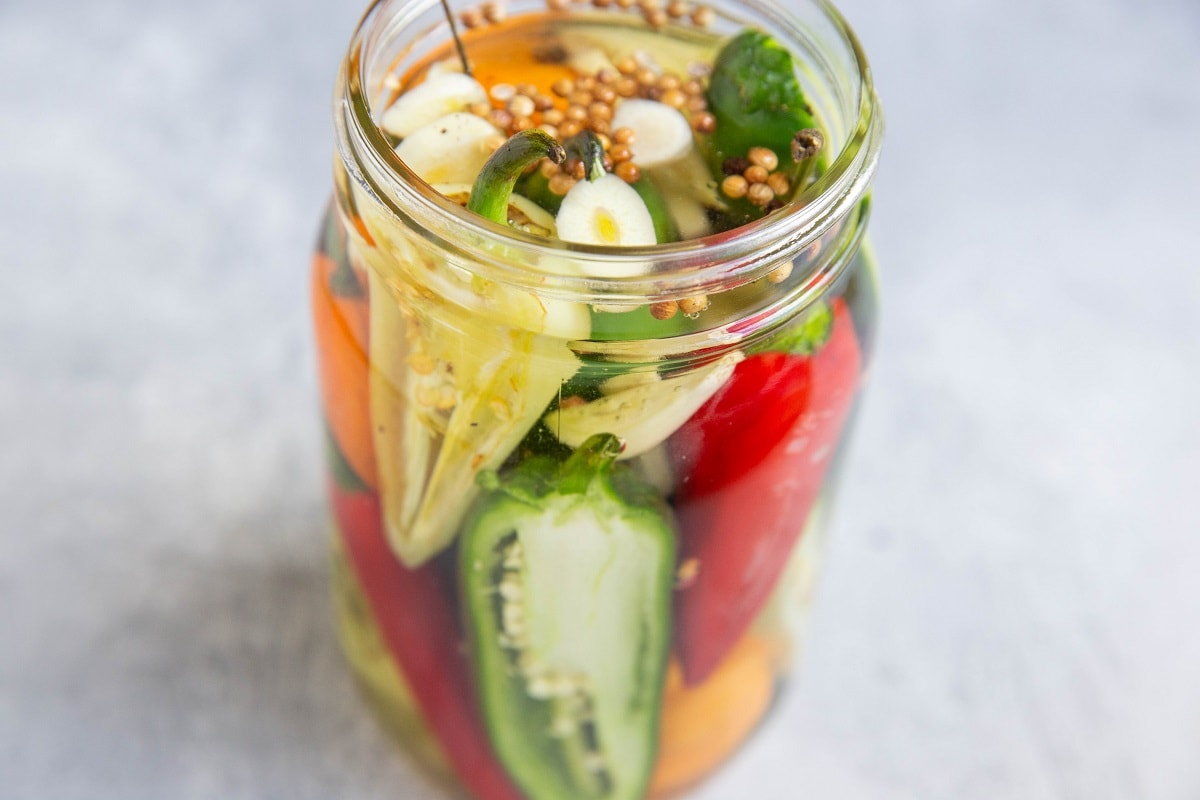
I usually give them at least a couple of days before cracking open the jar, but the prepared peppers taste even better after they have been sitting for a week or so.

Remember, this is a quick pickled peppers recipe and is not intended for long term storage.
If you intend to make long, use sterile half-pint jars, and use the range-top method for completing the canning process.
Tips for Preparing This Recipe:
Before you handle any hot peppers, be sure to wear gloves. If you’ve ever gotten capsaicin on your hands, you know it has a tendency to stay even after thoroughly washing your hands.
It can cause your eyes (and other body parts) to burn when touched, so be sure to put on those rubber gloves and wash hands very well after preparing the recipe.
While you can pickle the peppers raw, I don’t recommend this as they will stay very snappy and the flavor won’t be quite as developed.
For the best results, give the peppers a little pre-cook, be it a quick sauté in the skillet or a roast in the oven.
The longer you allow the pickled peppers to sit in the refrigerator, the softer they become.
How to Store Pickled Peppers:
Make sure you’re using a sanitized jar (or jars) for pickling the peppers. Once the peppers are in the jars with the pickling liquid and are nice and sealed, you can store them in the refrigerator for several months unopened, or up to 1 month if you continuously open the jar to use the peppers.
This recipe is similar to refrigerator pickles and is not intended for long-term storage.
If you’re familiar with the canning process, you can go through your typical steps of using a boiling water bath to sanitize jars so that the pickles last even longer in the pantry.
What to Do with Pickled Peppers:
I use pickled peppers almost exclusively for sandwiches because I find them to be so tasty on a good sandwich!
I also love having pickled peppers as an option for charcuterie boards for my friends who love lots of flavor or spice.
Here are some more ideas for what you can do with these easy pickled peppers:
- Chop them up (if they aren’t chopped already) and put them in a quesadilla, burrito, or taco.
- Blend pickled peppers with other ingredients such as fresh tomatoes and onion to make salsa.
- Chop them up and put them on pizza or flatbread.
- Add pickled peppers to a salad.
- Make your own hot sauce.
Looking for ways you can customize your own pickling experience? Here are some ideas.
Recipe Adaptations:
- Add 1 tablespoon of a store-bought pickling spice blend, or any combination of the following: 1 tsp whole cloves, 2 tsp whole mustard seed, 2 tsp coriander seed, 1 bay leaf, 1/2 tsp red pepper flakes.
- You may also add more sugar for sweeter pickled peppers or omit the sugar altogether. You can also replace the sugar with coconut sugar or pure maple syrup.
- Sauté up an onion for a two-in-one pickled pepper and pickled onion fiesta.
- Omit the garlic if you don’t have any on hand.
- Add a few nubs of fresh ginger.
Let your hair down and enjoy the pickling process! Get creative with your additions to make the best pickled peppers on this green Earth.
Have fun adding these spice nuggets to any dish to spice it up! Whatever tickles your pickle. Couldn’t resist.
How to Make Pickled Peppers
Ingredients
- 1 Tbsp olive oil*
- 12 ounces chilies of choice about 4 cups
- 6 cloves garlic sliced in half
- 2 cups white vinegar
- 1/2 cup water
- 1 Tbsp sugar**
- ½ teaspoon salt
You Will Also Need:
- 1 to 2 1- Quart Mason Jar
Optional Add-Ins:
- 1 bay leaf
- 1 to 2 tsp whole coriander seed
- 1 to 2 tsp cloves
- 1 to 2 tsp peppercorns
- 1 to 2 tsp whole cumin seed
- 1 to 2 tsp whole mustard seed
Instructions
- Heat the vinegar, water, sugar and salt in a small saucepan until sugar and salt is dissolved. Once the sugar has dissolved, remove the pickling liquid from the stove top and allow it to cool while you're preparing the rest of the recipe.
- In a large skillet, heat the oil over medium-high and add the chilies and garlic. Sauté, stirring frequently until softened, about 5 minutes. Allow the chilies to cool enough to handle.
- Add the chilies and garlic to a sanitized 1-quart sized jar (or 4 smaller mason jars).
- Note: If desired, slice some of the chilies in half length-wise in order to infuse the vinegar with chili spice and flavor.
- Pour the water/vinegar mixture over the chilis and allow the contents of the jar to cool to room temperature. Seal the jar and refrigerate. Pickled peppers will stay fresh in an air-tight jar for up to 1 month.
Video
Notes
Nutrition
This post contains affiliate links, which means I make a small commission off items you purchase at no additional cost to you.
I originally published this recipe on June 25, 2014. I updated the photographs and added more information to make the recipe even easier to follow.


Jump to Recipe doesn’t work! That irks people!
Hi Stan! It’s working for me on all devices 🙂 Let me know if you try it again and are still getting the same result.