How to Make Probiotic Ginger Beer – a naturally fermented probiotic drink that is packed with health benefits. This article includes a photo tutorial, information on secondary fermentation, flavoring your ginger beer, and troubleshooting when the process goes awry.
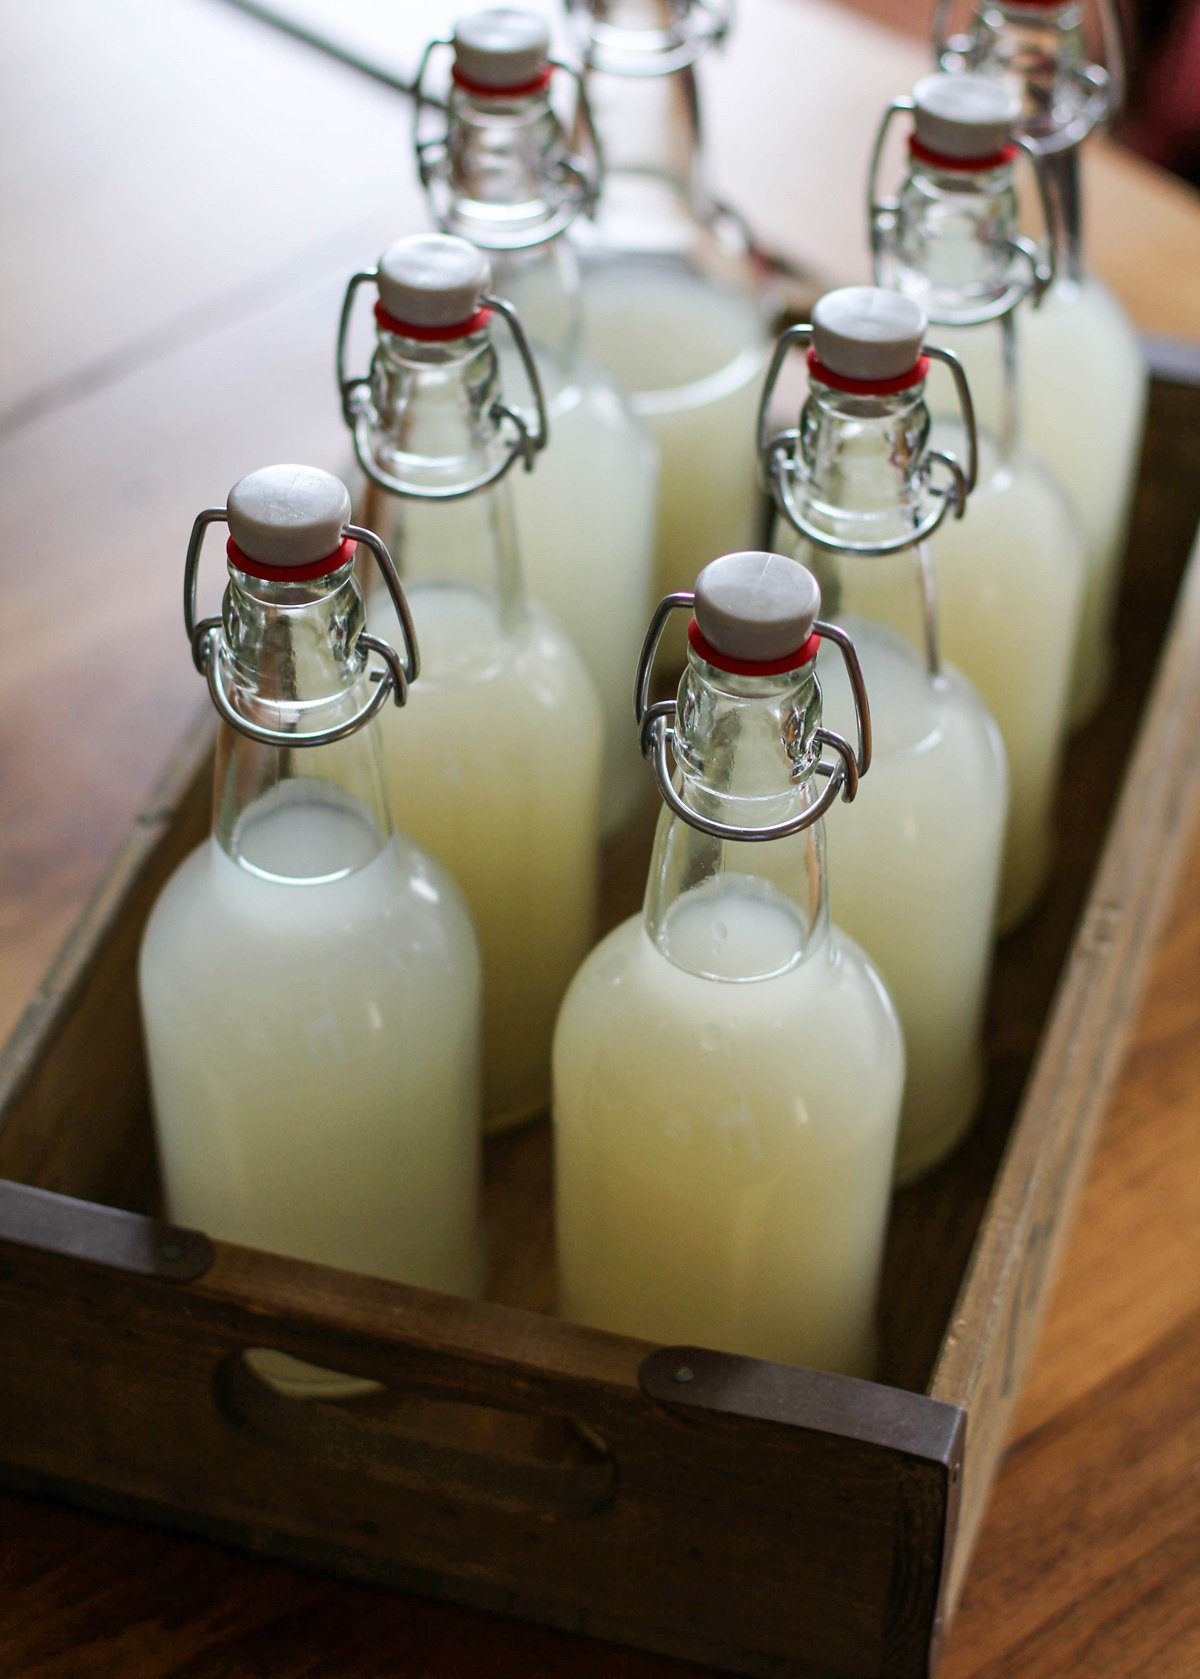
Disclaimer: brewing probiotic beverages at home can be risky. When fermenting probiotc foods and beverages, use caution. Always use sanitized tools and when in doubt, throw it out! If you notice any strange smells or mold, be sure to discard the whole batch.
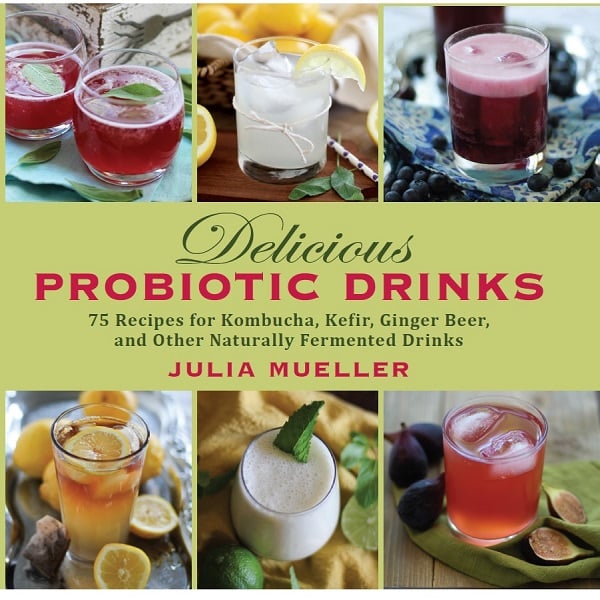
Many moons ago, I wrote a cookbook called Delicious Probiotic Drinks. This cookbook is focused entirely on making probiotic-rich beverages such as kombucha, kefir, ginger beer, fermented vegetable juice, and more, at home.
My favorite of all the fermented beverages to make is ginger beer. First and foremost, it is magnificent tasting.
Secondly, it is CHALLENGING.
Perhaps the most challenging and unforgiving of all the fermented drinks.
And for that reason, the most rewarding.
For those of you who have been around this site for a long time, you may remember my easy tutorial on How to Make Ginger Beer.
This is the goof-proof method that works each and every time and does not require much time or attention.
This version of probiotic ginger beer is different. It involves preparing a “ginger bug” (or ginger starter) from scratch.
How does that work?
Probiotics and yeast are naturally occurring everywhere. They are in our fruit and vegetables and are also present in the air. Giving these probiotics and yeast optimal conditions to grow and reproduce results in fermentation.
You’re already familiar with this concept, as it is the same process for creating yogurt, cheese, beer, wine, pickles, prosciutto (and other fermented meats), etc.
Applying this idea to fresh ginger is how we create a ginger starter, which is then used to make ginger beer.
Don’t worry…I’ll go over how to make a ginger starter in excruciating detail later on in this post. First, let’s cover some basics.
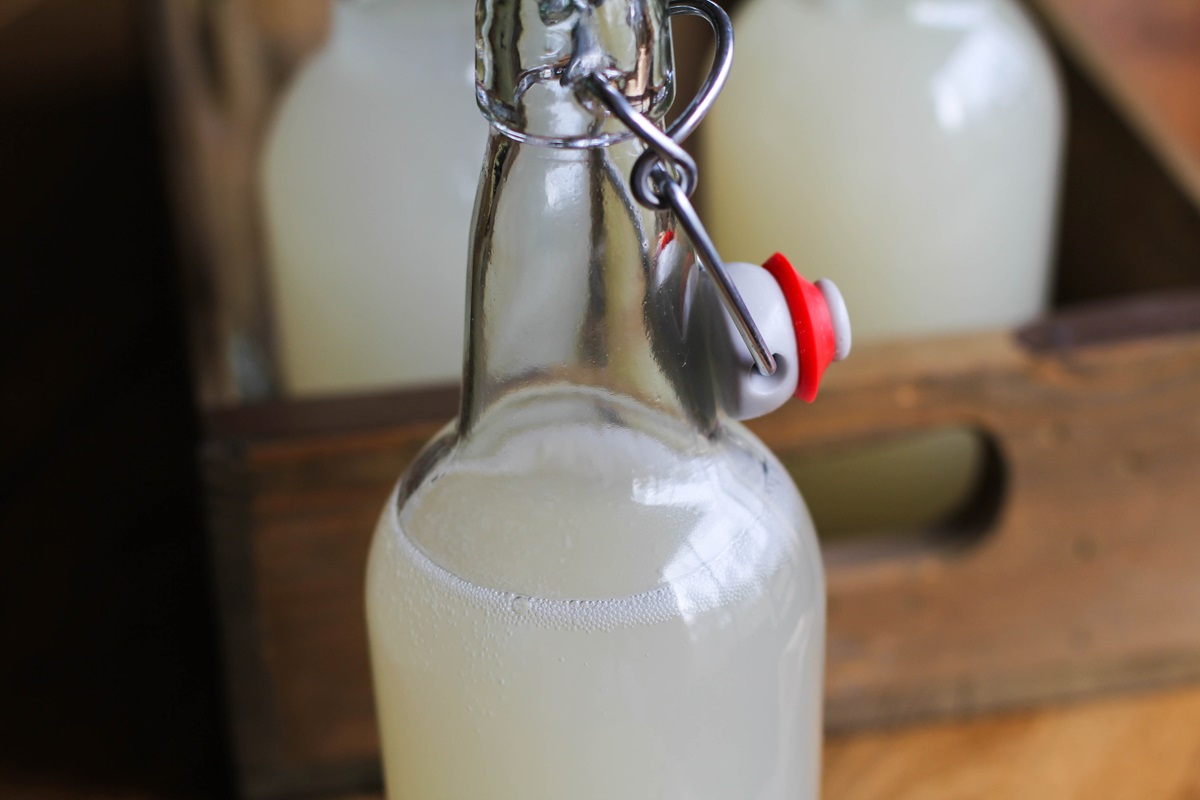
WHAT IS GINGER BEER?
Ginger beer is a naturally fizzy beverage with a sweet and spicy bite. Grated ginger is fermented in sugar water and lemon juice, allowing the natural yeasts in ginger to feed and multiply, creating a probiotic beverage.
While ginger beer is a sweet, spicy, delicious beverage all on its own, it is famous for its role in cocktails, particularly the Dark & Stormy cocktail, a mixture of ginger beer and rum, garnished with a slice of lime.
WHAT IS THE DIFFERENCE BETWEEN GINGER BEER AND GINGER ALE?
The phrases, “ginger beer” and “ginger ale” are typically used interchangeably, but there is a difference between the two beverages. Ginger beer is fermented for up to 2 or 3 weeks using a “ginger bug,” where ginger ale is more of a ginger flavored soda.
While there are ginger ale beverages made with real ginger, most ginger ales are simply carbonated water with ginger flavor and sugar. In this sense, ginger ale does not go through the same fermentation process that ginger beer does.
METHODS FOR MAKING GINGER BEER
There are multiple ways to make ginger beer. Here are three of the most common methods:
- Non-probiotic ginger soda/ale: For those who aren’t concerned about the probiotic benefit of fermented ginger beer, you can simply combine ginger simple syrup (made with ginger and sugar) with soda water and achieve a great-tasting homemade beverage. This version contains no probiotics and is basically fancy soda.
- Quick and Easy Ginger Beer with some probiotic benefits: This fast method uses bread yeast for fermentation and requires only two days to complete. For this version, read my blog post on How to Make Ginger Beer. This version is not as probiotic rich, but is still lower in sugar than regular soda.
- Authentic Probiotic Ginger Beer – a health elixir: The authentic method for making fermented ginger beer is outlined in this post. It uses a probiotic-rich “ginger bug” (or ginger starter) which you make yourself at home. Like most things in life, the authentic version takes much longer than the easy version, but also yields great results. This version can take between 2 and 3 weeks to complete.
HEALTH BENEFITS OF GINGER BEER
Fermented ginger beer has a great deal of health benefits and is commonly used to ease upset stomach, nausea or diarrhea.
Ginger is an anti-inflammatory, which can help with migraines, and studies show fresh ginger prevents and fights several types of cancer cells including breast, colon, ovarian, prostate, and lung cancer.
Ginger is also known for cleansing the body of toxic chemicals, easing menstrual cramps, and much more!
The probiotics and yeast that grow during the fermentation process help colonize your gut with good bacteria, which helps boost immunity, fight disease, and promotes overall health.
HOW TO MAKE FERMENTED PROBIOTIC GINGER BEER
Fermented probiotic ginger beer requires a three-step process.
Step 1: Make a “ginger bug” or starter using fresh ginger, water, sugar and lemon juice. This starter is used to brew a batch of ginger beer (Step 2). This can take 1 to 2 weeks to complete (depending on the temperature of your home and how active your culture decides to be).
Step 2: Brew a large batch of ginger beer using the “ginger bug.” You could compare this process to making a batch of sourdough bread dough using sourdough starter. This process takes about 1 to 3 weeks, depending on how active your ginger bug is and how warm your home is.
Step 3: Bottle the ginger beer and allow it to ferment further. Once the beverage becomes effervescent (fizzy/probiotic-rich), bottle it and allow it to sit for “secondary fermentation” (more on this below). This process takes about 2 to 5 days.
You Will Need:
- 1-quart glass jar or jug
- Cheesecloth
- Stretchy rubber band
- 1-gallon glass jug
- Flip-Cap Bottles
- Fresh ginger
- Organic Cane Sugar
- 2 to 4 Lemons
Ingredients for the “Ginger Bug:”
- 1-inch nub fresh ginger, peeled and grated, plus more for feeding the starter
- 1 tablespoon raw organic sugar, plus more for growing the starter
- 2 cups water
Instructions for the Ginger Bug / Ginger Starter:
Peel and grate a 1-inch nub of fresh ginger (about 1 tablespoon).
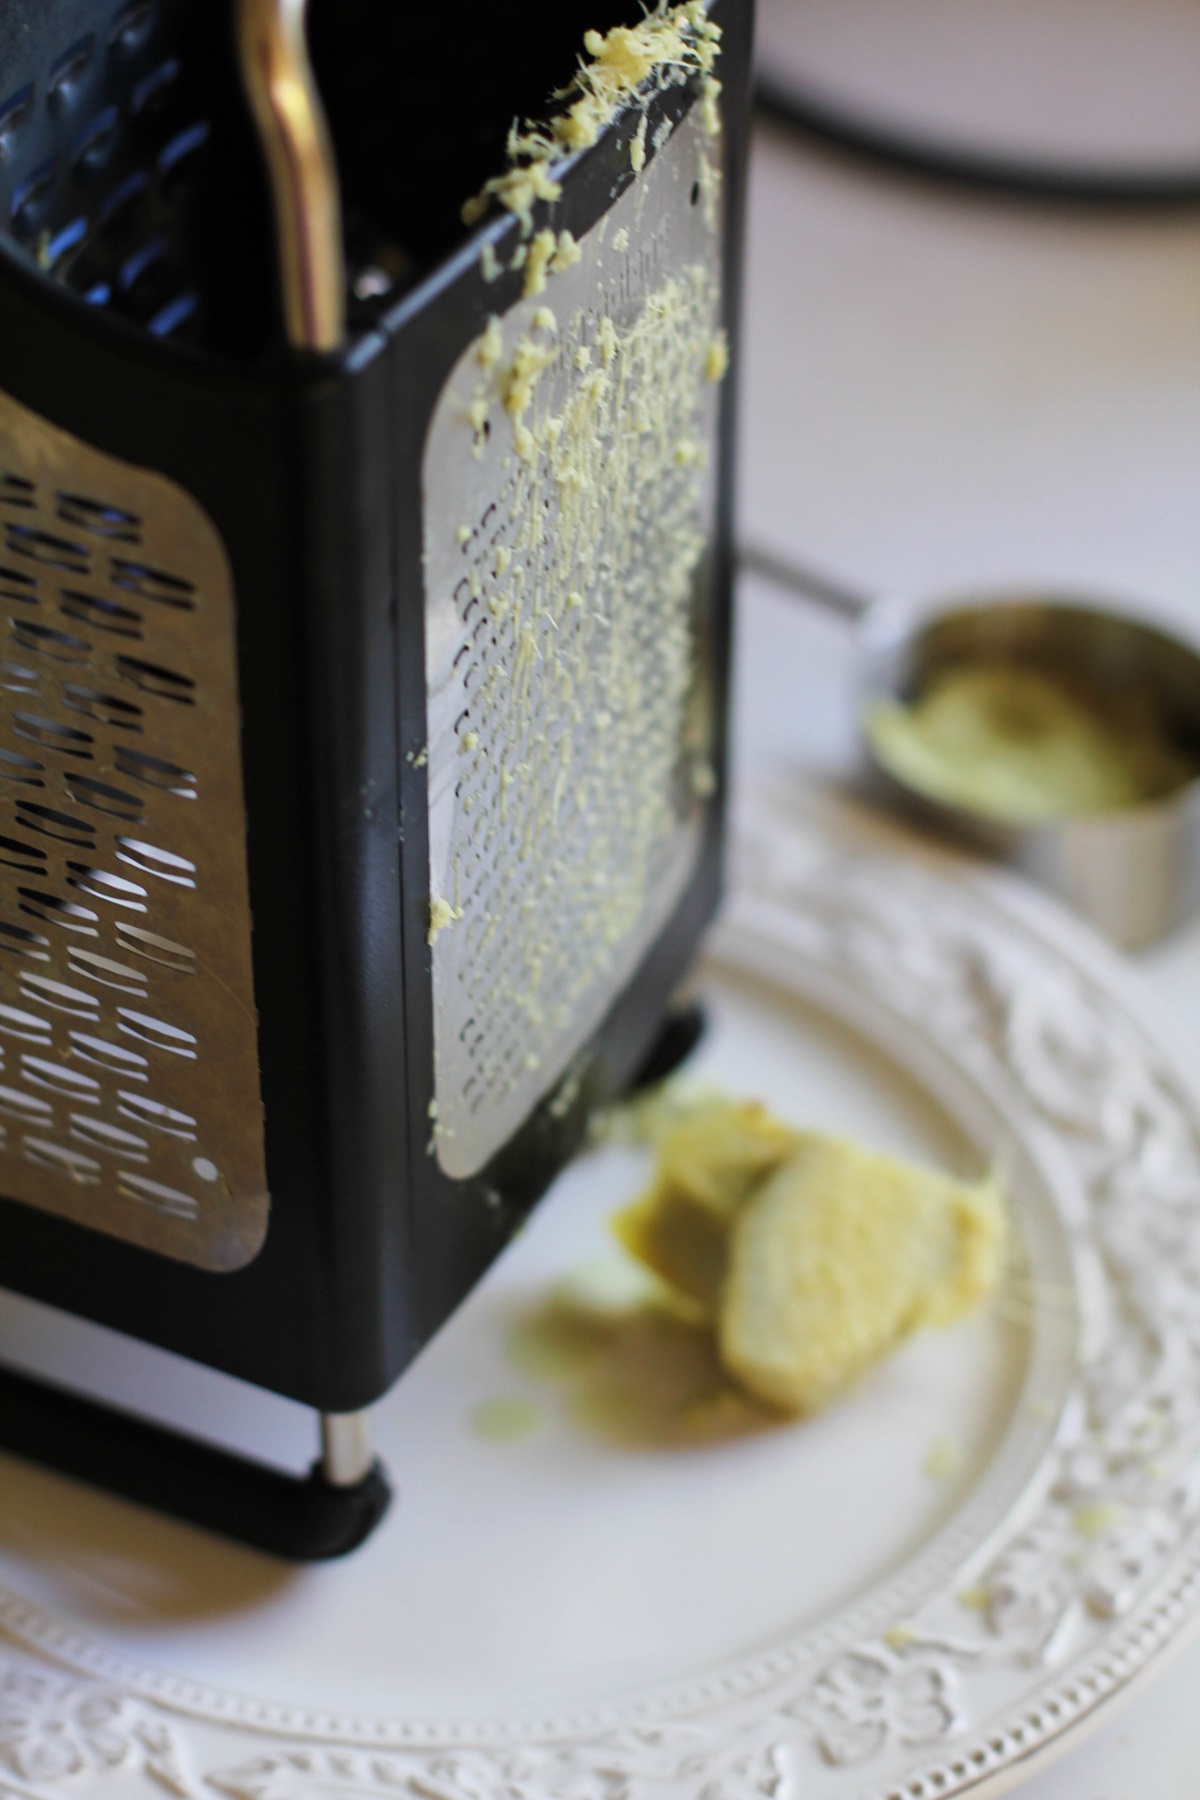
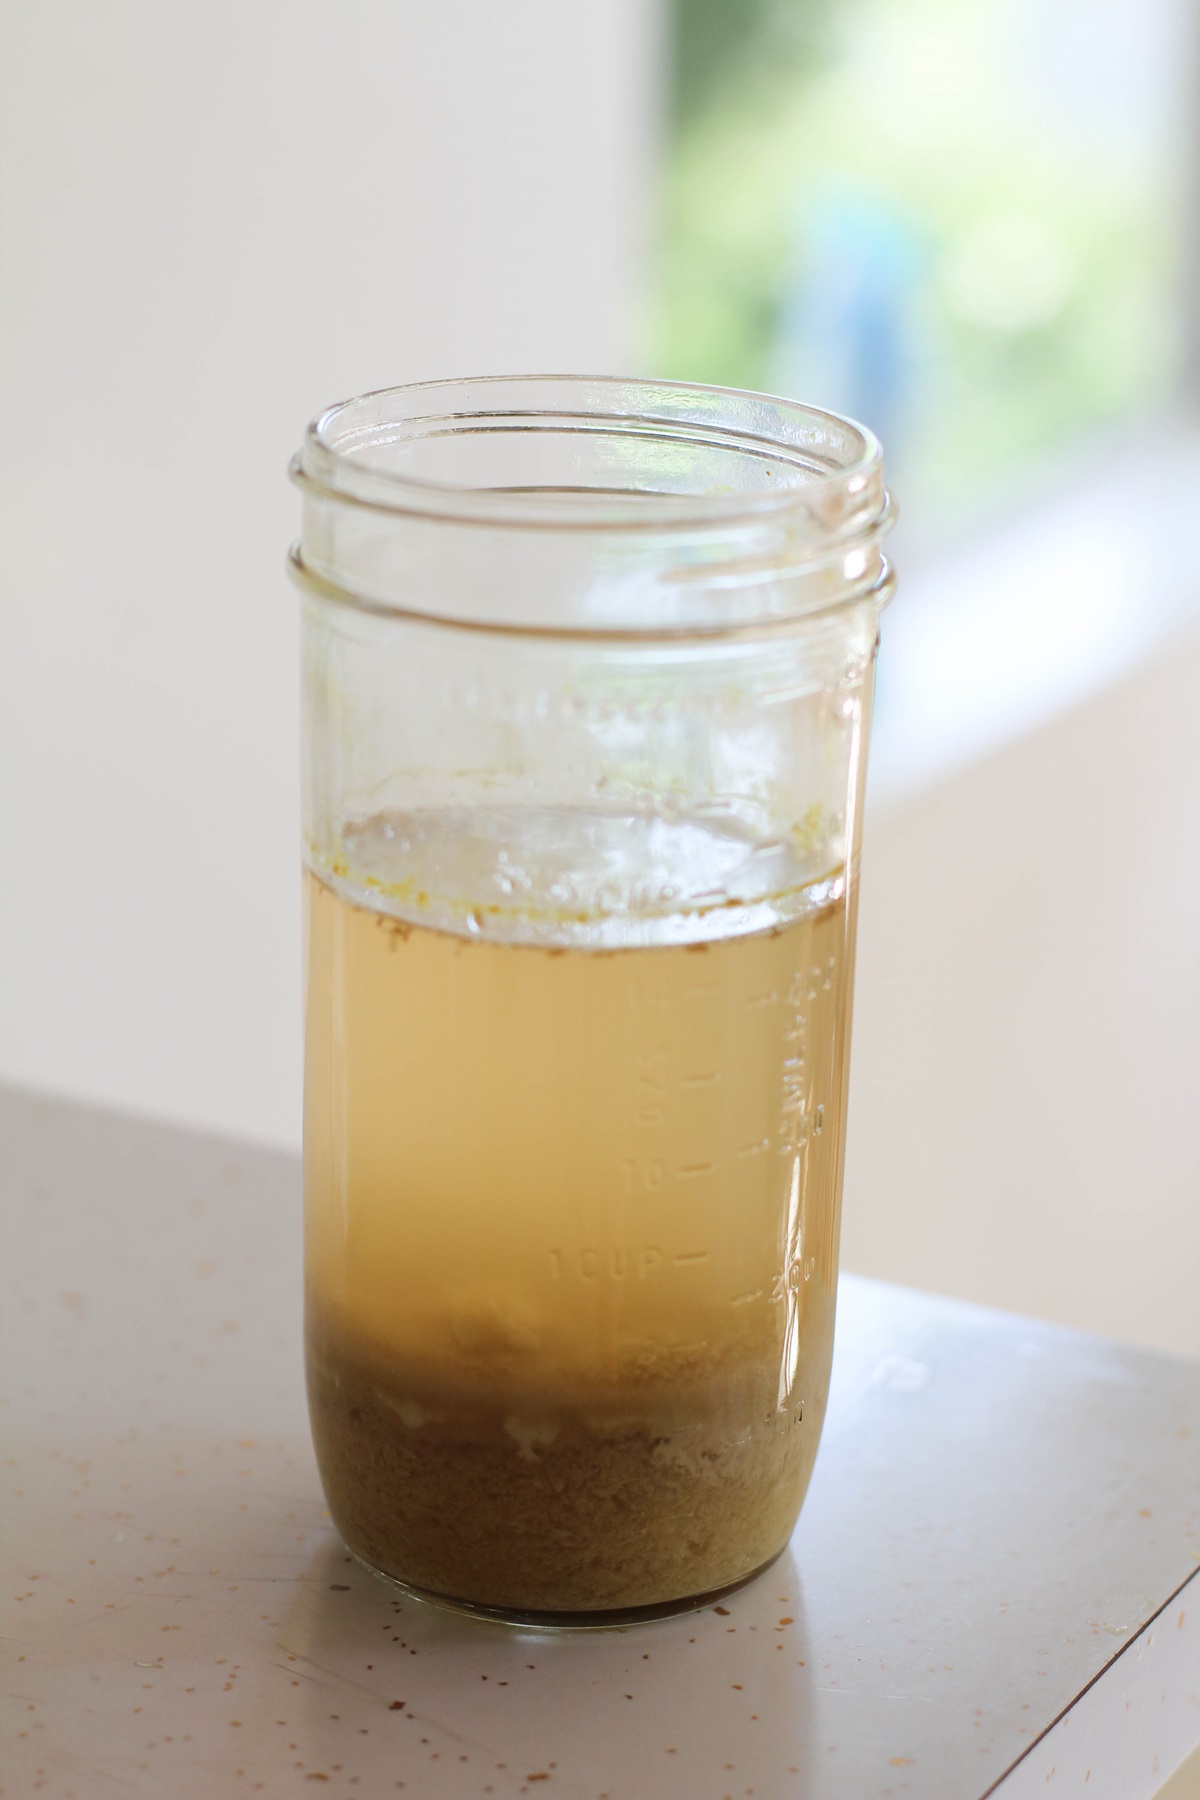
Add the grated ginger, 1 tablespoon of sugar, and two cups of filtered water or spring water (non-chlorinated) to the jar and stir (a 1-quart jar works great).
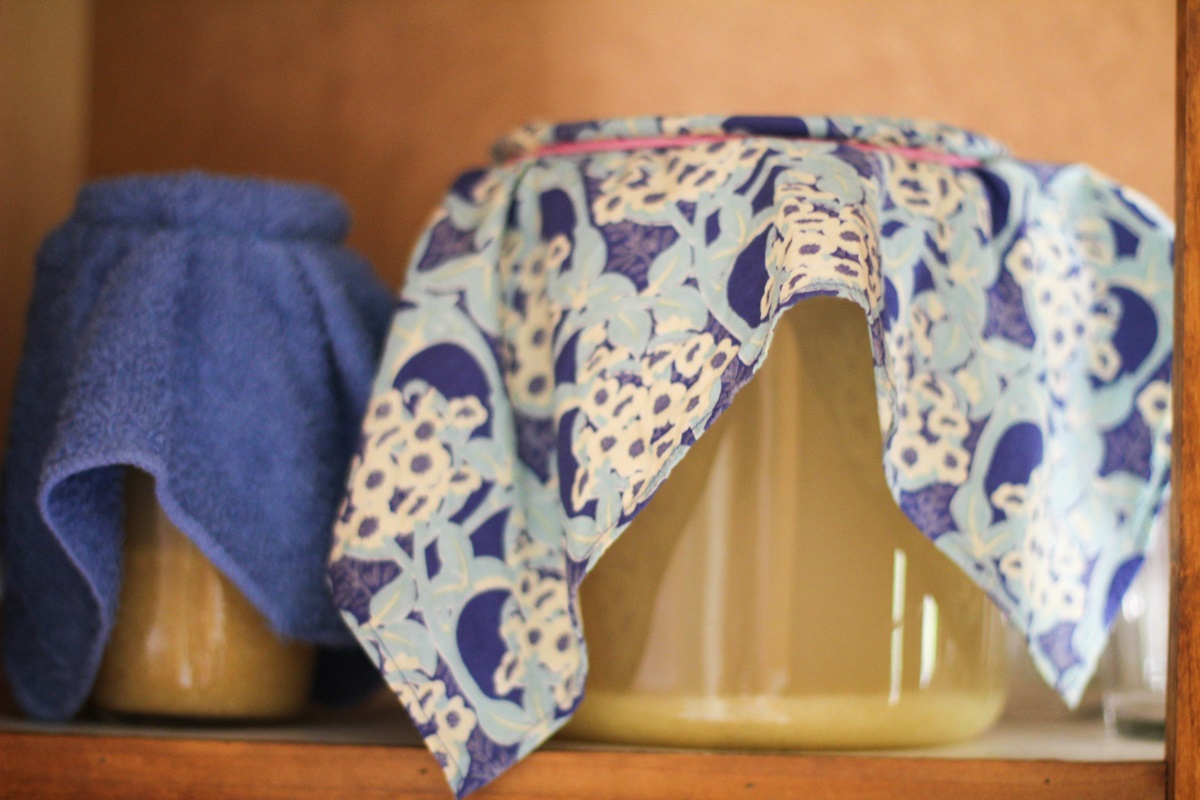
Cover the jar with a cheesecloth or towel. Secure the cloth around the jar with a rubber band. This keeps insects away from the starter.
Allow jar to sit in a warm, dark place for 24 hours. The optimal temperature for preparing the ginger starter and brewing ginger beer is between 70 and 85 degrees.
If your house stays cool, find the warmest spot in your home to place the ginger starter. This process activates the probiotics and yeast that are in the ginger and allows them to begin reproducing.
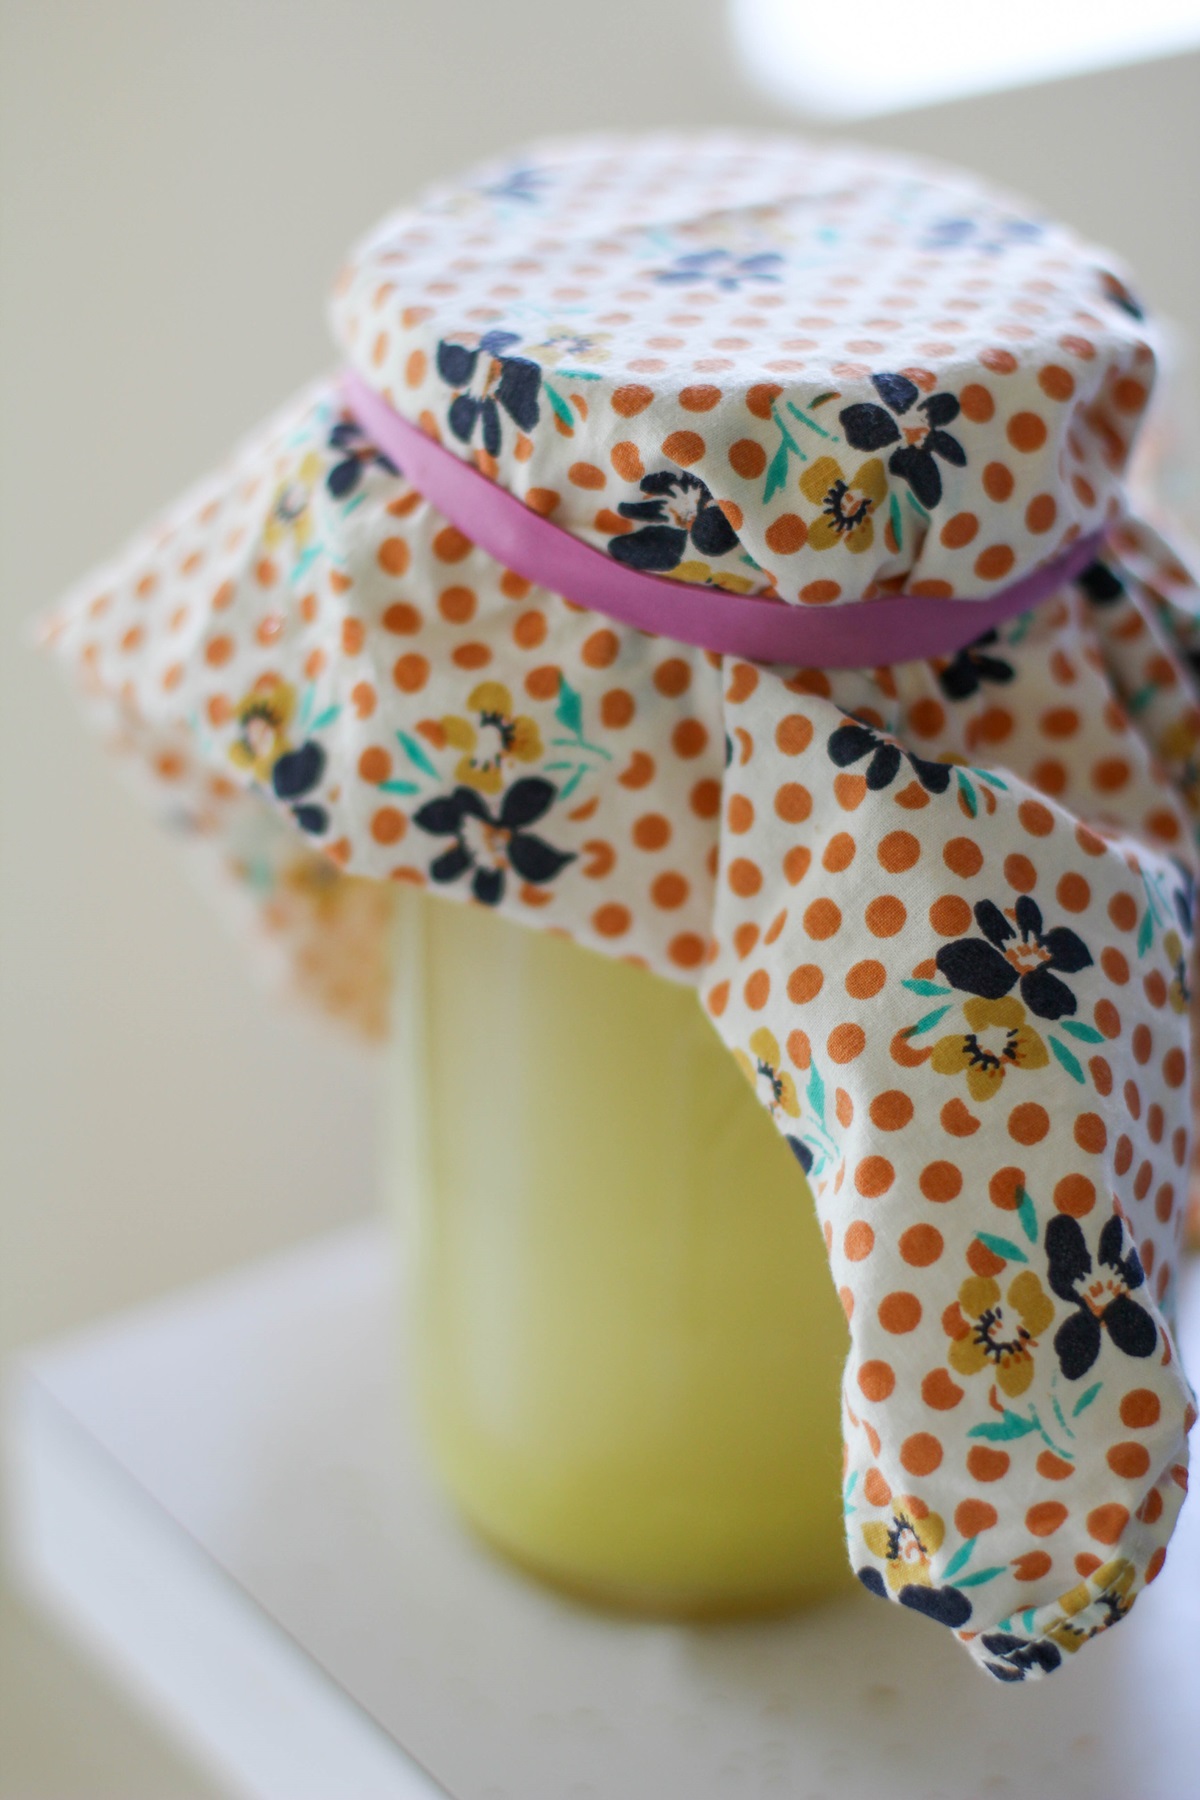
Feed the colony – Once a day for one week, add one teaspoon of sugar and one teaspoon of grated fresh ginger to the jar and stir well.
This ensures your ginger starter stays fed and grows, similar to sourdough starter. Stir a couple of times per day.
During this process, natural yeasts are released and create a white substance at the bottom of the jar. This is where the probiotics come from.
After about 3 to 5 days (perhaps longer if your house is very cold), the liquid will begin bubbling when you stir it. Once you can see and hear bubbles without touching the jar, your ginger bug is ready to be used. This will usually take 7 to 10 days in a warm (70 to 80 degrees F) house, but longer in a cool house.
To expedite the process, wrap the ginger starter jar in a heat blanket or an insulated blanket to keep it warm. If after 7 days, your ginger bug is still not bubbling, continue adding a teaspoon of sugar and ginger until it does. Have patience, friend!
In some cases, folks have gotten bubbles within only a few days of beginning their starter. While this is unusual, it is a sign the starter is ready! As soon as you see the bubbles rushing from the bottom to the top, you’re ready to go.
Use the liquid from ginger starter to make ginger beer (instructions below).
You can continue adding water, ginger, and sugar to the starter and to use it for multiple batches of ginger beer. In this sense, you can treat your ginger starter the same way one would treat sourdough starter and keep it alive.
Note: If you ever see mold floating on top of the starter liquid, discard the starter and make a new one.
Ingredients for the Ginger Beer:
- 1 cup ginger starter (see above)
- 1 scant gallon of filtered spring or well water
- 1 1/4 cups organic cane sugar
- 1/2 cup fresh lemon juice
- 1/3 cup fresh ginger, grated
Instructions for 1 Gallon of Probiotic Ginger Beer:
Fill a gallon-sized jug most of the way up with spring or well water (do not use water from the tap unless your house runs on a well). This water should be room temperature or slightly warmer (aim for 70 to 80 degrees).
Add one cup the the ginger starter, along with 1 1/4 cups of sugar, 1/2 cup of lemon juice, and 1/3 cup of grated ginger. Stir very well.
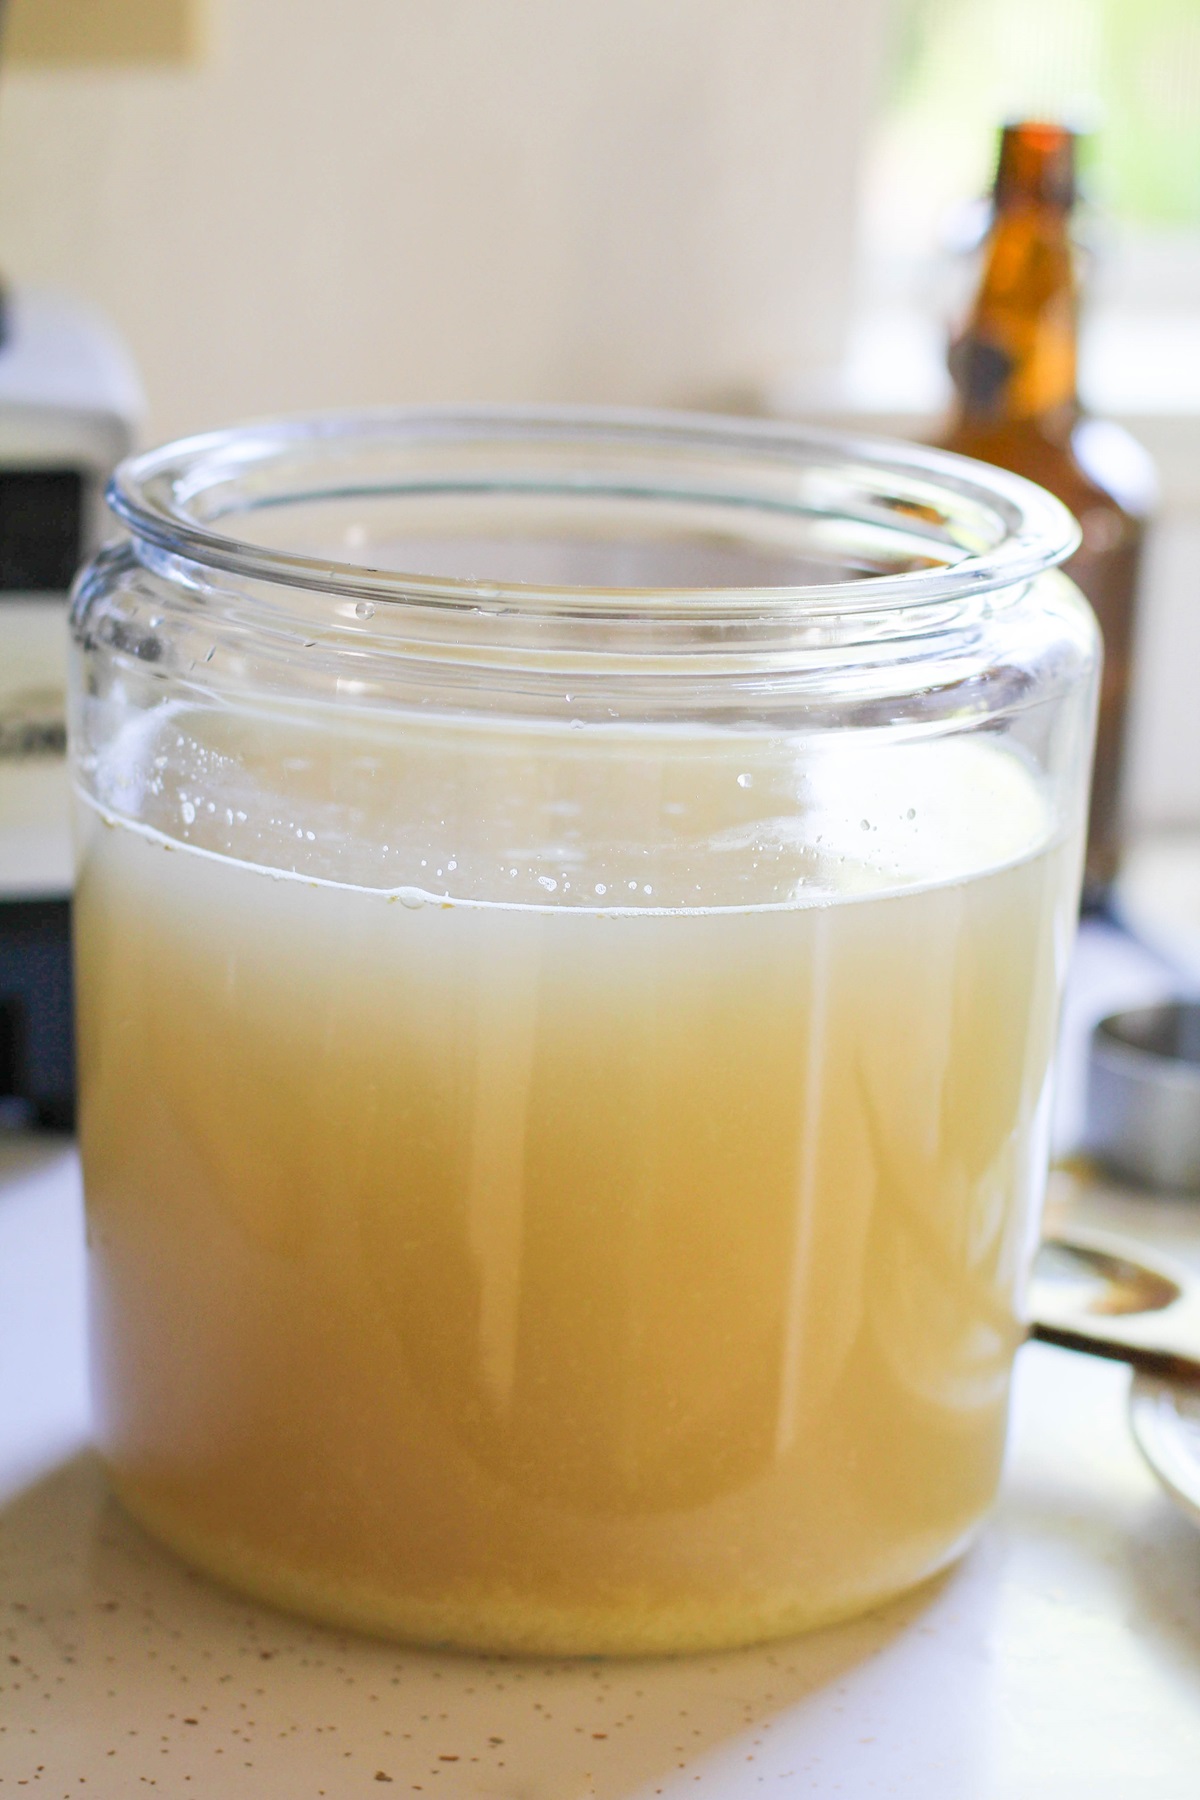
Cover the jug with a cheesecloth or towel bound by a rubber band and put it in a warm, dark place at room temperature for 8 to 10 days. Mine takes 8 days, even in a very warm (80⁰F +) house.
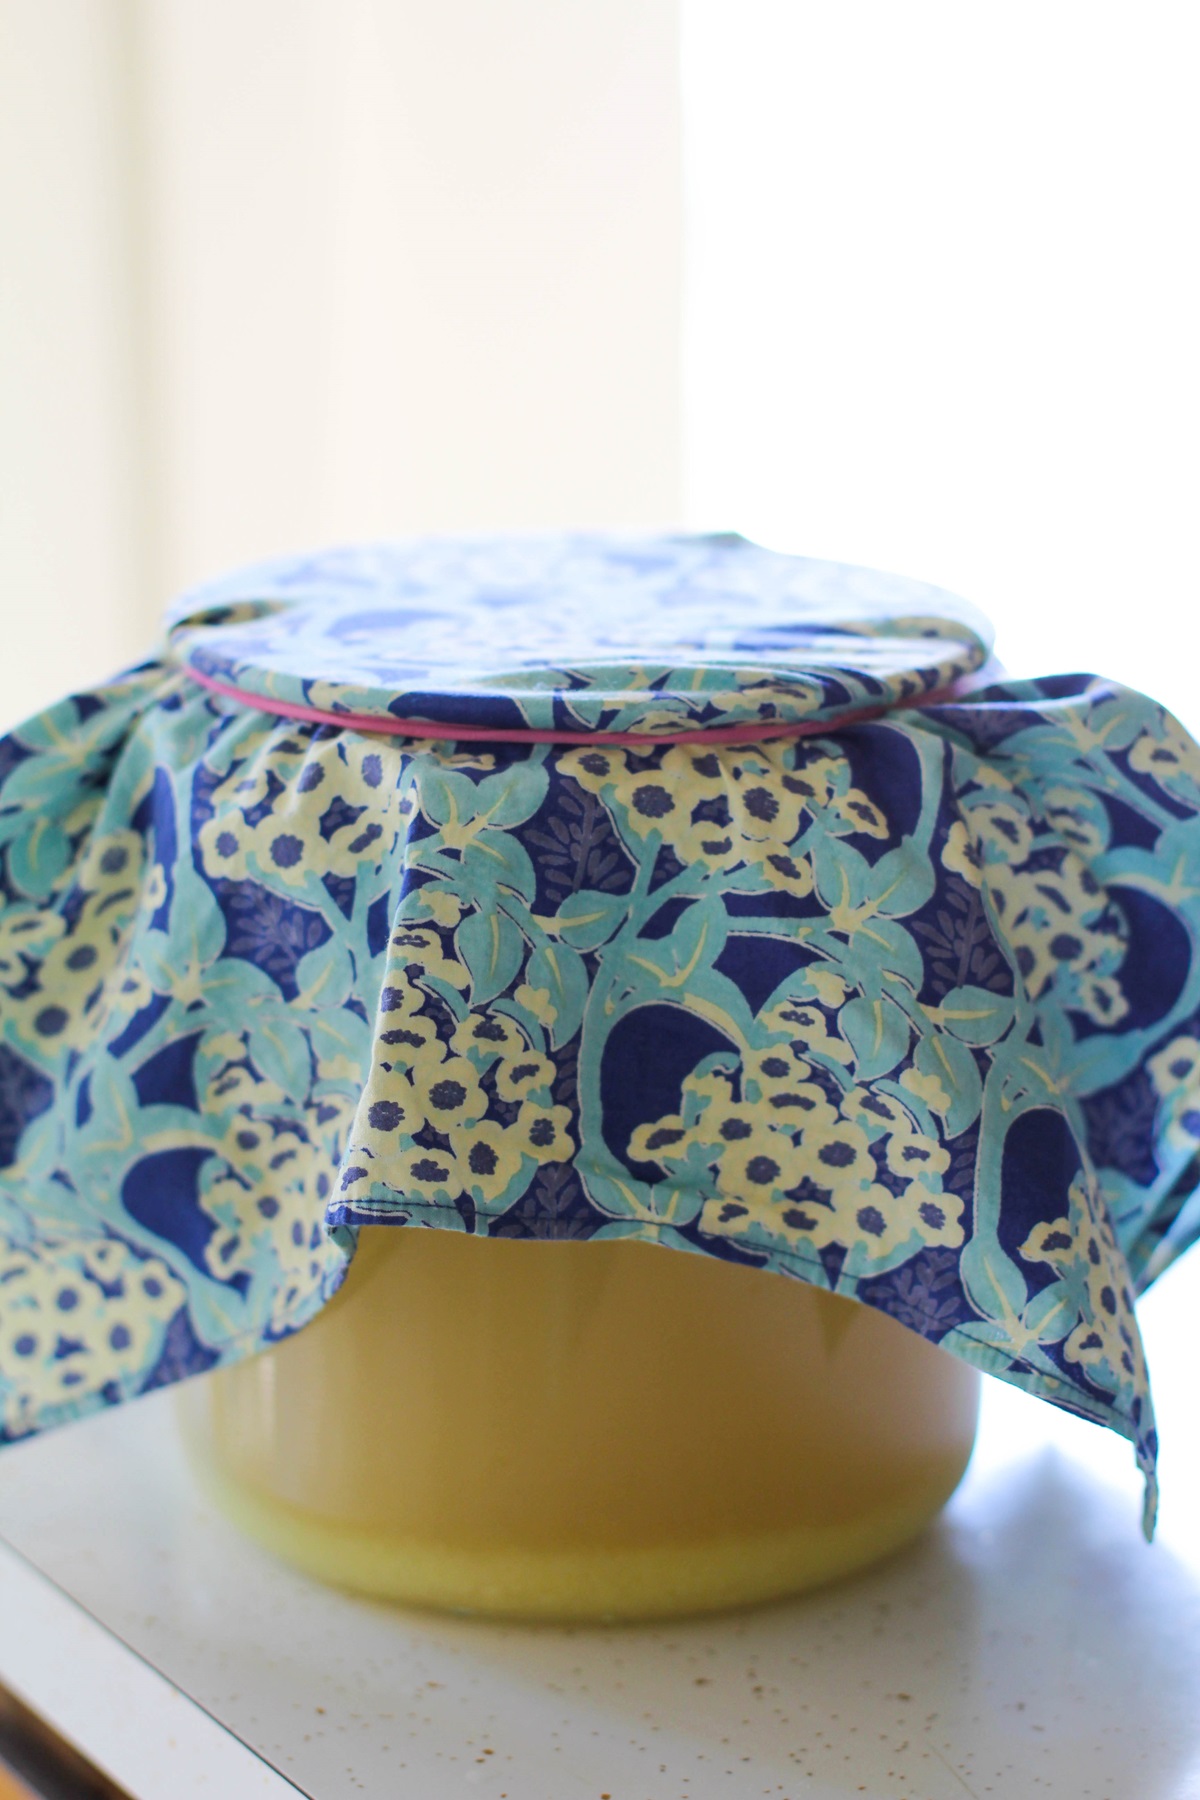
Taste-test the mixture periodically to see if more sugar needs to be added (the natural probiotics will eat the sugar so if the beverage ever loses all of its sweetness, add a little more sugar (no more than 2 tablespoons at a time), but be careful to not overload the probiotics, as they can die when given too much sugar.
Stir the mixture once or twice a day. You will notice a white substance forming around the ginger at the bottom of the jug.
This is the natural yeasts coming out of the ginger – it’s a good sign! There will also be large bubbles that form on the surface of the liquid.
The ginger beer is ready when the substance becomes bubbly when stirred (similar to when you’re making the ginger starter).
Once the ginger beer is ready, give it a taste test. If it doesn’t taste sweet, add additional sugar and ginger because once you bottle the brew, it goes through secondary fermentation and the probiotics continue to need to eat sugar.
At this point, your options are to either bottle the ginger beer as-is or flavor it prior to bottling it. See information on Secondary Fermentation and flavoring options below.
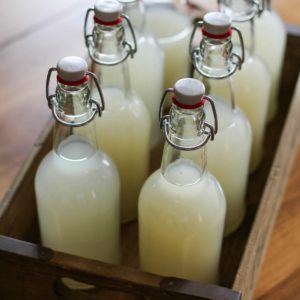
Pour the liquid (including the ginger pulp) into sealable bottles and set them in a dark room for 2 to 4 days. This process makes the ginger beer very fizzy.
The warmer the room, the faster the beverage gets fizzy, so open a bottle every day or so to check the fizz and level of sweetness.
Both the fizz and sweetness is up to your taste but be very careful to not allow the bottles to sit for too long because they most definitely will explode.
Place bottles in the refrigerator to calm the fermentation process. Note that the ginger beer will continue to ferment in the refrigerator, so try to consume the beverage within a few days after secondary fermentation is complete for best results.
Leaving it in the refrigerator for longer than a week will result in a “drier”, less sweet ginger beer.
You can now brew another batch of ginger beer using the ginger starter you have been feeding. Because your ginger starter is now more mature, it will take a little less time to brew your second batch.
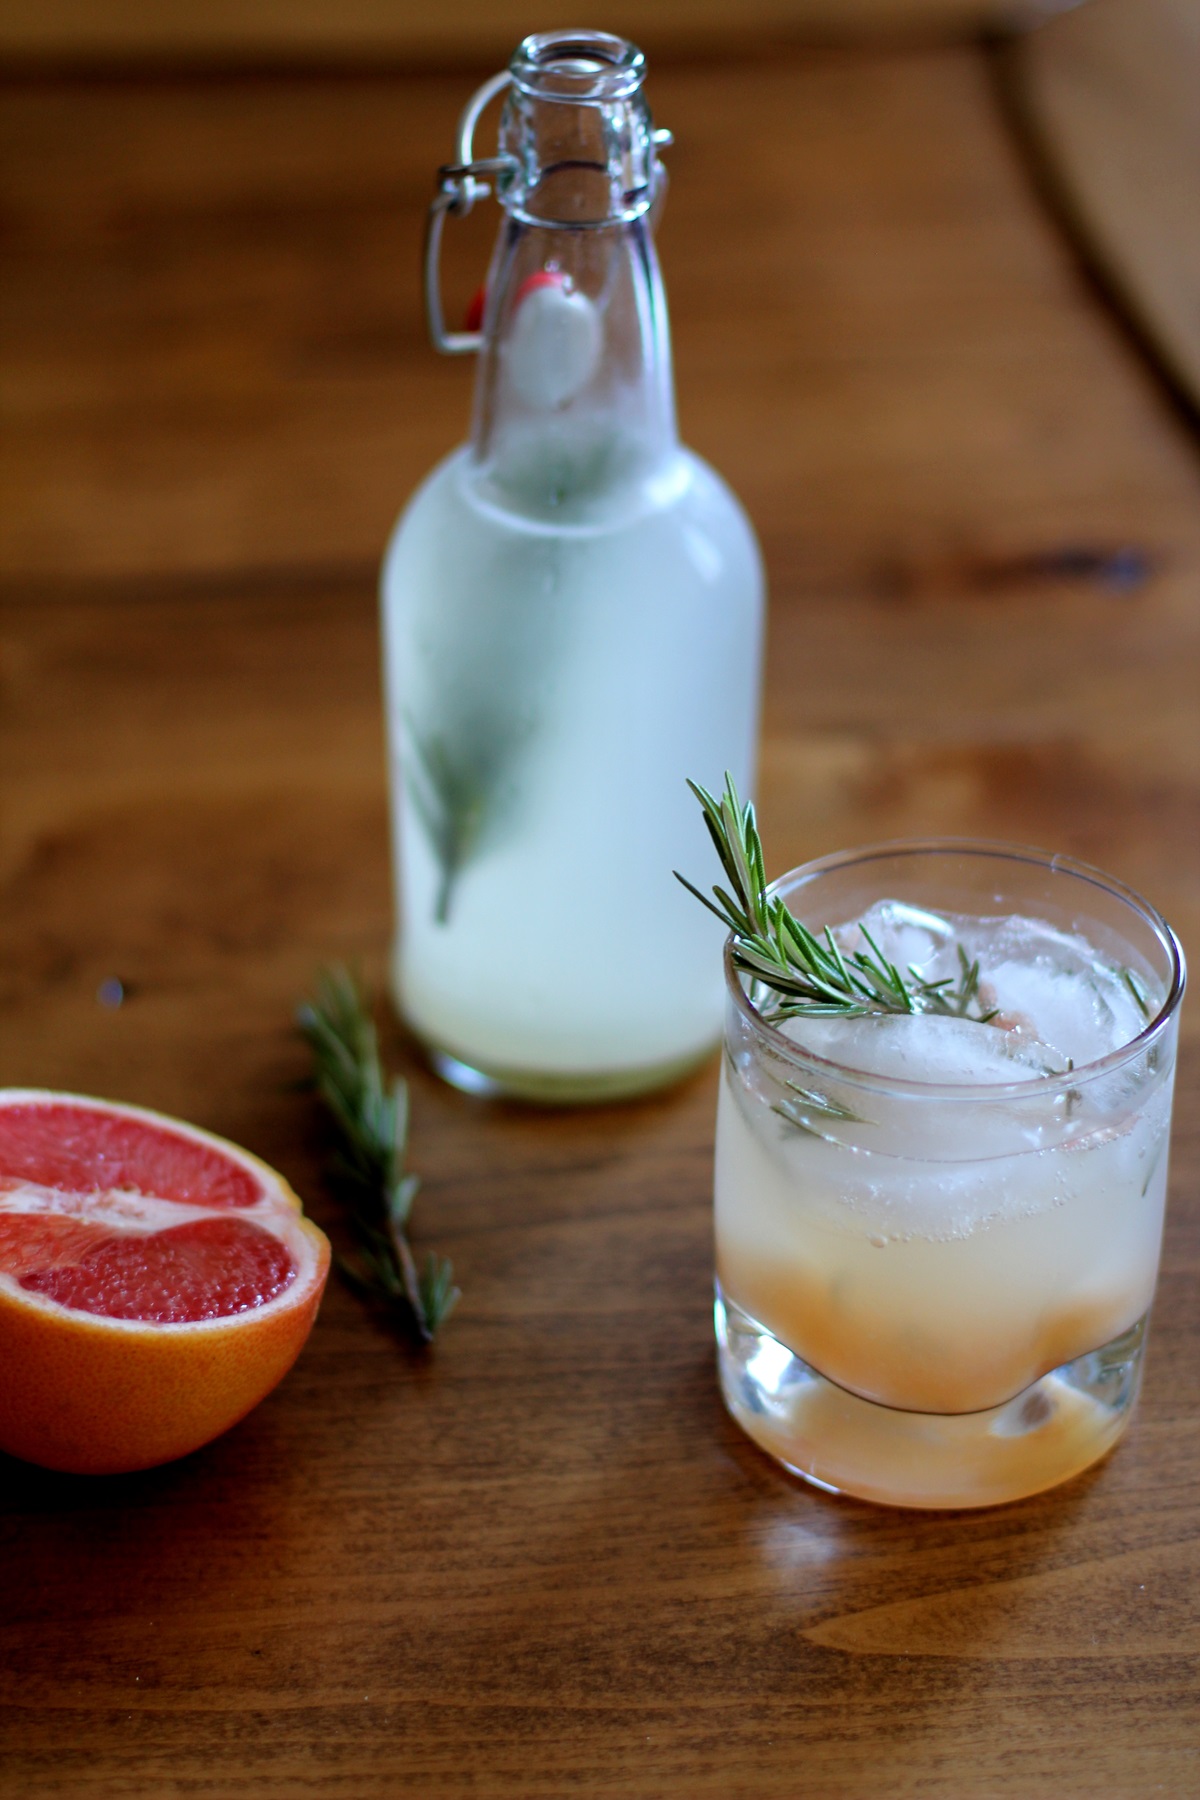
SECONDARY FERMENTATION
Once ginger beer is finished with its primary fermentation, you may add additional sugar and/or ingredients (see “Flavoring Ginger Beer” section below) to flavor it and allow it to go through a secondary fermentation.
The purpose of secondary fermentation is threefold: To achieve a fizzy beverage (it will get just as fizzy, if not fizzier than soda!), to make the drink even more probiotic-rich, and to give it delicious flavor.
FLAVORING GINGER BEER
Ginger beer is perhaps the easiest probiotic drinks to flavor because just about any type of fruit and/or herb goes wonderfully with ginger.
The fact that there is already a great deal of sweet and spicy flavor in ginger beer provides a wonderful canvas for incorporating other sweet, sour, tart or creamy flavors.
In this way, the added ingredients are typically what one tastes first when drinking the ginger beer, with the spicy ginger coming through at the finish.
You have a few options for adding ingredients for secondary fermentation. You can add fresh fruit juice, a homemade simple syrup infused with any flavor you like, or a fruit/herb sauce (similar concept to simple syrup).
If you’re adding fruit juice, simply add 1/4 cup to each glass bottle before filling them the rest of the way up with ginger beer. Secure the lids tightly and allow them to sit for 2 days. Immediately transfer to the refrigerator to slow the fermentation process.
Getting creative with fruit and herb combinations is brilliant when it comes to this drink and you are virtually guaranteed to end up with a delicious probiotic drink!
To make flavor ginger beer, choose your fresh fruit and/or fresh herbs.
Combine 2 cups of fresh fruit with ½ cup cane sugar and 1/3 cup water in a saucepan (Note: if you’re adding fresh herbs, do so here as well).
Bring to a full boil and cook until the fruit has softened. Allow mixture to cool completely. Once cool, divide it between the bottles you are using to bottle the ginger beer.
Fill the bottles the rest of the way up with ginger beer, seal tightly, and allow bottles to sit at room temperature for 2 days to undergo secondary fermentation. Transfer the bottles of ginger beer to the refrigerator and chill.
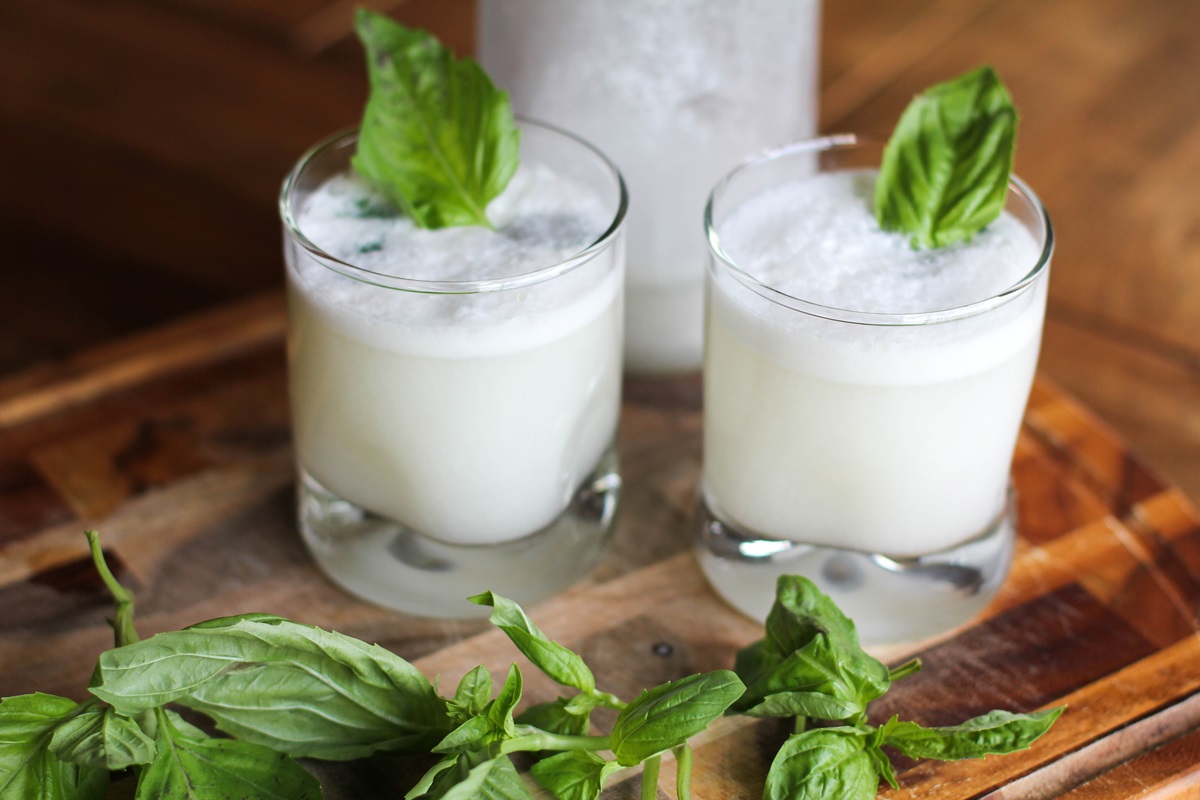
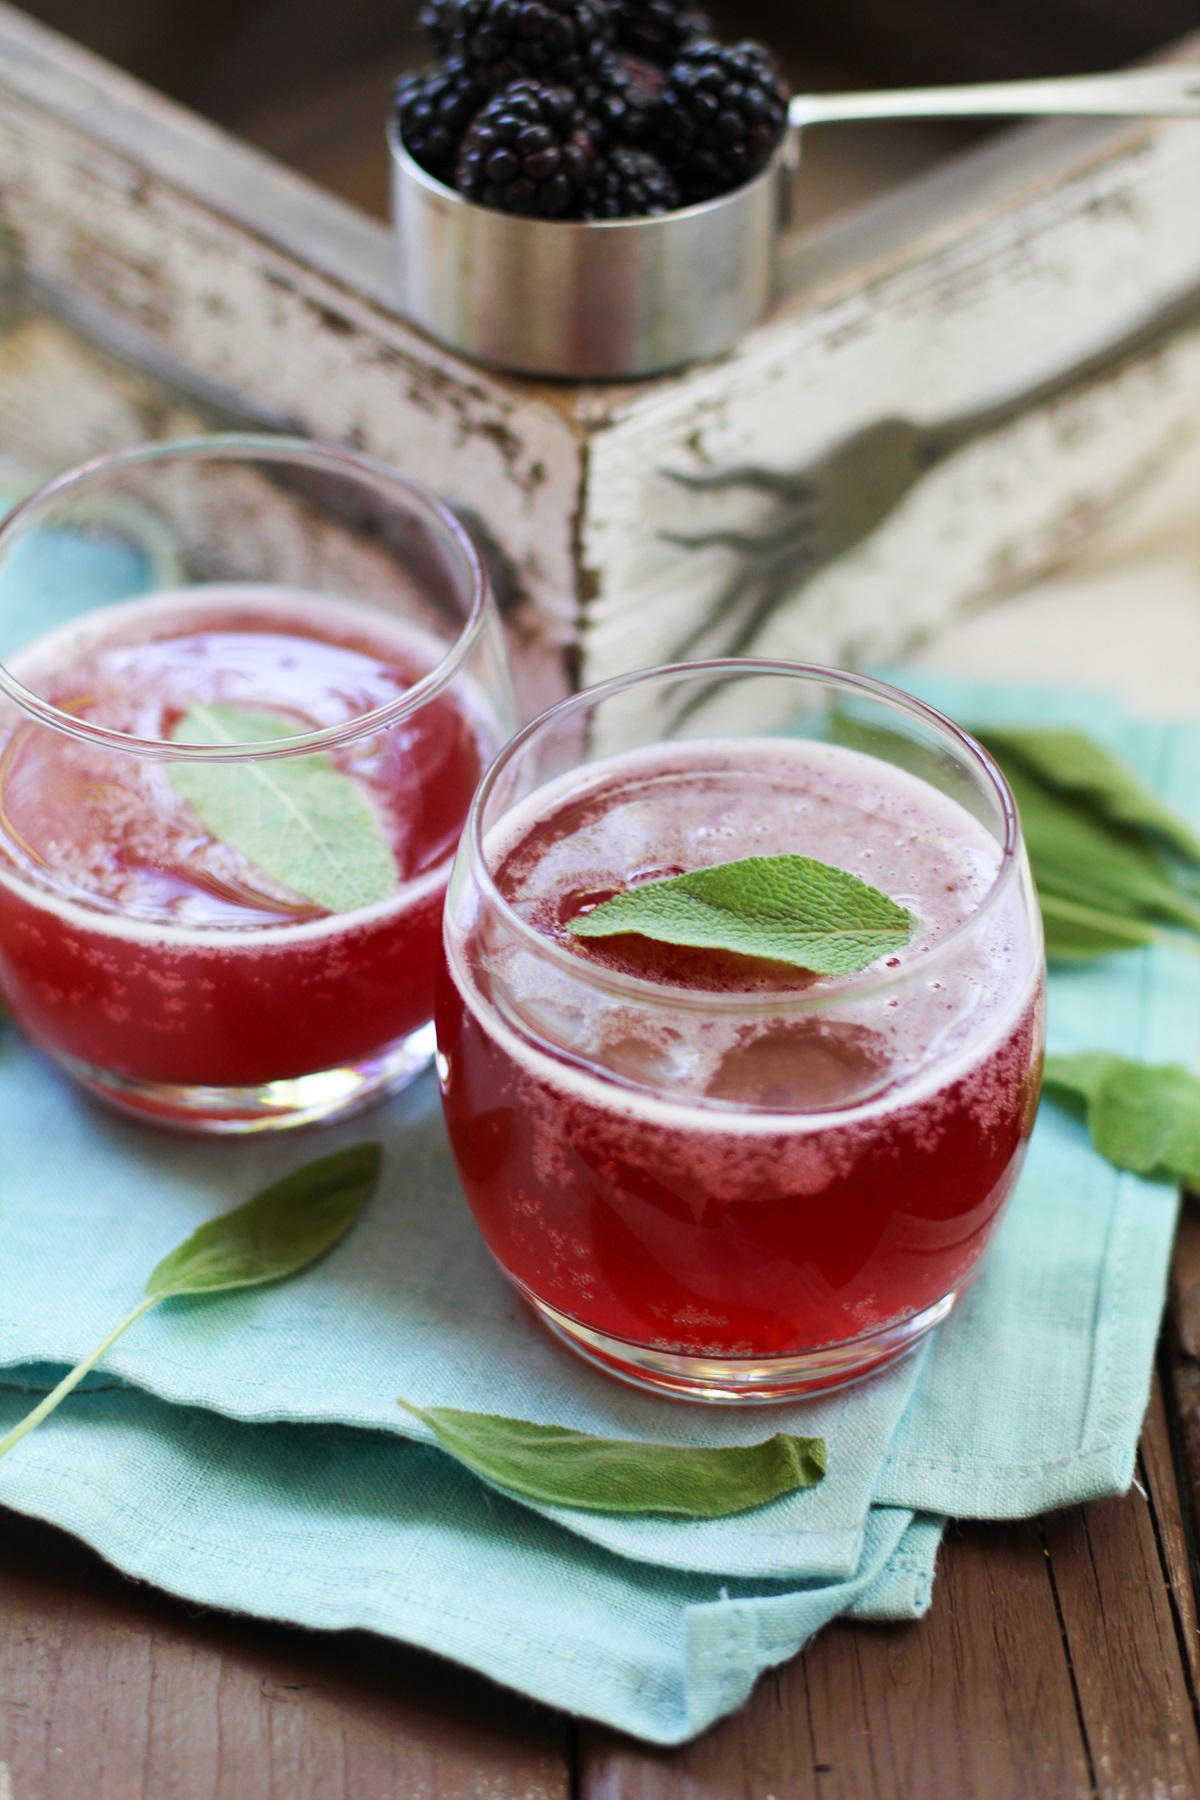
Flavored Ginger Beer Options:
Here are some of my favorite flavor combinations for ginger beer:
- Blackberry Sage (2 cups blackberries, 1/2 cup sugar, 1/3 cup fresh sage, packed)
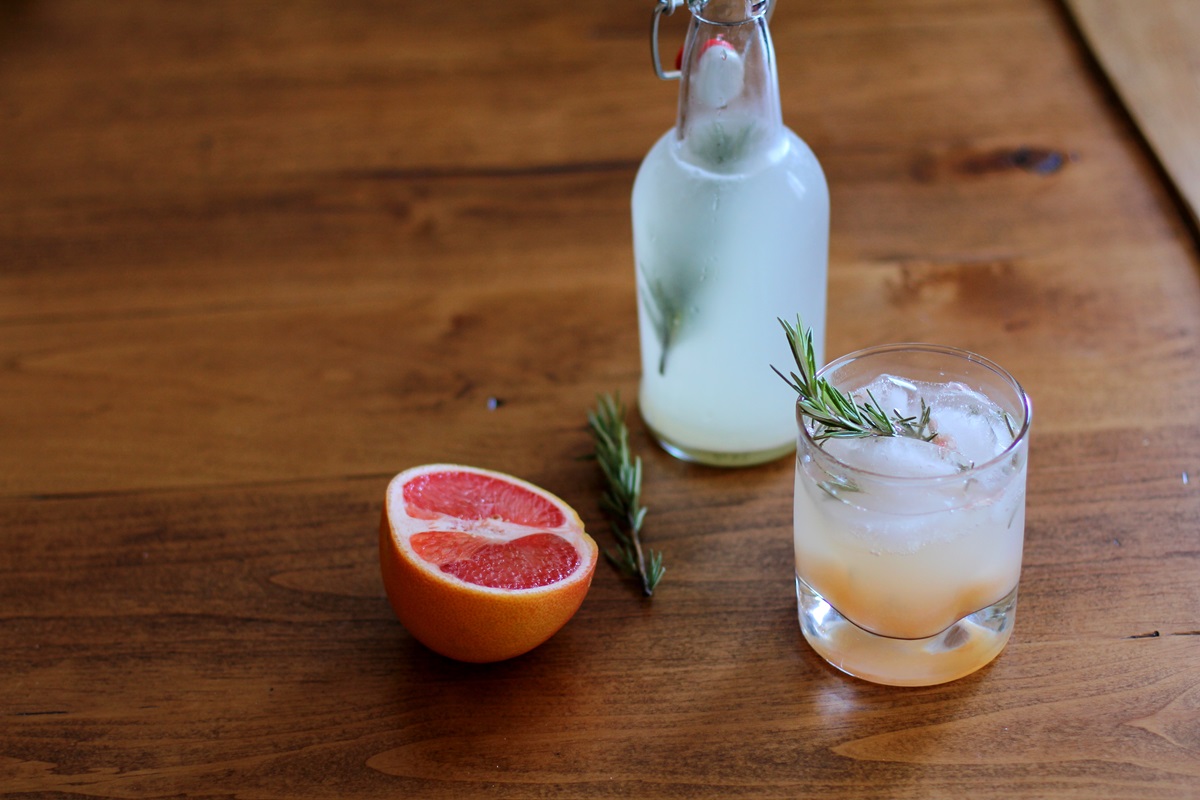
- Grapefruit Rosemary (1 cup fresh grapefruit juice, 2/3 cup sugar, 3 sprigs rosemary)
- Coconut Basil (1 can full-fat coconut milk, 1/2 cup sugar, 1/2 cup fresh basil, packed)
- Blood Orange (1 cup fresh blood orange juice, 1/2 cup sugar)
- Raspberry Mint (2 cups fresh raspberries, 1/2 cup sugar, 1/2 cup fresh mint)
SHELF LIFE OF GINGER BEER
How long does homemade ginger beer last?
When properly sealed in bottles, plain ginger beer can last for up to one month in the refrigerator. For best results, drink within 2 weeks of brewing.
When ingredients such as fruit, are added to ginger beer, consume within 1 week for best results and keep in the refrigerator for up to 2 weeks. While ginger beer can last even longer than this, it is best to err on the safe side when it comes to probiotics.
A NOTE OF CAUTION
As is always the case with probiotic beverage, be cautious when opening a bottle after secondary fermentation as pressure builds and the drink will be fizzy. Never point a bottle at your face (or at any other person) while opening, and never hand a bottle to a child to open.
TROUBLESHOOTING
If it seems like either your ginger starter or ginger beer is taking a long time to come to life (get bubbly), don’t worry. This is likely the result of the temperature of your home, and it may just take some extra time.
As mentioned previously, if you want to expedite the process, wrap the jar in a heating pad and set it to a low temperature to keep the starter warm.
On the flipside, in rare cases, a ginger starter may be ready after only a few days. As long as bubbles are flowing from the bottom to the top, that is a sign the starter is rich in probiotics and is ready to be put to use.
Like many probiotic beverages, ginger beer is one of those that seems to be doing nothing for quite some time and then all of a sudden, it’s working.
At the end of secondary fermentation, if your ginger beer too dry (not sweet and very fizzy), this is because the yeast consumed all of the sugar that was in the bottle, leaving very little sweetness for you.
Some people prefer drier ginger beer, but if you prefer it to be on the sweet side, simply make sure you add additional sugar (either cane sugar, fruit, or juice) prior to bottling your next batch.
Did you pop open a bottle of ginger beer after 3 days of secondary fermentation and it wasn’t fizzy and it still tasted sweet? If this is the case, your ginger beer still contains residual sugar that needs to get eaten up by the probiotics. This is okay!
Simply leave the remaining bottles (if any) at room temperature to continue secondary fermentation. Because there was plenty of sugar in the beverage prior to bottling, it will simply take an additional day or two for the probiotics to consume the sugar and for the beverage to become fizzy.
How to Prevent Flat Ginger Beer:
To prevent flat ginger beer, be sure there are small bubbles that rise from the bottom to the top of the liquid prior to bottling it for secondary fermentation, as this is a sign of probiotic activity. Keep in mind that even if your ginger beer does not get fizzy, it is still full of probiotics and is great for you!
Wondering if Your Batch is Bad?
If at any point you find mold on the surface of your ginger beer while it is brewing, throw the whole batch out, even if it is only a tiny bit of mold. Ginger beer is easy to re-make (especially since you already have your ginger starter ready to go), and it is not worth sacrificing quality and health even if it is frustrating to have a failed batch.
Any Questions??
I hope this post will inspire you to make your own naturally fermented healthy ginger beer at home!
Be sure to check out my cookbook, Delicious Probiotic Drinks for more recipes for fermented beverages!
If you enjoy home fermentation projects, also check out my tutorial on How to Brew Kombucha.
Check out my latest cookbook, Paleo Power Bowls for nutrient-dense meal recipes.
If you make ginger beer, feel free to share a photo on Instagram and tag @The.Roasted.Root!
Probiotic Ginger Beer
Equipment
Ingredients
Ginger Starter:
- 1 (1-inch) nub fresh ginger, peeled and grated
- 1 Tbsp organic cane sugar
- 2 cups filtered water
Ginger Beer:
- 1 cup ginger starter instructions below
- 1 gallon filtered water or well water
- 1 1/4 cups organic cane sugar
- 1/2 cup fresh lemon juice
- 1/3 cup fresh ginger peeled and grated
Instructions
Prepare the Ginger Starter:
- Peel and grate a 1-inch nub of fresh ginger (about 1 tablespoon).
- Add the grated ginger, 1 tablespoon of sugar, and two cups of filtered water or spring water(non-chlorinated) to a jar and stir. Cover the jar with a cheesecloth or towel and secure it with a rubber band. Allow jar to sit in a dark place for 24 hours.
- Once a day for 4 to 10 days, add one teaspoon of sugar and one teaspoon of grated fresh ginger to the jar and stir well. This ensures your ginger starter stays fed and grows, similar to sourdough starter. Stir a couple of times per day. During this process, natural yeasts are released and create a white substance at the bottom of the jar. This is where the probiotics come from.
- After 3 to 5 days (longer if your house is very cold), the liquid will begin bubbling when you stir it. Once you can see and hear bubbles without touching the jar, your ginger bug is ready to be used. If after 7 days, your ginger bug is still not bubbling, continue adding a teaspoon of sugar and ginger until it does. Note that amount of time it takes to get a ginger bug active varies widely depending on the temperature of your home and the activity of the bacteria and yeast.
- Use the liquid from ginger starter to make ginger beer (instructions below).
Make the Ginger Beer:
- Fill a gallon-sized jug most of the way up with spring or well water (do not use water from the tap unless your house runs on a well). This water should be room temperature or slightly warmer (aim for 70 to 78 degrees).
- Stir the ginger starter well. Add 1 cup of the ginger starter, sugar, lemon juice, grated ginger, and the ginger starter. Stir very well. Cover the jug with a cheesecloth or towel bound by a rubber band and put it in a dark place at room temperature for 8 to 10 days.
- Taste-test the mixture periodically to see if more sugar needs to be added (the natural probiotics will eat the sugar so if the beverage ever loses all of its sweetness, add a little more sugar (no more than 2 tablespoons at a time).
- Stir the mixture once or twice a day. You will notice a white substance forming around the ginger at the bottom of the jug. The ginger beer is ready when the substance becomes bubbly when stirred (similar to when you’re making the ginger starter).
- Once the ginger beer is ready, give it a taste test. If it doesn’t taste sweet, add additional sugar and ginger – once you bottle the brew, it goes through secondary fermentation and the probiotics will need more sugar to survive.
- At this point, your options are to either bottle the ginger beer as-is or flavor it prior to bottling it. If you choose to leave the ginger beer as-is, simply transfer the ginger beer toglass bottles, secure the lids, and place bottles in the refrigerator.
- If you choose to flavor the ginger beer, add your flavoring ingredients to the flip cap bottles (see blog post for flavor ideas and instructions for secondary fermentation) prior to filling the bottles up with ginger beer. Secure the lids on the bottles and leave at room temperature for another 2 days.
- Place bottles in the refrigerator to calm the fermentation process. Note that the ginger beer will continue to ferment in the refrigerator, so try to consume the beverage within a few days after secondary fermentation is complete for best results. Leaving it in the refrigerator for longer than a week will result in a “drier”, less sweet ginger beer.
- You can now brew another batch of ginger beer using the ginger starter you have been feeding. Because your ginger starter is now more mature, it will take a little less time to brew your second batch.
Nutrition
This post contains affiliate links, which means I make a small commission off items you purchase at no additional cost to you.



Nice work I just got the bug to make the bug!! Curious if you have tried strawberries or cherries in any of your batches.
Hi Dan!
I’ve done a secondary fermentation using strawberries and it turned out amazing! I haven’t tried cherries yet, but I bet they would be amazing xoxxoo Happy brewing!
@Julia, Thanks, Im just getting started, did the bug ten days ago and the first batch lastnight, I play with sourdough and sauerkraut too.
Can the ginger used in the second fermentation be reused for the new batch? I wonder how long the ginger can be in the immersed in water before it grows mold?
How about sealing the containers rather than keep it covered with the cheese cloth, would it enhance the fermentation?
Hi Danny,
Unfortunately I’m not sure about re-using ginger from a previous batch. My guess is the second batch would have less strong of a ginger flavor, but there may be some probiotics still present in the ginger, so it may be worth starting another ginger bug with it. I’ve never kept a ginger bug for longer than 2 to 3 weeks, so I’m also not sure how long it will last without growing mold – I think that’s dependent upon the humidity of your home, the health of the ginger, and the area you’re storing it in.
In my experience, ginger beer needs air in order for the probiotics to ferment properly in the primary fermentation. If you do a second fermentation, you’ll bottle the ginger beer and the probiotics will continue to grow. Hope this helps! xox
I’ve been drinking a cup of the secondary fermentation and adding more ginger and sugar while leaving it out on the counter… How many months of this will my bug be healthy and can I leave it at room temperature indefinitely? It seems very healthy and is always very bubbly.
Hi Ana,
You can leave the bug as long as it’s healthy (this is the same with any probiotic culture). Really what matters is the health of the bug, and as long as it isn’t moldy or smells funky, it’s fine! That said, I’ve never had a ginger bug for longer than two weeks, but it was because I intentionally used it or got rid of it, so I’ve never tested to see how long one will last. With kombucha, you can let SCOBYs sit for months on end, so I’m assuming you could take a similar approach with a ginger bug as long as it looks good 🙂 Hope this helps!
My ginger bug had mold on it by day 4. Why does the mold grow? Just want to make sure I do the right thing next try! I fed it 1 tsp of ginger and sugar everyday and it was about 74 degrees when I temped it everyday.
Hi Emily,
Great question – it could be your ginger bug was contaminated by mold spores somehow such that mold was able to grow before probiotics. I would be sure the jar your use it sanitized, that your ginger is fresh, and put it in an area where there isn’t exposure to other food (a cabinet works great). If you live in a humid area, that could be the culprit as well.
@Julia, thank you! My second attempt with the bug worked and I mixed together my ginger beer today! I want to make sure I understand, when i bottle the ginger beer I add in the pulp too? Can I strain that out before I put it in my glass bottles or is there a reason the ginger pulp needs to be there?
Just wondering if there will be much if an alcohol content in this?
Hi Alan,
There will be a small amount of alcohol, but there is no way of knowing the exact amount without having the equipment to test for alcohol.
Thank you for a very detailed and clear step-by-step process, I feel like I can easily take the challenge ! Merci! Merci! Merci!
My pleasure, Hana!! I hope you enjoy! De rien! xoxoxoxox
Great post’ I’m really getting into making ginger beer. I have a question though. I’ve started this process twice so far, I’m in the middle of the second try. My starters started to get bubbly around day 3, but then it seems to go flat. Not sure what I’m doing wrong. Should it be constantly fizzy? Should I just keep feeding it as along as no mold appears? My home is admittedly not the warmest in the winter months. Any advice would be greatly appreciated.
When transferring into bottles, is it necessary to leave ginger pulp in? I didn’t grind all my pulp down very well and don’t want to add it in, but not sure if it’s needed for the fermenting. Thanks!
My Son 8years old has just learnt how to make probiotic ginger beer from his nana and is loving it! sharing it and explaining it to anyone who will drink and listen! its great to have this post to see the process and explained well and have some trouble shoot solutions. we may even make a little booklet using ur post (with your name of course!) to give to those interested in doing it themselves. well done and thanks for sharing ur knowledge. God bless
This is so heart warming, Ariel!!! I’m so thrilled to hear the ginger beer has been a pleasant addition to the household. I really appreciate you taking the time to tell me your story. Much love to you and your family! xoxox
what happens if I think my bug died? Is it best to start again or just add sugar and ginger daily?
Hi DJ,
Yes, if the bug dies, I would recommend starting from the beginning. If you want, you can try to revive the original bug but it would be the same process as starting fresh anyway, so to me it makes sense to make a new bug and that way you know you’re creating a new, healthy culture 😀 xoxox
Hi. Is there a reason not to flavor it in the first fermentation? I want to add cayenne and limes.
Hi Julia,
Thank you so much for this recipe. I’ve used it many a times already and have got 9L brewing away at the moment.
My ginger bug is really active and so is my first and second fermentation. My last batch I tried out the raspberry mint flavor. It’s delicious but one issue I’m having is that I need to burp the ginger beer many times(6+) and wait for the foam to reside. This way it takes a few minutes before I can drink it, but the bigger problem is that I believe I’m losing carbonation this way. IT seems the sugar from the flavoring is reacting with my ginger beer and making it release the carbon. Have you had any issues like this? ANy tips?
Should I perhaps let teh secondary ferment go shorter or longer? Maybe blend my fresh fruits before adding them? I’m leaving plenty of head space in the bottle btw.
Cheers,
Robin
Hi Robin,
In my experience, the excess carbonation is from the fruit fiber, not from adding more sugar. To avoid the extra foam, you can make a simple syrup using the raspberries and mint and strain the solids from it before adding the syrup only (without pulp) to the ginger beer. This will feed the bacteria and yeast more sugar to continue reproducing without generating a whole lot of extra carbonation. Hope this makes sense! Let me know if you try it! xoxo
@Julia, hi Julia, I tried straining it but still have excess carbonation. I could have possible got rid of more pulp, but that would make this variety quite laborous. I’m thinking of just going back to plain ginger beer or trying some fruit juices from the store without any pulp.
One issue with this batch as well is that it tastes a lot more bitter than my previous tries. I’ve let it ferment for approximately the same amount of time, however there were a few variables I changed. What do you think caused this bitterness?
This time I cut, rather than grated my ginger. I again used my ginger bug, but it was now a lot older than before and quite active – does this mean that the sugars were eaten a lot faster and my gingerbeer would have been ready a lot earlier? It may also be that the temperature in the room I keep the ginger beer fluctuated to higher and lower temps – would this have any effect?
I’m loving this experimenting :).
Thanks again,
Robin
Hi Robin,
I would venture to guess your suspicions are accurate. The happier the probiotics and yeast are, the more they will feed, and the less sweet the ginger beer will be. It sounds like you have a super active culture! Which is a good thing, except I get that you want your ginger beer to taste sweet rather than bitter and less fizzy. I would dial back the fermentation time by a day or two and see if that helps. The reason the ginger beer tastes bitter is because (as you mentioned), there is very little excess sugar due to the probiotics reproducing. So the goal would be to prevent them from reproducing as much by limiting the fermentation time 🙂 This should help with the fizziness too! Let me know how it goes! xoxo
Hi Julia,
I absolutely love the spice in commercial ginger beers and have been wanting to try this out for a while… but as an alcoholic in recovery I worry about what the alcohol content of this drink may be. Any chance you’ve tested it?
Hi Niq,
Thank you for sharing that…I completely get the need to be cautious! Unfortunately, I don’t have the equipment to test alcohol percentage. I do know it is very low as long as you don’t put it through a secondary fermentation (and even then, it should still be much less than 5%), but I have no way of knowing the actual percentage at this time. Sorry this isn’t super helpful!! xoxoxo
Hi! I am very intrigued by the probiotic ginger beer and have been trying to make a starter “bug” for several months. I recently purchased a kombucha warmer that has 3 settings because my house typically is on the cooler side, but still no luck. Do you sell, or know someone who sells, the starter? Is that even feasible?
Thanks!
Vickie
Hi Vickie!
Agh, I’m sorry to hear that! I don’t sell a starter and I don’t know anyone who does, but you may want to try CulturesForHealth.com. They don’t have a ginger beer starter, but you could use one of their other starters just to get it going (for instance, you could make ginger flavored water kefir, and it would be fairly close to ginger beer, but not as fizzy). Aside from that, I would recommend waiting until summer…this is when I find my cultures are the most active. xoxo
Hello Julia
I have made my first batch of ginger beer more than 6 months ago and had stored my ginger bug in the fridge and wanted to make another batch of beer. I took the bottle out of the fridge and and let it dome to room temp and just added about a half teaspoon of sugar and it began to fizz right away, just wandering if it alright to use after length of time in the fridge?
Thank you for attention to these many question from everyone. I enjoy your recipes also.
Thank you
Laura
Hi Laura!
As long as it was tightly sealed in the bottle and still smells good, it’s probably good to go! If there’s anything funky about the smell, I would pitch it, but it sounds like it’s probably just fine 🙂
Thank you!