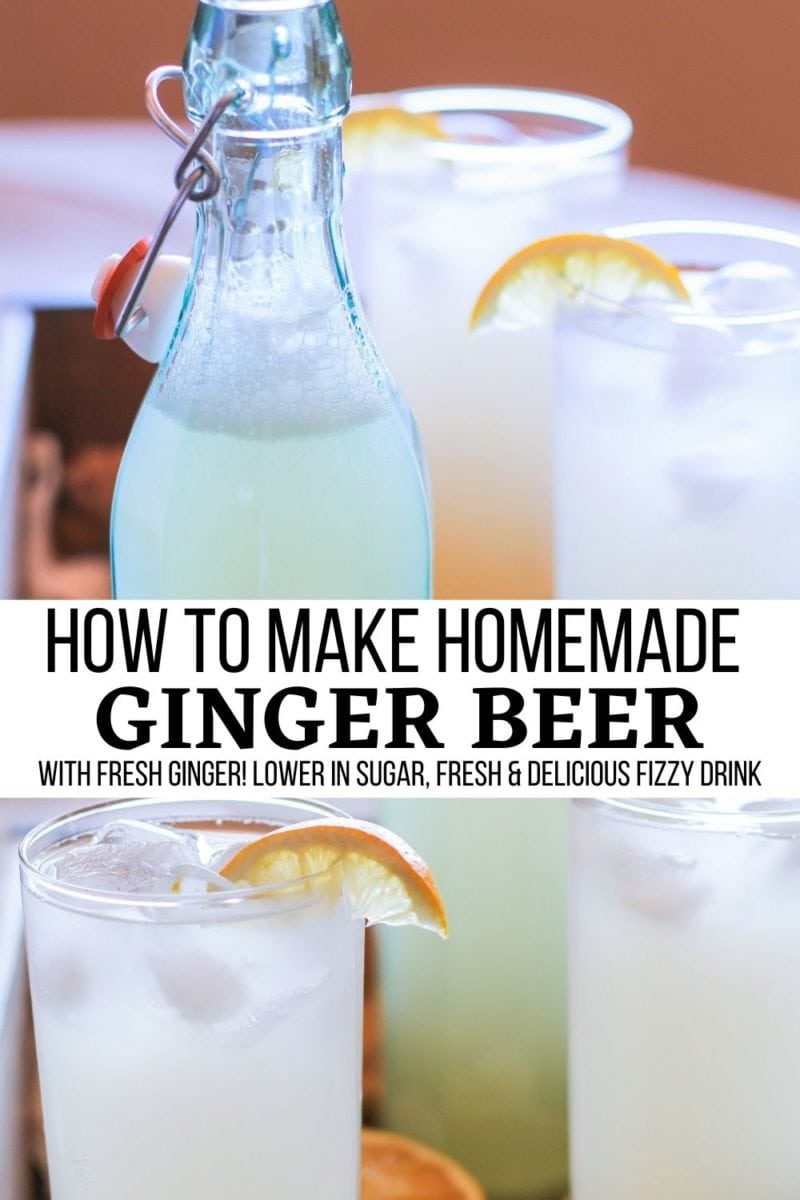
How to make homemade ginger beer, including photos and a video! This simply recipe is lower in sugar than store-bought ginger beer, contains vitamins and probiotics, and is a healthier alternative to most carbonated drinks because it contains less sugar and no carbonated water.
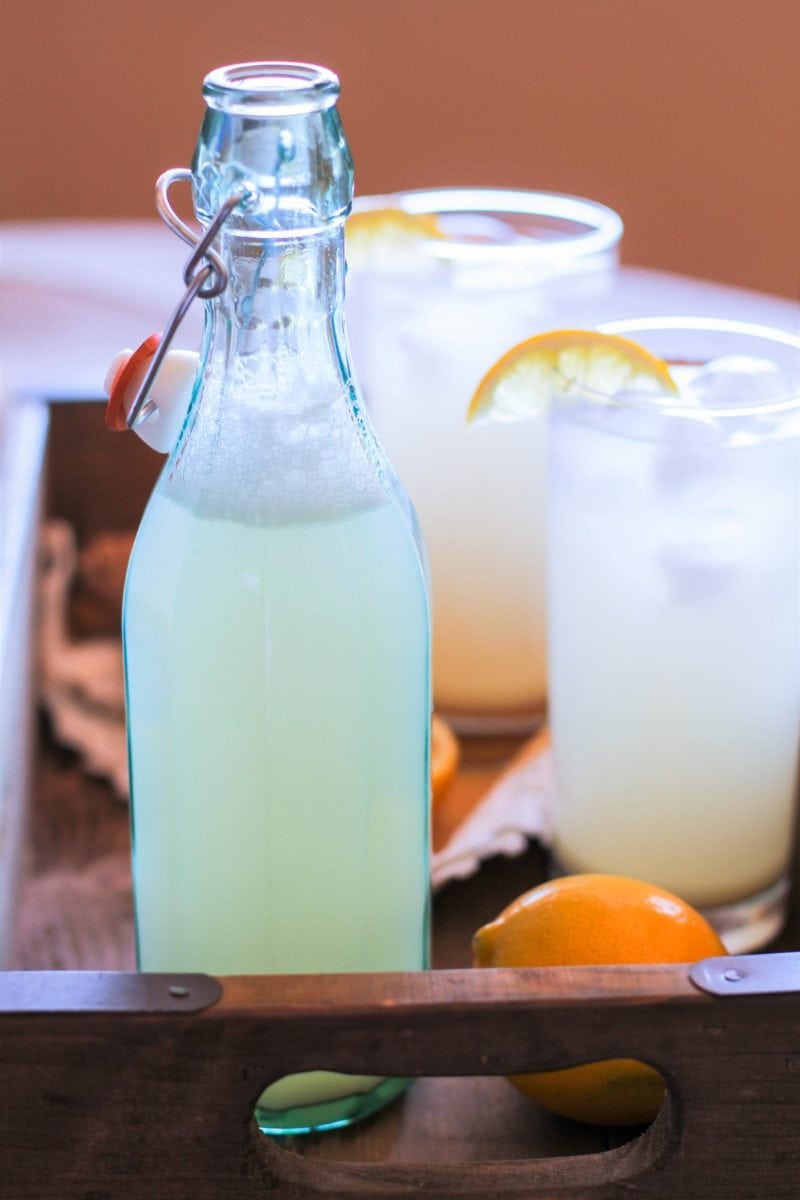
Ginger beer has been all the rage for years, and for a very good reason.
The sweet and spicy beverage is tasty by itself and adds pep to all sorts of cocktails and mocktails. If you’re anything like me, you could add ginger beer to all of your cocktails from now until doomsday.
Most of us think of ginger beer in the context of the Dark n’ Stormy or Moscow Mule and other cocktails that involve the brew. But did you know you can make a stellar homemade ginger ale at home, and not only is it easy, but it’s also great for you?
Because we like to do things in the legit-est of ways, we’re going to put on our DIY cap and learn how to make fermented ginger beer at home.
And it’s going to be healthier than the store-bought version, because that’s the way we roll.
Types of Homemade Ginger Beer Recipes:
There are several ways to make ginger beer.
Method #1: Most people make a simple syrup using ginger, sugar, and water, and then combine the simple syrup with soda water or seltzer water.
While this is the least time consuming way of making ginger beer, and definitely comes out tasting great, we can take it a step farther by fermenting ginger beer into a healthful drink so that it contains less sugar but still tastes sweet.
Method #2: The old fashioned way uses a “ginger bug” or “ginger starter,” which is ginger that has fermented in sugar and water to the point that its natural enzymes and probiotics are released.
Once a ginger bug is formed, it is then brewed into a batch of ginger brew, which results in a probiotic-rich effervescent drink.
This method of making ginger beer takes between 4 and 6 weeks, and is the method I describe in my cookbook, Delicious Probiotic Drinks.
I have also posted a tutorial on How to Make Probiotic Ginger Beer on this site for real ginger beer. Check it out if you’re looking for a beverage with a higher concentration of probiotics.
It is also an alcoholic ginger beer that has a tiny amount of alcohol but can be fermented in such a way that increases the alcohol content.
Method #3 (this recipe): The method I’m sharing in this post uses regular baker’s yeast.
The yeast consumes the sugar as it reproduces, which means that while the finished product tastes sweet, it is actually very low in sugar. Plus, it contains so much delicious ginger flavor!
Which Type of Ginger Beer To Make:
The quickest way is Method #1 listed above, which will require a recipe outside of this blog post.
Whether you choose to make this easy ginger beer recipe laid out in this post or my probiotic ginger beer is a matter of personal preference (and time).
For those of us who want ginger beer quickly, this easy version only takes 3 days from start to finish.
It still has health benefits from the yeast, but because it is not fermented for as long as the authentic version, it isn’t as probiotic-rich.
Is There Any Alcohol in Ginger Beer?
As with any fermentation process, a small amount of alcohol results.
The alcohol content in this ginger beer recipe is very low, almost non-existent.
Still, if you need to avoid alcohol, it is best to be safe and stick with a non-alcoholic ginger beer.
Ingredients Needed for Ginger Beer:
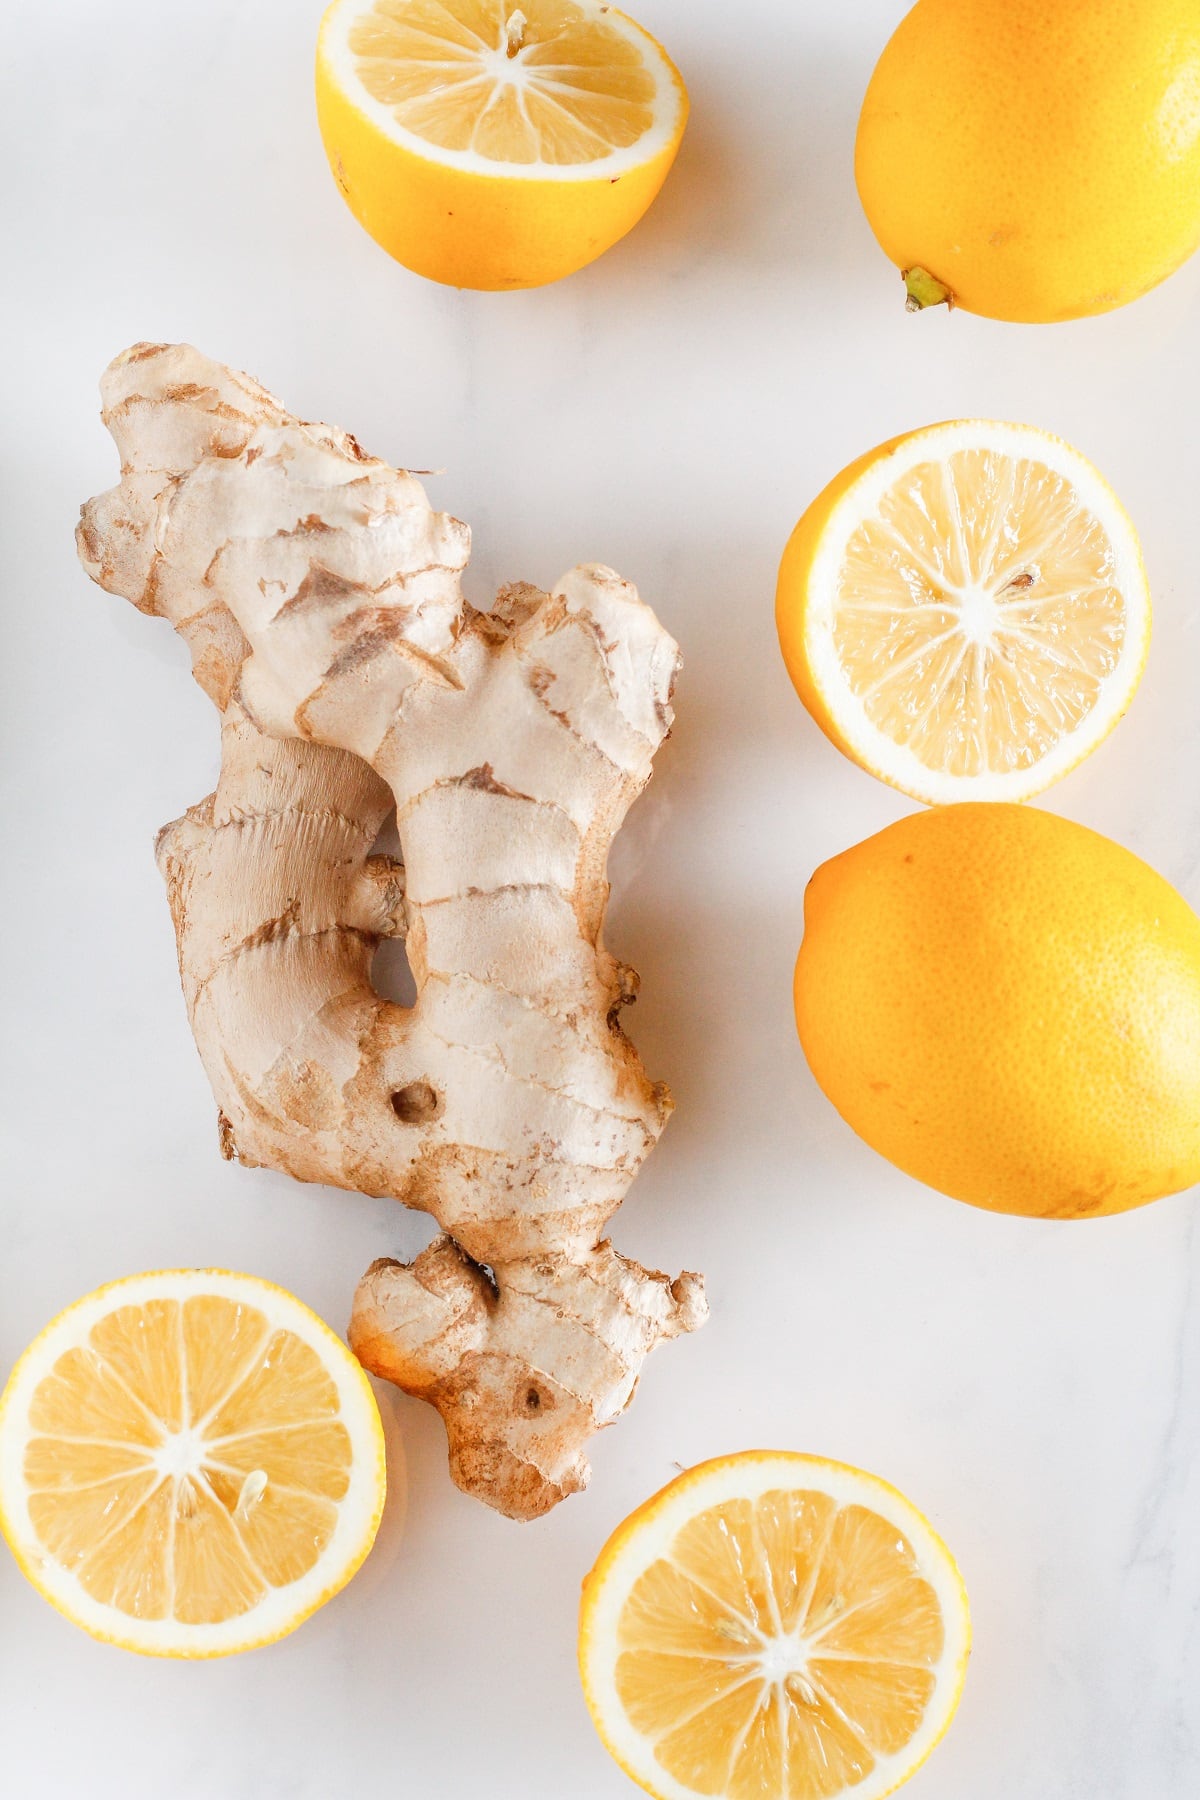
All it takes is fresh grated organic ginger, cream of tartar, lemon juice, active dry yeast, and cold water.
You can replace the lemon juice with lime juice if you’d like. I always go with organic fresh ginger root because it contains plenty of natural bacteria and natural yeasts for the best ginger beer.
Some people add brewer’s yeast (beer yeast) or champagne yeast to this recipe to boost the activity and alcohol content.
I don’t personally have experience with either one so can’t offer advice on how much to use or how to employ it, but if you’re interested in stepping up your brew, they are worth looking into!
I have also heard some people use sourdough starter to make ginger beer, but I have no experience with this either.
Health Benefits of Ginger Beer:
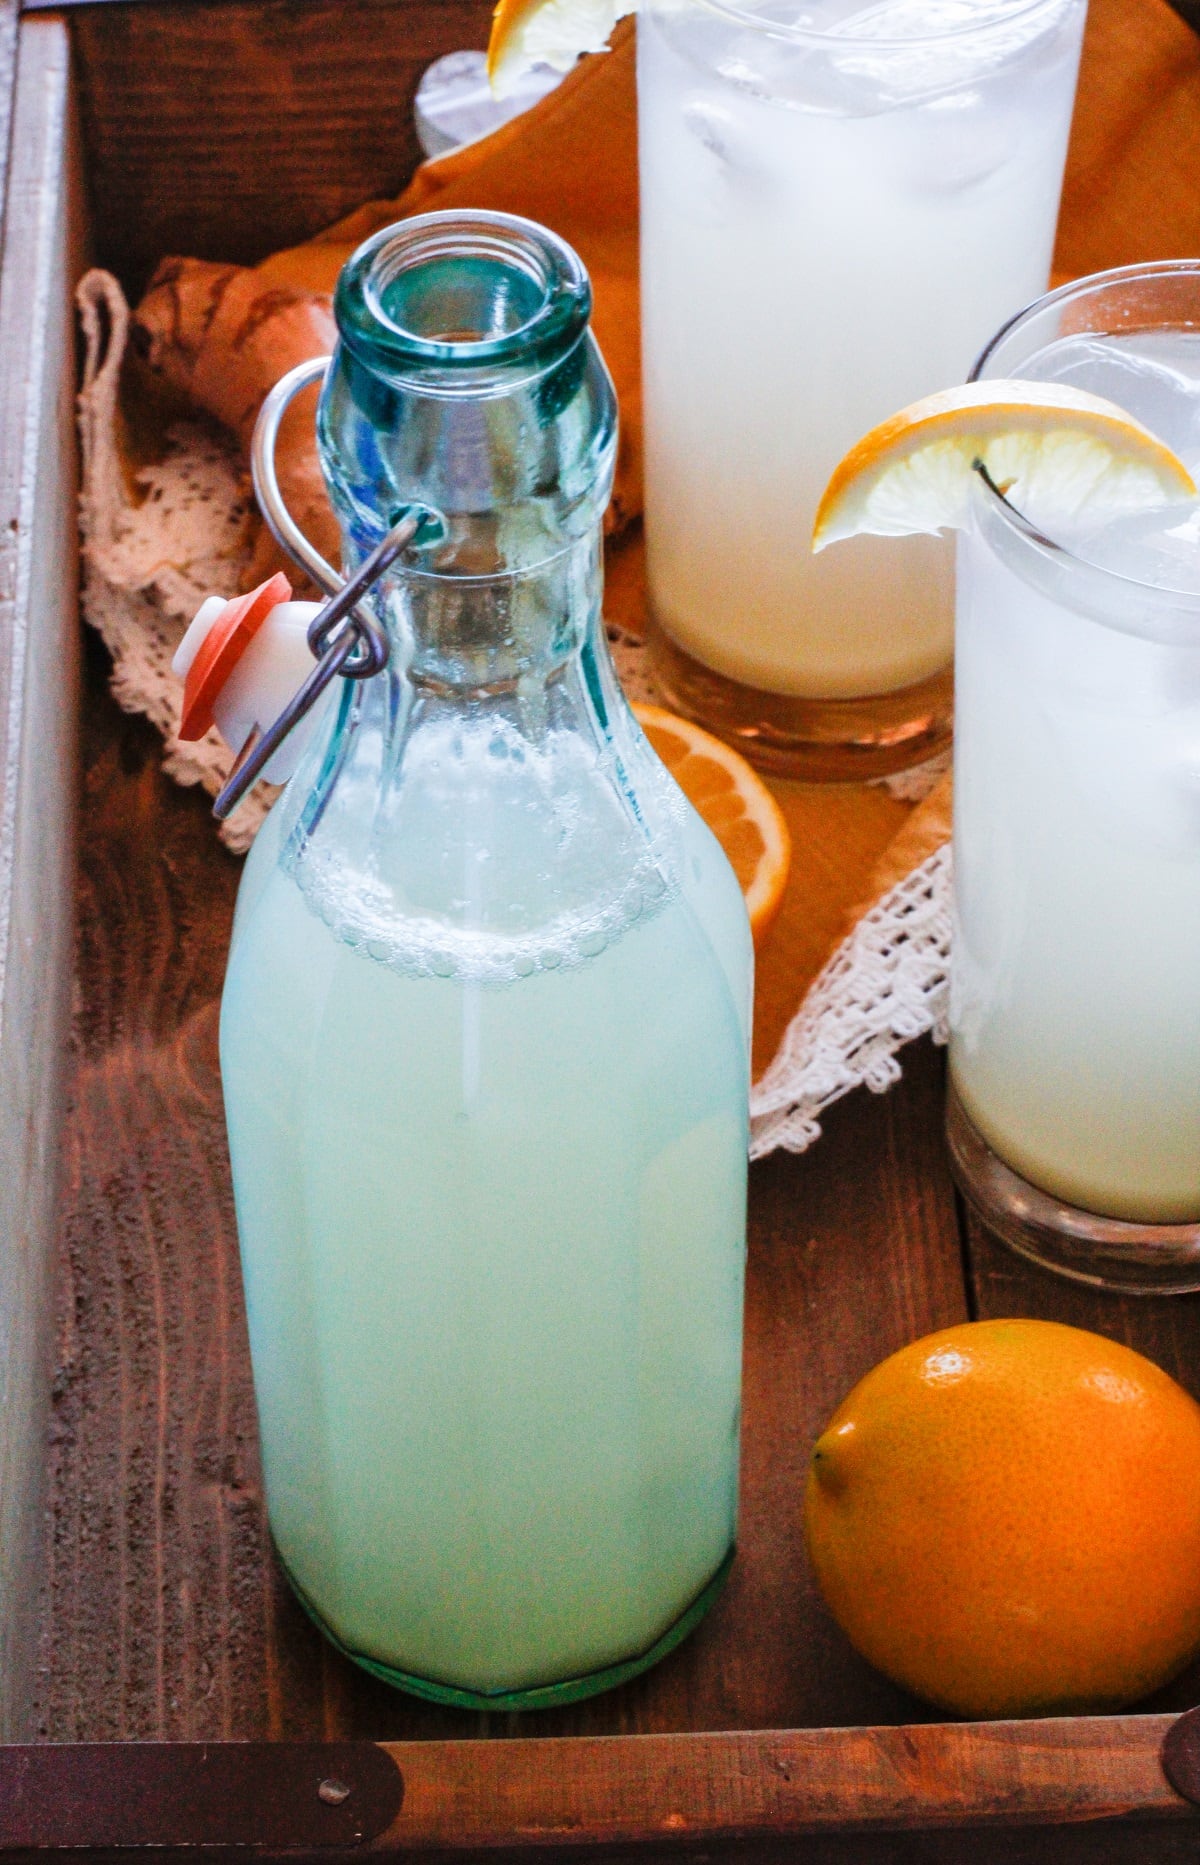
Ginger is a root and has been used as a natural remedy for upset stomach and nausea across many civilizations for hundreds of years.
It is a natural anti-inflammatory and digestive aid.
Studies show fresh ginger prevents and fights several types of cancer cells including breast, colon, ovarian, prostate, and lung cancer.
Ginger is also known for cleansing the body of toxic chemicals, as it is full of antioxidants.
When fermented, ginger releases enzymes and probiotics, which help maintain healthy gut microflora.
So is ginger beer really good for you?
Based on its ability to lower inflammation, aid with digestion, and boost your body’s immune system, yes, ginger beer is good for you.
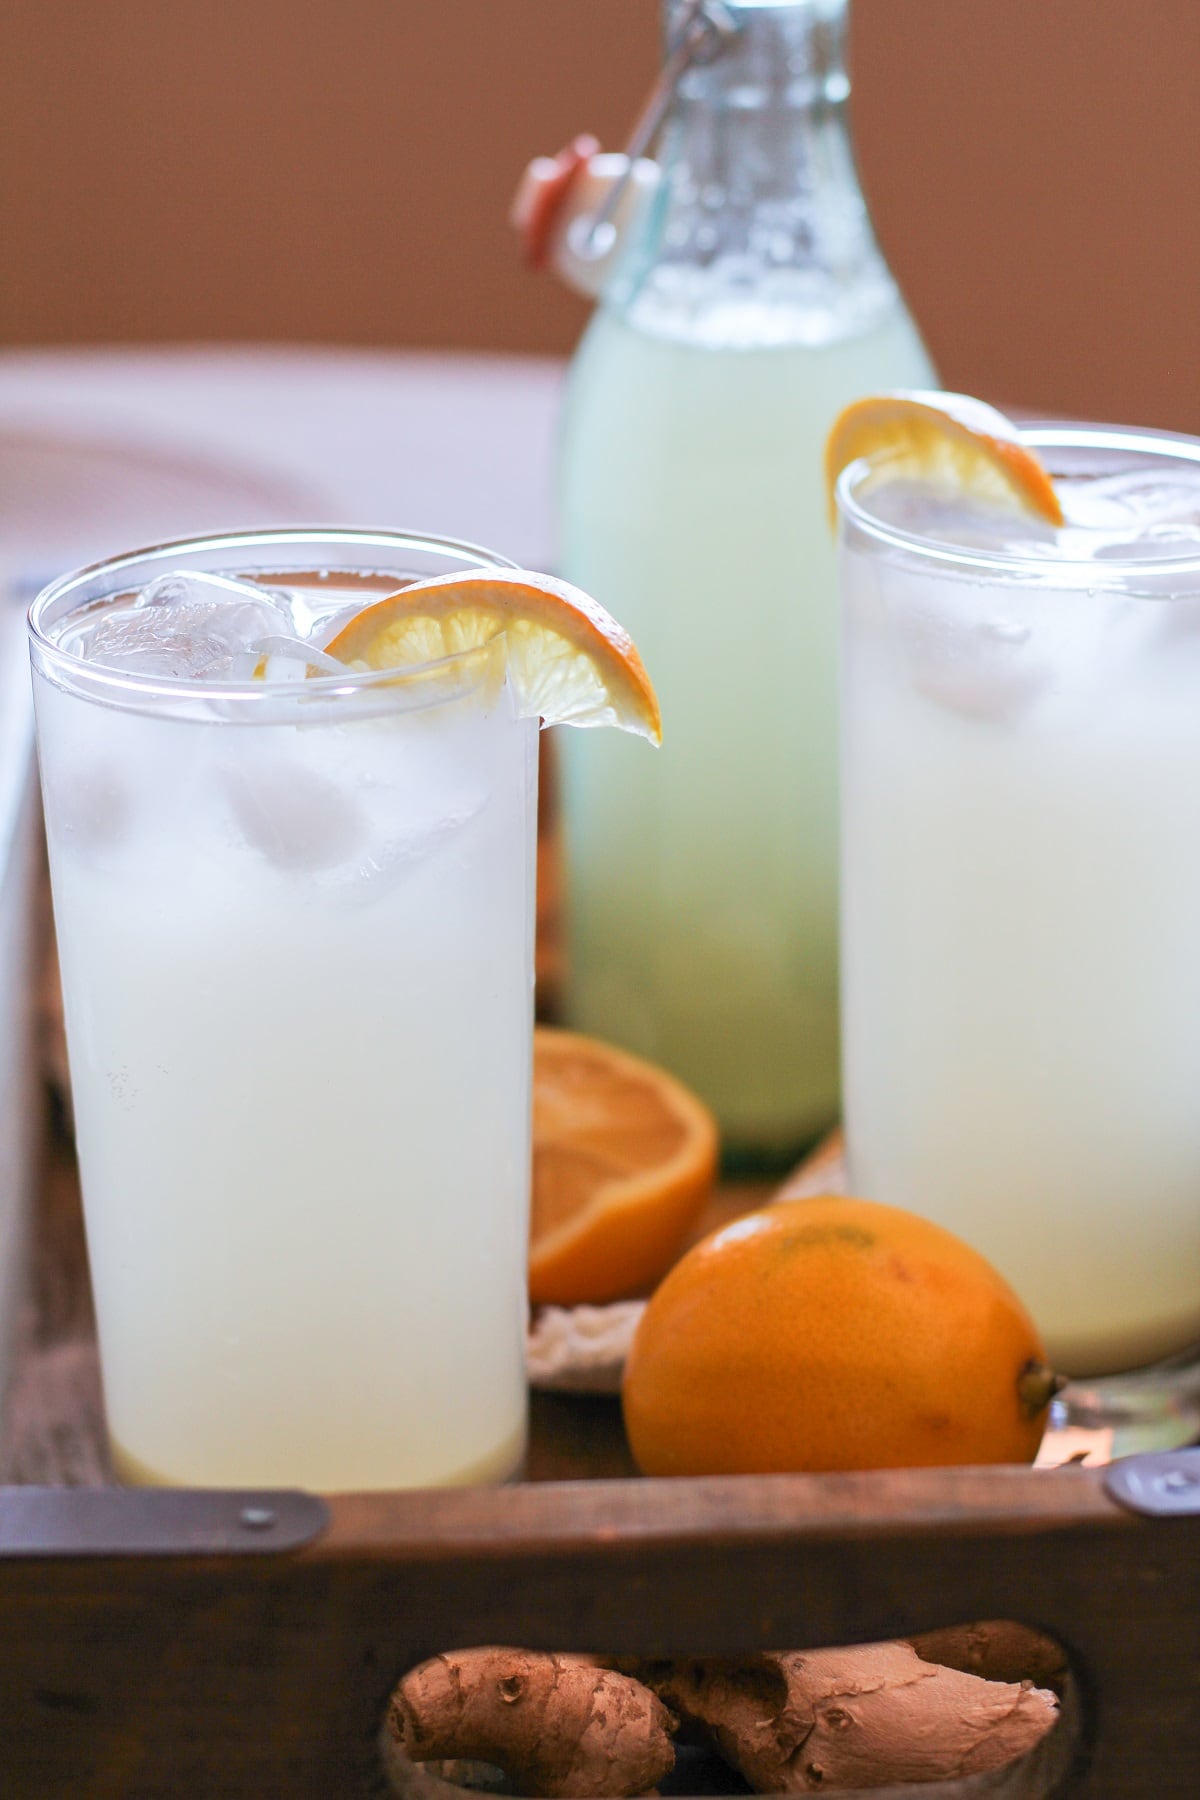
Now that we have all of the details laid out, let’s learn how to make ginger beer!
How to Make Ginger Beer:
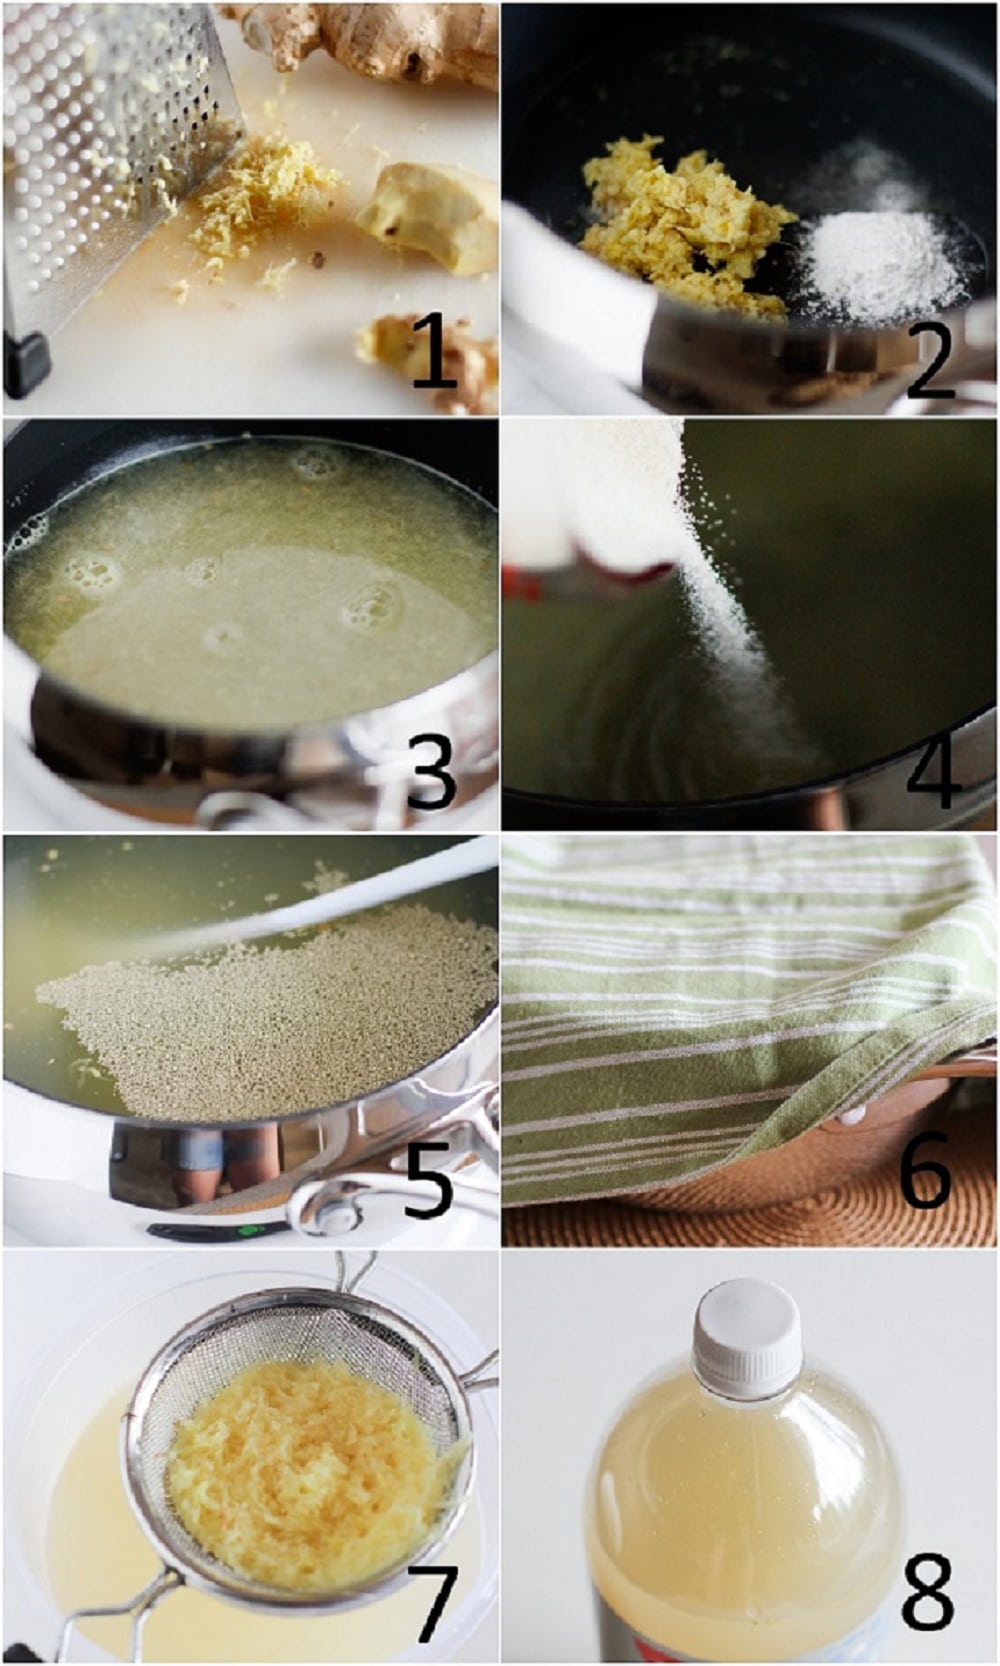
- Peel and grate the fresh ginger using a box grater. You want about 1/4 cup of grated ginger.
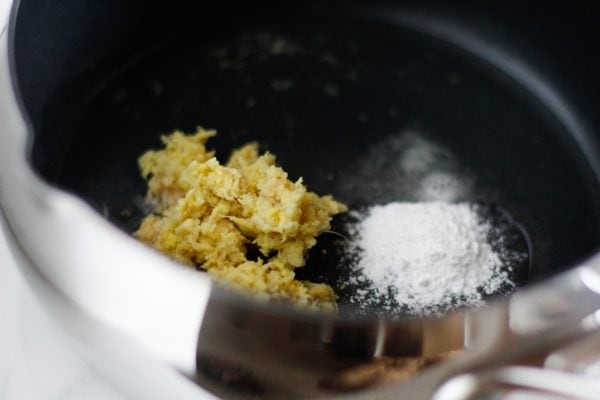
- Add the cream of tartar (1/2 teaspoon), lemon juice (1/4 cup), and ginger to a large pot.
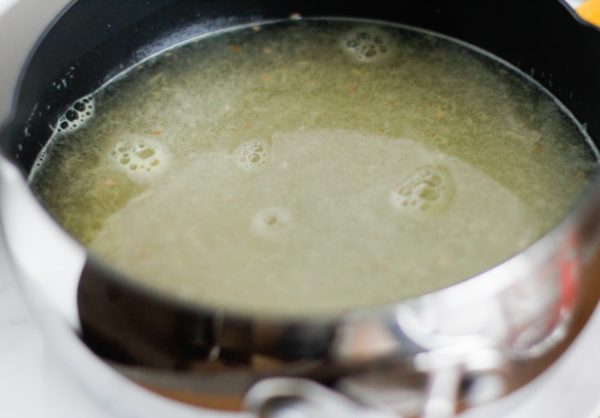
- Add 4 cups of water, and bring the mixture to a full boil.
- Turn the heat down to medium, add the sugar and stir until all of the sugar is dissolved.
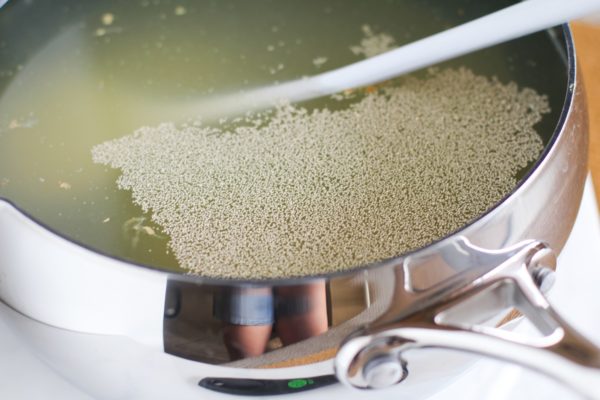
- Add the rest of the cold water to the pot (5 cups) and allow it to cool to around 75 degrees Fahrenheit (23 degrees Celsius). Add the yeast (1 teaspoon), stir well.
- Cover the pot with a kitchen towel and place in a warm, dark part of your house for 3 hours. The mixture should smell gingery and yeasty!
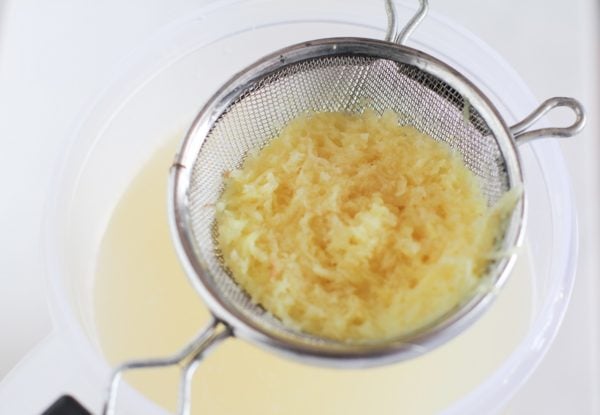
- Using a fine strainer, coffee filter, or a fine-mesh sieve, strain the liquid into a large pitcher to remove all the bits of ginger.
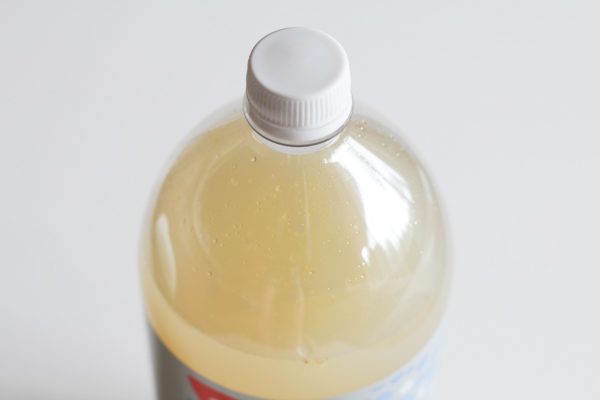
- Pour this strain mixture into a clean 2-liter plastic bottle. Empty soda water bottles work perfectly, and you can also use 2 one-liter bottles. Do not fill up the bottles all the way because the fermentation will yield carbon dioxide.
Place the plastic soda bottles in a dark place (ideally a warm room or warm place) for a couple of days.
One to three times a day, carefully loosen the caps to relieve some of the pressure without opening the bottles all the way.
The drink becomes very pressurized and fizzy, so skipping this step could result in a ginger beer bottle explosion. True story.
Be very careful in this process and do not point the bottles at anyone’s (or your own) face.
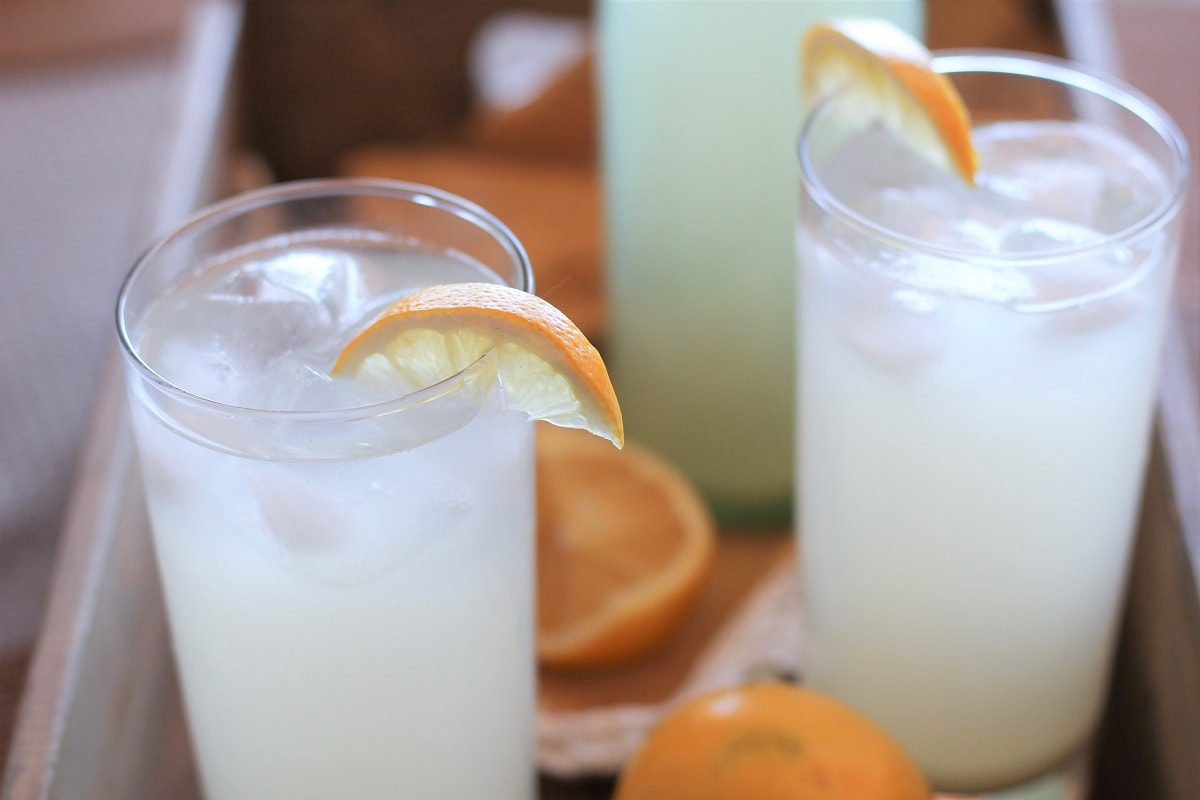
After your brew has finished fermenting, you can either add fruit, simple syrup, juice, or liquor to it to create a customized treat, or drink it as is.
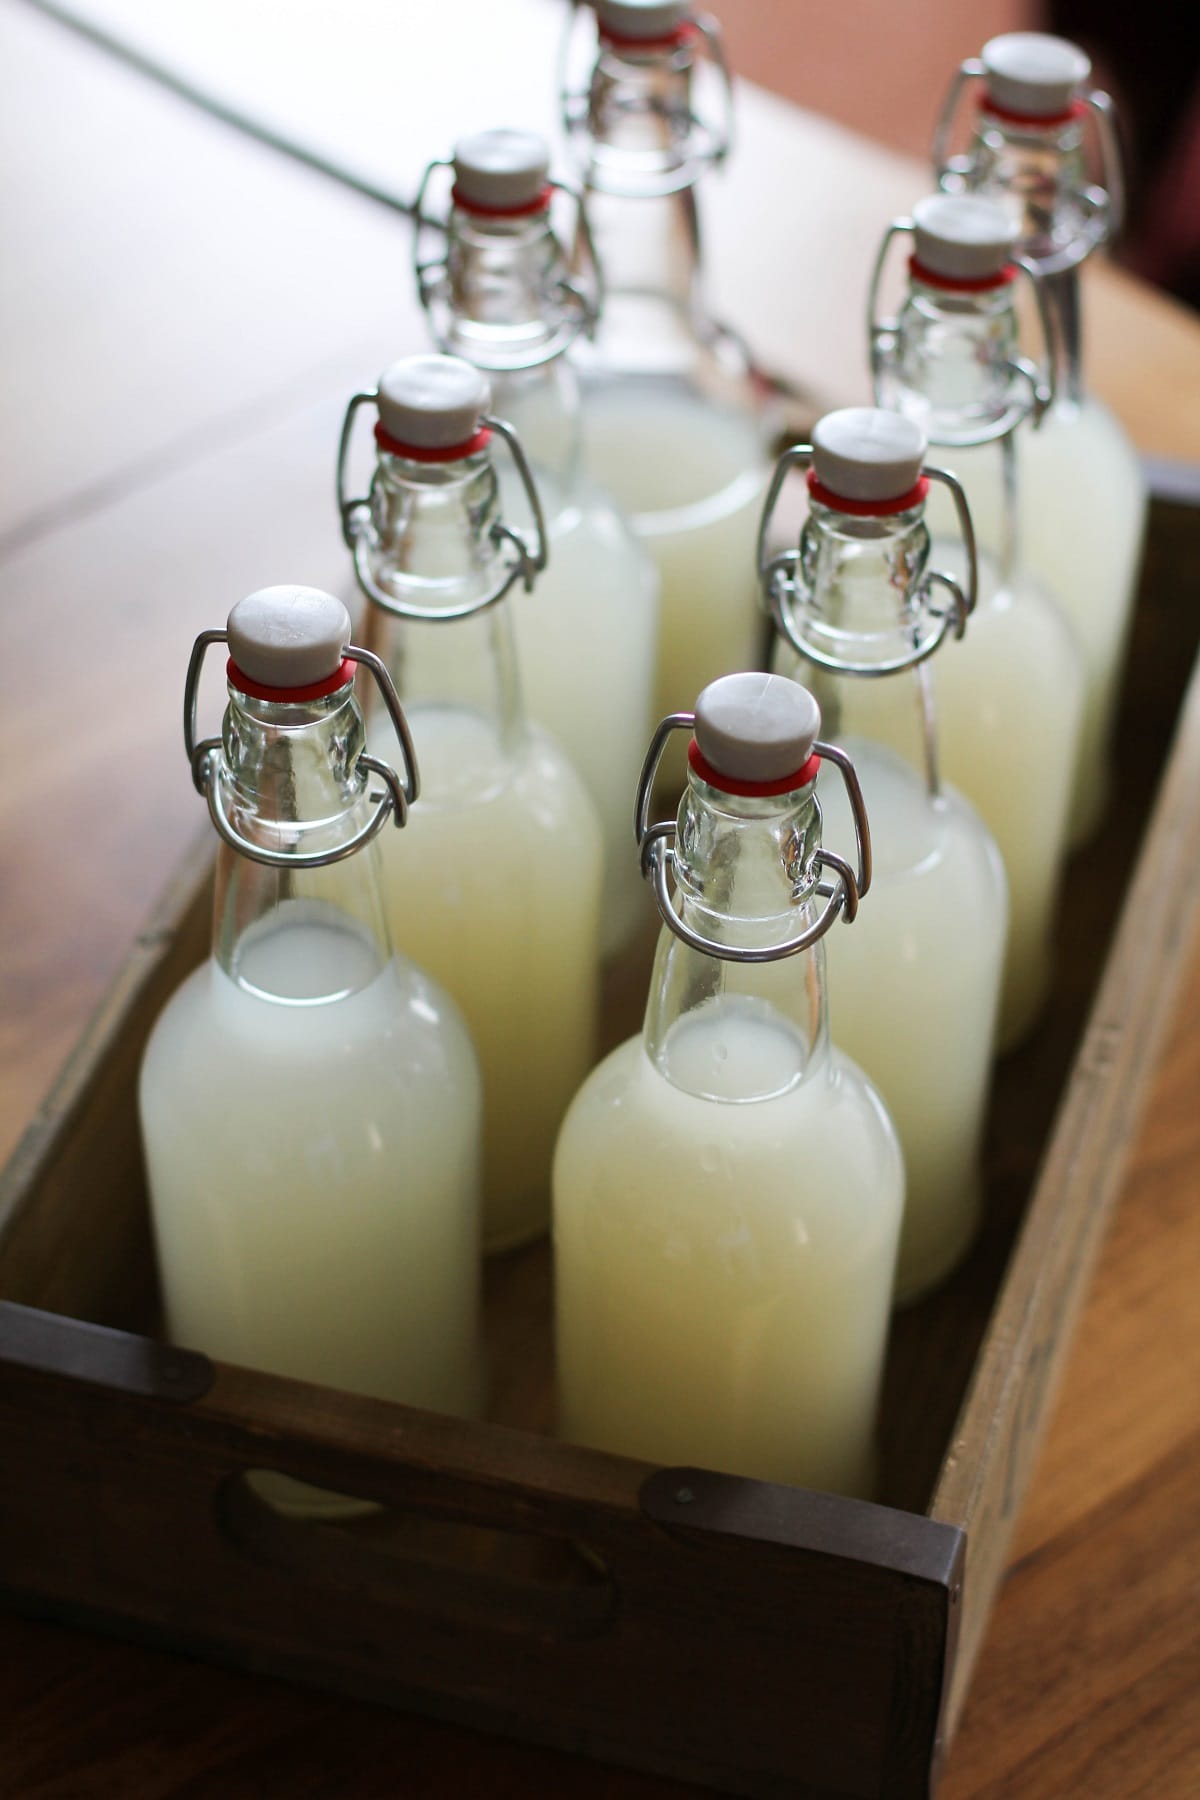
If you choose to bottle the ginger beer in glass bottles, allow the ginger beer to lose much of its fizz prior to bottling, as it will continue to carbonate in the bottles.
This could result in them exploding if there is too much pressure.
Important Notes:
During fermentation, DO NOT use glass bottles, because the glass can explode under pressure (yes, it builds up that much pressure!), be sure to use plastic bottles with screw tops, as noted in the recipe, so that you can relieve pressure during fermentation.
After 24 hours, you will notice yeast colonies on top of the liquid and settled at the bottom. This is normal!
Once the ginger beer has finished fermenting, glass bottles may be used for bottling and storing.
You must be very careful when opening the bottles because the beverage will still be very carbonated. Always point glass bottles away from your face or anyone else’s face while opening.
The longer you allow the brew to ferment, the more sugar will be metabolized by the yeast, resulting in a less sweet, drier beverage.
I recommend storing finished ginger beer in the refrigerator and always away from direct sunlight.
Depending on the time of year and the room temperature, the brew may take more or less time to ferment. If the room is particularly cool, it could take an extra day or two to finish fermenting, whereas if it very warm, it could take less than 48 hours.
How to Make Sweeter, Spicier Ginger Beer:
If you prefer a sweeter beverage, consider fermenting the ginger beer for one to two days only or simply start with more sugar (about 1 1/4 to 1 1/2 cups instead of 1 cup) than you need.
For spicy ginger beer, start out with double the amount of ginger for a kick. Make your own ginger beer based on your personal taste!
How to Store Ginger Beer:
Once the ginger beer has finished its few-day brewing process, store it in the refrigerator for 10 days, or up to 1 month when left untouched.
You can either store it in the same plastic bottle you used to brew it, or transfer it into glass flip cap bottles. I play it safe and store it in the same plastic bottle I use for fermentation.
Just note that the more you open the bottle, the more carbonation will be lost.
Enjoy the ginger beer as is or use it for cocktails or mocktails! I love it in my Strawberry Moscow Mules and my Cranberry Sauce Bourbon Cocktail!
While I was writing my cookbook, Delicious Probiotic Drinks, I had a great deal of fun with the ginger beer section – for me the challenge of making authentic ginger beer was even more interesting than brewing the perfect batch of kombucha.
Now go forth and ferment you some ginger juice.
My cookbook, Paleo Power Bowls, is now available! CLICK HERE to check it out, and thank you for your support!
If you make this ginger beer recipe, please feel free to share a photo and tag @The.Roasted.Root on Instagram!
Refreshing beverages for a warm day that takes little time, let’s go! Enjoy this homemade ginger ale!
How to Make Ginger Beer
Ingredients
- 9 cups (48oz) spring or well water
- ½ tsp (1.3g) cream of tartar*
- 1/3 cup (35g) fresh ginger peeled and grated
- 1/3 cup (79ml) fresh lemon juice**
- 1 cup (150g) granulated cane sugar***
- 1 tsp (3g) active dry yeast****
You Also Need:
- 1 2-liter plastic bottle with screw top (a large soda water bottle that has been carefully cleaned works great)
- A medium to large sized pot for heating water
Instructions
- Add the cream of tartar, lemon juice and fresh grated ginger to a large pot along with 4 cups of the water. Bring to a full boil.
- Turn the heat down to medium, add the sugar and stir until all of the sugar is dissolved.
- Add the rest of the (cold) water to the pot and allow it to cool to around 75 degrees F (23 degrees C). Stir in the yeast, stir and cover the pot with a kitchen towel. Place pot in a dark place for 3 hours.
- Using a fine strainer, strain the liquid into a pitcher to remove all the bits of ginger.
- Pour the brew into one clean 2-liter plastic bottle (or two 1-liter bottles) but do not fill up the bottle all the way because the fermentation will yield carbon dioxide, causing gases to build in the bottle – you will need to give the liquid some room to build the gas. Place the bottles in a dark, warm room for 2 to 3 days (two days if you want a sweeter ginger beer, and 3 days if you prefer a drier ginger beer).
- Once to three times a day, carefully loosen the caps to relieve some of the pressure (without opening the bottles all the way). Be very careful in this process and do not point the bottles at anyone’s (or your own face). After the ginger beer has finished brewing, store it in the refrigerator to chill. This will also slow the fermentation process.
- Pour in a glass and enjoy as is, or add a splash of rum and lime juice for a Dark n' Stormy. Ginger beer keeps for 10 days – be sure to store in air-tight bottles in your refrigerator.
Video
Notes
Nutrition
This post contains affiliate links, which means I make a small commission off items you purchase at no additional cost to you.
I originally shared this recipe on September 1, 2014. I updated the information and photos to make the tutorial even better.



I’m so excited about this recipe, but unfortunately I used 1 tablespoon of yeast instead of 1 teaspoon. I just put it in a 2 liter soda bottle. What should I expect, and is there any way to fix this? I imagine it will have more of a yeasty bread flavor, and I may need to vent it more often. Thanks in advance for your tips.
Hi Joanne, I would imagine the ginger beer will still turn out just fine and I think your assumptions are correct. I think it will taste more yeasty and need to be vented more frequently. I think it will also take less time to ferment since there is more yeast to feed on the sugar. I’d let it go for just 1 or 2 days and see how it tastes. I’d say the only risk you run is letting the ginger beer ferment for a little too long and the yeast dies because it’s out of food (sugar) to consume – other than being aware of a shorter fermentation time, I think it will turn out just great! Let us know how it all works out!
It was very strong, but it wasn’t bad. I added a little pumpkin pie spice for flavor and Stevia for sweetness.
Hi… Thanks for the recipe, I always wanted to make ginger beer.. But mine has no bubbles! It´s been 2 days in mid-summer and it´s still flat. Can I put another spoon of yeast in now to see if it does something? Thanks!
Hi Mahoney,
I would say let the ginger bug go a few more days – sometimes it takes only a couple of days for the probiotics to activate and for you to see bubbles, and sometimes it can take a week. Unfortunately, it isn’t an exact science. I’d say as long as you’re keeping the ginger bug between 75 and 80 degrees, you should see some activity soon. I wouldn’t add yeast at this point. Hope this helps and let me know if you have any other questions!
I am making my second batch of ginger beer from a kit put out by Old Hamlet Wine and Spice Co, who don’t seem to answer inquiries, so I am wondering if anyone from here can help. Basically, they have you make up a ginger/ lemon “tea,” and sprinkle yeast on top. They don’t say to stir the yeast in, so I didn’t. You let it sit for three days in a container, then “syphon off the mixture into plastic bottles.”
I am one day into the first part, and have a nice layer of goo building up on the top of the brew, so the yeast is working. What I am wondering is: when I am ready to bottle it, do I stir the yeast mess into the liquid and put it into the bottle with the liquid, or do I skim it off and discard it? does it make a difference?
I would be grateful for any advise. The first batch I made wasn’t very active, si this issue didn’t arrive!
I only let mine sit for 2 1/2 hours before I bottled – should it still work?
HI Robin – So excited to have found your site. I made a little mistake. Instead of bottling (in plastic bottles) and sitting in dark place for 2-3 days. I bottled and put in fridge. Only for 12 hours. Then I pulled them out of fridge to sit out and ferment. Will that affect the brew? Thank you.
Hi Marie,
The good news is, your beverage will still taste great. The bad news is, it likely didn’t ferment much, as the yeast needs to stay at room temperature (or ideally the 70-80 degree range) in order to consume the sugars and properly ferment. That said, ginger beer does ferment in the refrigerator, but the fermentation is slowed quite a bit. My guess is your drink will turn out slightly effervescent, but not as much as you would have gotten had the bottles sat before refrigeration. I think it’ll still be quite tasty, though! Let us know how it turns out 🙂
Hi Robin – It turned out great! I doubled the amount of ginger in my batch. It’s been refrigerated now for almost 2 weeks and carbonation is still going strong!! Has a little more carbonation than a typical canned soda. More similar to carbonation from a fountain drink. Thanks again!
Thanks for your help, Julia! I’ve made a few batches now and I’m very much enjoying the process. But perhaps you can help me with my fine tuning.
My first batch was tasty, but a but more lemony than I wanted, but when I backed off the the lemon, the resulting drink seemed almost water, without that juicy fullness. I’m planning to experiment with limes and maybe pineapple juice (it’s listed on many brands of ginger beer I saw in the store), but I wondered whether you had further wisdom.
Secondly, I love my ginger, and I love its spice. So far, adding more ginger hasn’t gotten it nearly as spicy as I’d like, resulting in something between a ginger ale and ginger beer level of spice. I’m playing with using a mortar and pestle to bring out some of the ginger juices, but from other comments out doesn’t sound like others have has as much trouble getting their brew spicy. Could it be because I haven’t been boiling my water with the ginger and everything before adding the bug? That’s been my only other guess so far.
Anyway, thanks for everything again! It’s been a blast and many of my friends have partaken and become part of the process.
Lime and Pineapple juice sound amazing in ginger beer! I’m looking forward to hearing how you like it!
In terms of the level of ginger spiciness, it could definitely be because you’ve skipped the boiling process. Heating the ginger helps bring out the flavor and infuses the liquid with it. I’d recommend trying this, and also be sure your ginger is super fresh. I’ve found some of the ginger I pick up at the store is just kind of dry and doesn’t have a whole lot of flavor, whereas other times, it will be suuuuper spicy and juicy. Perhaps a combination of these things is what has lead you to a less-than-desired spice level. Thanks for stopping back to share your results and feel free to keep us all posted on your next batches!
Will do! I wasn’t sure whether boiling would take away from the authenticity or probiotic goodness since it wasn’t mentioned in the book. I assume I just use the bug in place of the yeast? I boiled some up and am waiting for it to cool now, so hopefully it’ll turn out well!
Ah, my apologies – I got confused and thought you were referring to the recipe in this post, then remembered you were following the recipe from DPD. For making an authentic ginger bug (starter), I would recommend keeping the ginger raw, but when you go to brew a full batch using the starter, you can maximize the flavor by boiling the ginger with the sugar and lemon juice first. So basically, it sounds like you’re all set…allow the ginger mixture that you just boiled to cool and then add the ginger bug/starter for the full batch of brew. I hope that makes sense – Let me know if you have any other questions!
I know this is an old post, but you can try:
1. Use a whipping siphon for a better and faster flavour extraction without heating anything.
2. You can use a glass mason jar for the fermentation part using one of these:
https://www.masontops.com/collections/pickle-pipe/products/pickle-pipe
I started a batch of your homemade ginger beer from the book only to find ants taste testing it 24 hours later. I’ll be sure to keep my brew off the floor next time. But anyway, my questions are about the bug itself. If you only use the liquid for the beer, wouldn’t the solids in your bug keep building? I understand you can add more water once the liquid is used, but should you throw out some of the solids from time to time to keep that from building up too much? Also, is there a way to store the bug without feeding it every day? Like you can put a sourdough starter in the fridge and only feed it once a week. Can something similar be done with the ginger bug? Thanks a bunch!
Oh no, sorry to hear about the ant invasion, Allyson! Insects are super attracted to the gasses that bacteria and yeast release into the air, so I’d say it’s a good idea to keep the bug on a shelf – I keep mine in a cupboard.
You don’t need to throw out any of the solids in your ginger bug to keep it going, but you can use some of the solids in your batches of ginger beer. The idea is to continually use the bug as starter for batches of ginger beer, but with that said, most people can’t drink enough ginger beer to brew it fast enough to keep up with the bug. Most people I know who brew ginger beer using a ginger bug will only do 2 to 3 batches using the same starter and then will start over with a new ginger bug when their supply of ginger beer runs out. In this sense, you wouldn’t necessarily be growing the same ginger bug for months/years, although I’m sure you could if you continually used it.
As for keeping a ginger bug alive in the refrigerator similar to sourdough starter – this is a GREAT question…I honestly don’t know, as I’ve never tried. My guess would be the bacteria and yeast would die if they stayed cold for too long, but it’s possible they’d liven back up when brought to 75-ish degrees. Please do let me know if you end up trying this out, and I’ll let you know if I do the same 🙂
I’ve begun making ginger beer the authentic way (I have your book!) And I had a question about using the ginger bug. I got mine going and used some for my first batch of ginger beer, and have since kept the ginger bug going with ginger and sugar, but I didn’t know whether I should add more water as well, or if continually adding ginger and sugar will make up the volume. Thanks!
Hey Scott! Yeeeeeeees! I’m so glad you’re diving into the art of super real and authentic ginger beer brewing! Sounds like it’s going well so far!
I’d definitely add water to the ginger bug, as the bacteria and yeast will need it in order to continue to reproduce. Honestly, I go by the color of the bug…it should stay a pale yellow, almost like lemonade. If it gets darker than that (or overly cloudy), you need to add water and you run the risk of killing the culture. If you’re keeping the bug in a 1-qt mason jar (or something similar), I’d start by adding a cup of water and see what the bug looks like…although, I wouldn’t worry much about an exact measurement of the water you add. As they say, follow your gut (buhdumching). Enjoy your badass ginger beer, and let me know if you have any other questions!
it does not take 4-6 weeks to make a ginger bug. It takes 3-7 days. Please stop spreading Ginger Bug Hate speech. Also you should never bottle in glass containers that is a glass bomb ready to go off even in the refrigerator. Very dangerous, google it to see. You should protect your blog readers more carefully from the glass danger.
#GingerBugLove
She wasn’t saying it takes that long to make the bug. She was saying that doing it that way takes 4-6 weeks in total from the point you begin the bug to the point your ginger beer is ready for consumption. Julia gives the method using a ginger bug in her book. I don’t see any reason to think she doesn’t love ginger bugs too!
Could i use champagne yeast instead?
Hi Dylan, I’ve never tried making ginger beer with champagne yeast, but my guess is it would work just fine! I’m curious to know how it would turn out – I bet the flavor would be awesome. Let us all know if you give it a whirl!
Blechh. Way too yeasty for my taste. Tastes like yeast water more than ginger beer. I’m going to have to dump the whole thing down the drain. I’m surprised there are so many positive comments. Either people don’t know what ginger beer is supposed to taste like, or something went seriously wrong with my batch. As far as I can tell I followed the recipe exactly. Are there factors which might cause some batches to turn out vastly different than others?
I agree. My first batch was more like bread than ginger beer. I switched my yeast to SafaleUS-05. This is closer to what I get in the UK. I am still adjusting the recipe for my specific desired taste. Keep trying, the recipe works.
Hi E.Martin, what quantity of SAFALEUS-05 did you use for the same recipe ?
I used the same amount (i think it is 1 tsp, don’t trust my memory). This is a “dry” ale yeast, if you don’t prefer dry you could experiment with a “mild” ale yeast, I plan to try mild soon. Let me know what you think.
This is great. Twenty, twenty-five years ago I lived in NYC and used to buy sugar-free ginger beer (Olde Tyme brand). This seems to have vanished and no local stores carry sugar-free GB– in fact precious few carry any kind at all. Most of the recipes I have found call for a good amount of sugar (indeed, the “ginger bug” itself does). Yours is said to be low sugar. Is there a way to make the entire amount of sugar get fermented, leaving it essentially with zero sugar? Or is there perhaps a ratio of amounts of sugar to yeast which would result in a totally “dry” ginger beer (which I dould then sweeten with xylitol, stevia, or monkfruit)?
THANKS A LOT!! namaste
One could also use a gallon jug with an airlock during the ferment. That would save a lot of worry.
Great advice, Mike, thanks! I believe a few people have tried that and had success. I’m still in the market for a glass fermenter – I definitely think it would be a useful tool! 🙂
What is the alcohol content with this brew. There seems to be quite a bit of yeast in this compared to the amount of sugar.
Hi Kevin, one of the other readers found you end up with about 2% alcohol. I, myself, do not have the proper equipment to measure the alcohol, but I’d say 1% to 2% seems right 🙂 Let me know if you have any other questions!
After you ferment in plastic bottles and place them in glass bottles how long will they last? Will they need to be consumed within a few days or will they just continue fermenting further?
Hi Sherry,
The ginger beer will last for 1 to 2 weeks in your refrigerator. It will continue to ferment, although at a much slower rate, since temperature effects the activity of bacteria and yeast. Let me know if you have any other questions!
Do you think there would be any issues with letting it sit with the yeast for more than 3 hours… Say, 5-6 hours? I was going to let that step happen while at work! Hope it doesn’t make anything crazy happen!
Hi Travis,
I assume it would work, but I’ve never tried it…I think the worst that could happen is the yeast would die and the batch would be a flop, but I can’t be sure. Let us know if you give it a go, and I’ll come back to update you if I try it out too 🙂 Best of luck!
I let it sit for 7 hours before bottling it and I think it contributed to a very bitter flavor.