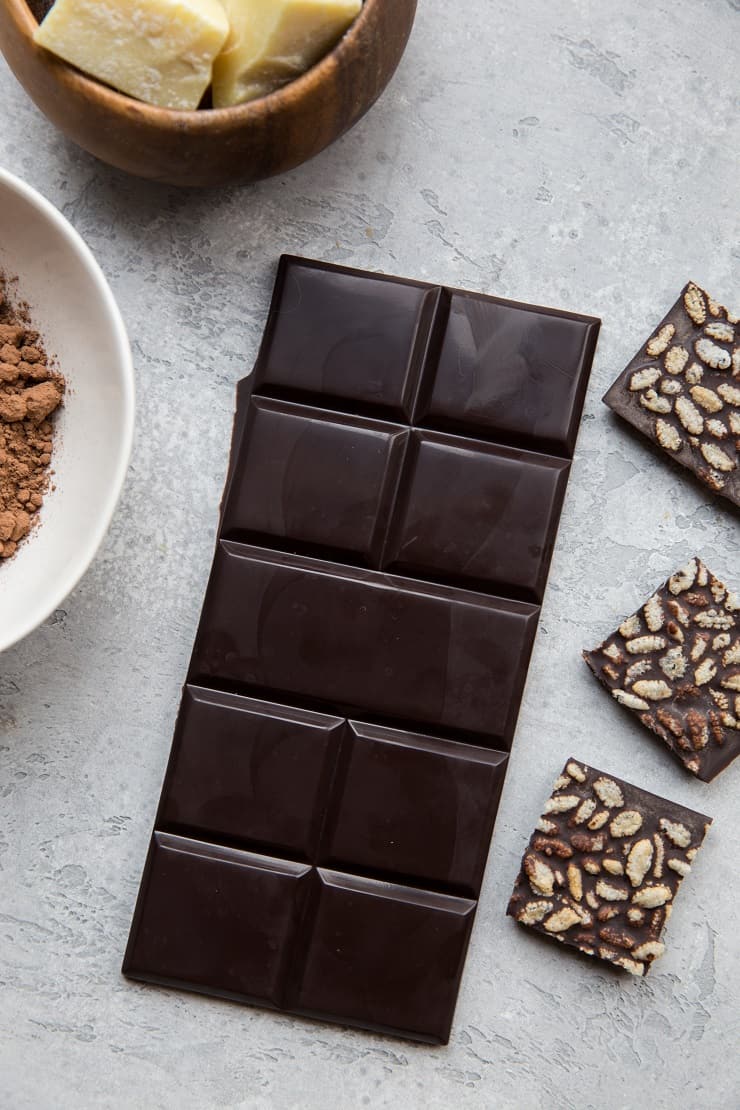
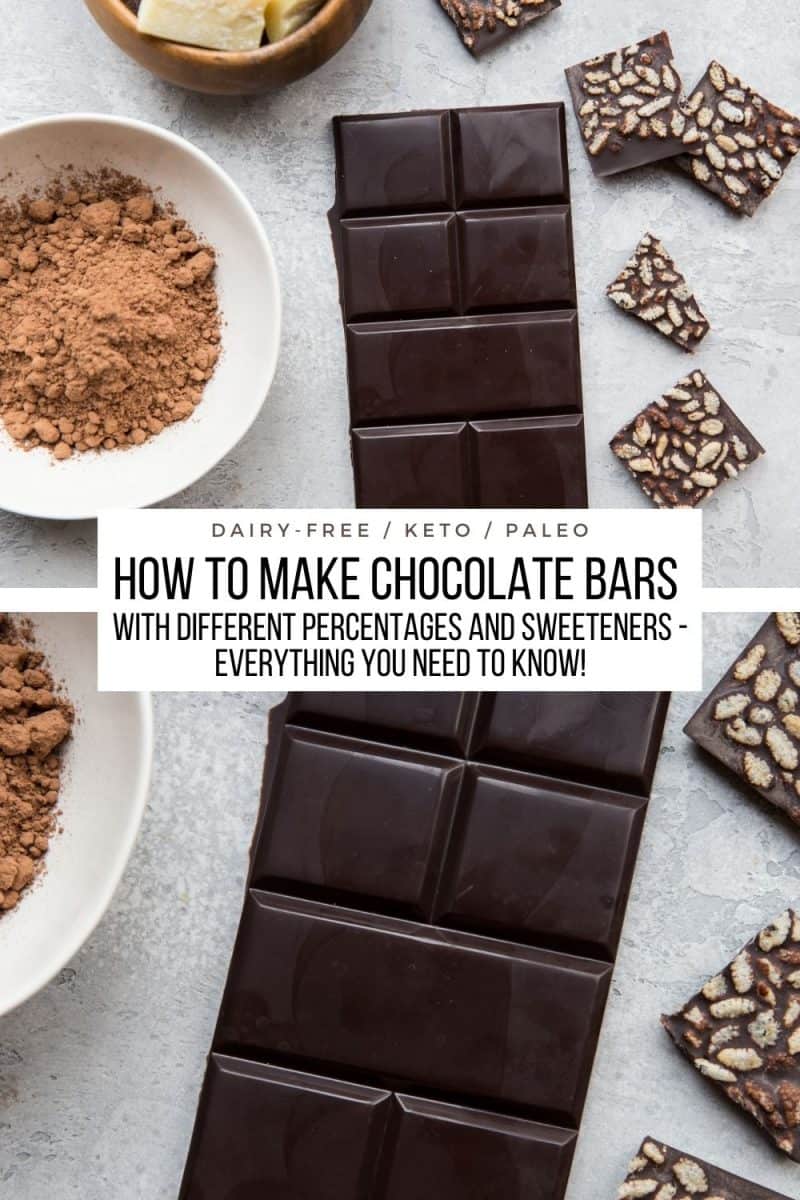
How to Make Chocolate with just a few ingredients. This post includes everything you need to know about making dark chocolate bars as well as milk chocolate (and everything in between).
The recipe is vegan, paleo, and includes options for various sweeteners.
Hello, fellow chocoholic!
This will be delivered as 0% shocking, but I’m a bit nutty when it comes to the food I put in my body.
In particular, I’m cognizant of my sugar intake and am also skeptical of the type of sugar. I’ve been buying dark chocolate made with coconut sugar for years now, and began making my own dark chocolate a few years ago.
Chocolate, in its pure form, is touted as a superfood! It contains antioxidants, which act as a natural anti-inflammatory, magnesium, iron, and potassium, and more! All things combined, chocolate may just be a better anti-inflammatory alternative to a very sugary dessert.
Let’s dive into the details on how to make dark chocolate, including the tools you’ll need, the ingredients, sweetener, options, and more! Starting with a question I know you all have: what does the percentage on a bar of chocolate actually mean?
What Does the Percentage of Chocolate Mean?:
The percentage on a package of a bar of chocolate refers to the weight of the cocoa mass relative to the other ingredients, like sugar.
The percentage includes any part of the cacao bean that is added, including cacao powder or cocoa powder and cacao butter (the fat commonly used in dark chocolate).
Therefore, an 88% chocolate bar is comprised of 88% cacao bean/powder + cacao butter (or any other part of the cacao bean) and 22% sugar + any other non-cacao ingredients such as lecithin, vanilla extract, sea salt, etc.
As Food52 puts it, beans + any extra parts of beans = cacao or cocoa percentage (Source).
How to Make Dark Chocolate of Varying Cacao Percentages:
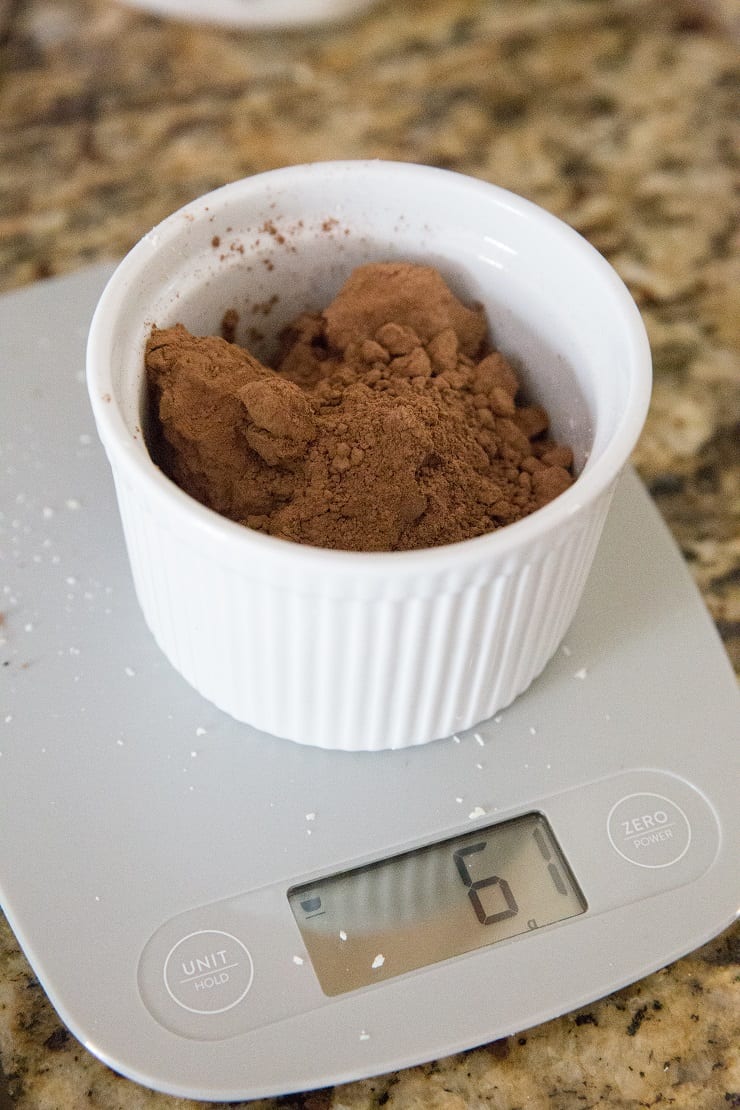
In order to get an accurate percentage, you will need a kitchen scale. By weighing the cacao powder + cacao butter and totaling the number, you can then know how much sweetener to add in order to achieve varying percentages.
For instance, if you’re going for a 70% dark chocolate bar, your cacao powder + cacao butter can equal 70 g and your sweetener can total 30 g.
If you’re making more than one bar (which is what I recommend, since you’re going through all the trouble anyway), you can multiply those numbers to get your weights.
That said, the amount of cacao butter you use in relation to how much cacao powder you use will produce varying results in richness and bitterness. I generally use twice as much cacao butter as I do cacao powder to ensure the flavor is nice and rich.
My Dark Chocolate Bar Recipe:
My go-to recipe dark chocolate bars is 140g cacao butter, 70g cacao powder, and 2 tablespoons of pure maple syrup.
As an alternative, I sometimes use 42g coconut sugar. This produces an 80% dark chocolate bar.
For less silky-smooth chocolate and less fat, you can play with your proportions of cacao butter to cacao powder.
How to Make Milk Chocolate Bars:
Milk chocolate bars contain less than 50% cocoa mass – often between 30 to 45%.
To make two milk chocolate bars, use 100g cacao butter, 30g raw cacao powder, ¼ cup pure maple syrup (or 3/4 cup powdered sugar), and 25g milk powder. Halve the recipe if only making one.
While the above recipe isn’t vegan, it will result in silky-smooth milk chocolate bars. Follow the same instructions outlined below to make milk chocolate bars.
Ingredients for Homemade Dark Chocolate Bars:
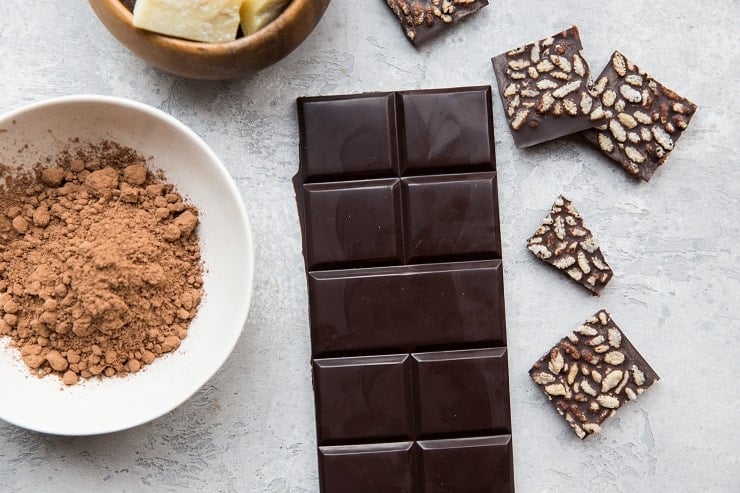
While there are many approaches to making chocolate at home, I’m using cacao butter, raw cacao powder, and coconut sugar or pure maple syrup. And of course, a pinch of sea salt. This results in dark chocolate that is dairy-free, vegan, paleo, and on the healthier end of the dessert spectrum!
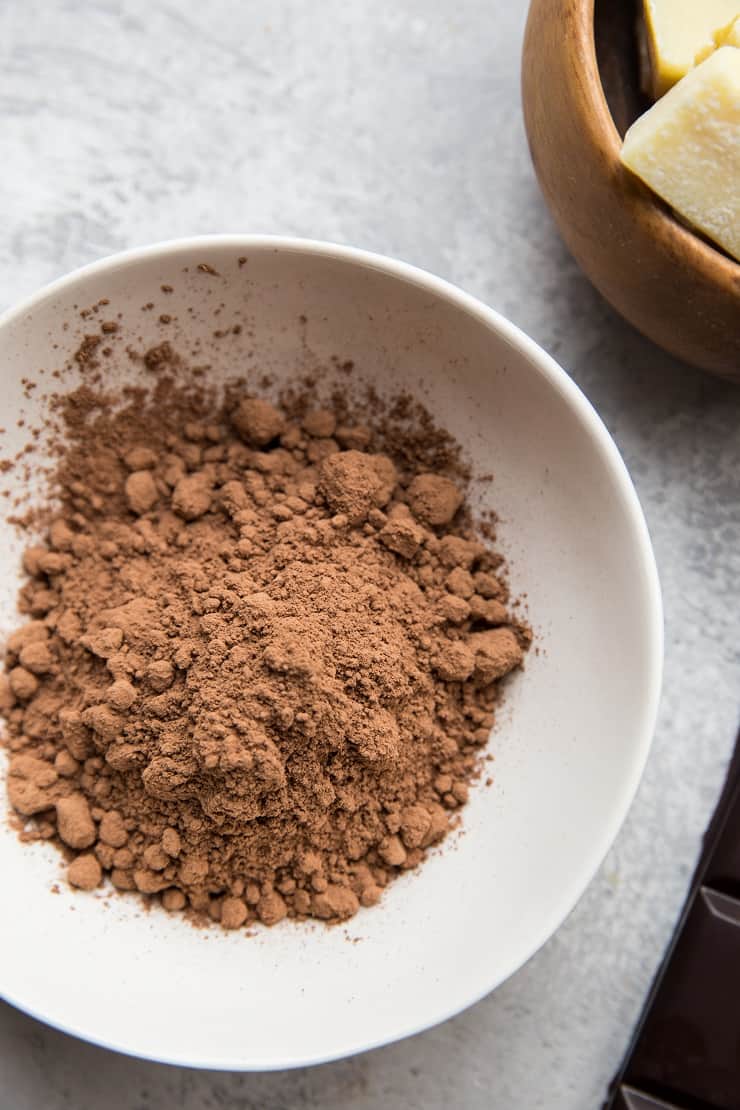
Raw Cacao Powder: The chocolatey part of this extravaganza! Choose this ingredient wisely, as it will have a big impact on the flavor (richness, creaminess, bitterness) of the chocolate. I use HealthWorks Organic Raw Cacao Powder or Navitas Raw Cacao Powder (also fair trade), which are both non-GMO and result in a creamier, less bitter flavored chocolate.
You can also use unsweetened cocoa powder, but I find it to be a bit more bitter in flavor so just keep that in mind.
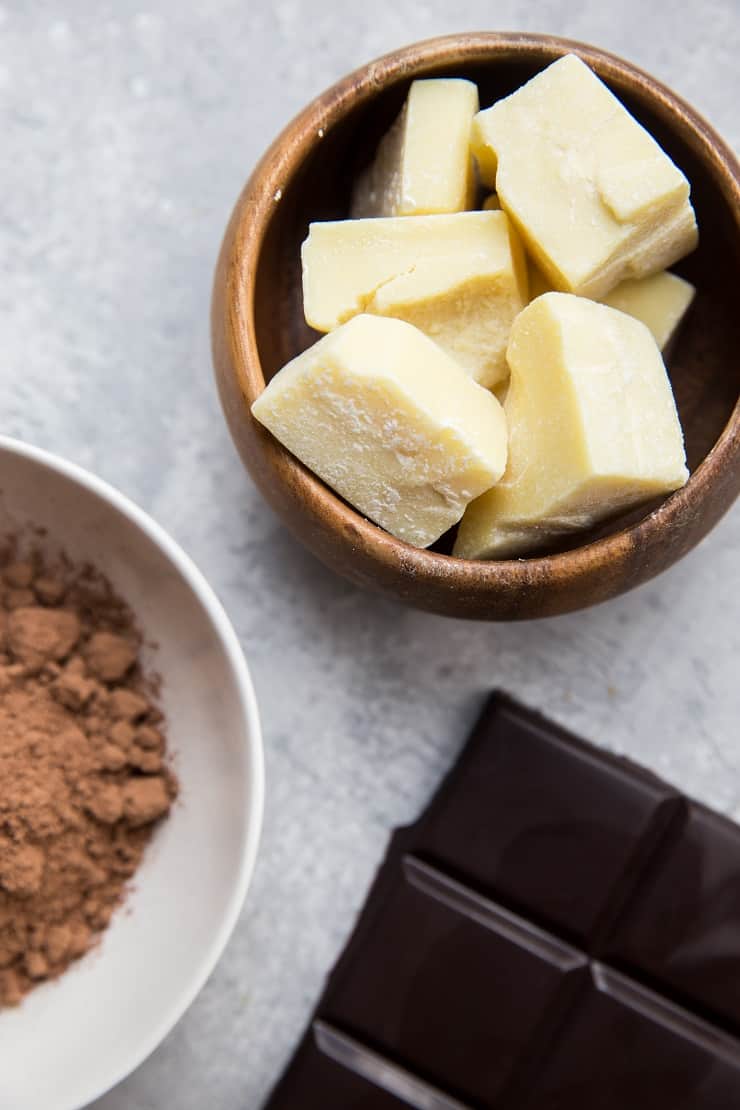
Cacao Butter: The fat portion of the bar. You need fat in order to solidify the chocolate and hold everything together. Some companies use milk in addition to cacao butter, but I find chocolate made with cacao butter is my favorite. I use HealthWorks Raw Cacao Butter.
You can also use coconut oil if that’s what you have on hand and/or is your preference. Just note that the texture will be what you’d expect: very melty and oily once it warms up.
Sweetener: Tons of options here! I use coconut sugar or pure maple syrup OR a combination of the two. Below is a list of options for you! I like going with less refined, natural sweeteners, and/or sweeteners that are lower on the glycemic index than cane sugar. Yes, you can absolutely make keto chocolate by using a sugar-free sweetener!
Sweetener Options:
There is a great deal of room for experimentation when it comes to sweetening your chocolate. Below is a list of sweeteners that are easy to incorporate:
- Raw cane sugar or granulated cane sugar
- Coconut sugar
- Maple sugar
- Pure maple syrup
- Honey
- Sugar-Free Sweetener
- Stevia
Note that if you use a granulated sweetener, you will want it to be finely ground in order for it to dissolve into the cacao butter during the melting process.
I love using coconut sugar, but the bar turns out grainy unless you grind it into a finer powder using a grinder. I actually don’t mind the graininess, as I think the texture is fun, but it’s something to be aware of.
On the flipside, liquid sweeteners can be tricky if you use too much, as they will cause the bar to not solidify completely.
When I use pure maple syrup, I only use 2 tablespoons to make 2 full bars. I find the bars turn out plenty sweet (keep in mind, I like my chocolate DARK), but if you’re going for a sweeter bar, I suggest using a granulated sweetener.
Sugar-free sweeteners tend to taste much sweeter than regular granulated sweeteners, so keep that in mind when making sugar-free keto dark chocolate. You will not need as much for a very sweet bar, depending on which sugar-free sweetener you use.
Tools Needed to Make Dark Chocolate:
Kitchen Scale: Necessary for weighing the cacao powder, cacao butter and sweetener to make sure you know what percentage chocolate you’re making. A kitchen scale is optional, not mandatory if you’re fine with not knowing the exact percentage.
Double Boiler (or one larger saucepan and one smaller saucepan that easily fits inside the larger one): You will use this to melt the cacao butter so that you can mix in the cacao powder and sweetener. If you’re okay with a little trial and error, you can microwave the cacao butter in a ramekin or microwave-safe bowl, but I recommend the slow and low route.
Rubber Spatula: Used for stirring the ingredients in the double boiler, and used for pouring/scraping the chocolate into molds once the chocolate comes together.
Box Grater or Sharp Knife: In order to ensure the cacao butter melts evenly and quickly, you will need to grate it or finely chop it. I use a regular chef’s knife to chop it into small pieces on a cutting board, and I try to get the pieces to about equal sizes so that it melts evenly. If you try to melt large chunks of cacao butter, it will heat unevenly and will require more time, which could cause it to burn.
Candy Thermometer: A candy thermometer is not required, but recommended for those who are aiming to make chocolate long term and want consistent results.
Chocolate Bar Mold: Use silicone chocolate bar molds, which release the chocolate easily once it has hardened and are easy to clean. I bought my chocolate mold on Amazon. There are lots of options!
Do I Need to Use a Thermometer?:
For those of you who love doing things perfectly and like to geek out on food science, by all means, use a thermometer! All of the recipes I have come across suggest you buy a candy thermometer to be sure the temperature of the cacao butter does rise above 115 degrees F (well below boiling) while you’re melting it in a double boiler.
If you’re experienced with melting chocolate, baking, or making candy, you may find you don’t need a thermometer to produce a lovely bar. I personally don’t use one, but it may be worth the small investment if you want consistent results.
How to Make Chocolate Bars:
Weigh or measure your ingredients depending on what percentage of dark chocolate you’re going for.
If you don’t own a kitchen scale and you want dark chocolate, try 1 cup cacao butter, 2/3 cup cacao powder, 1/4 cup coconut sugar (or granulated sweetener of choice, or 2 tablespoons pure maple syrup), and a pinch of sea salt.
If you do own a scale: I’ve been doing 140g cacao butter, 80g cacao powder, 42g coconut sugar,
and a pinch of sea salt OR 140g cacao butter, 80g cacao powder, and 2 tablespoons pure maple syrup.
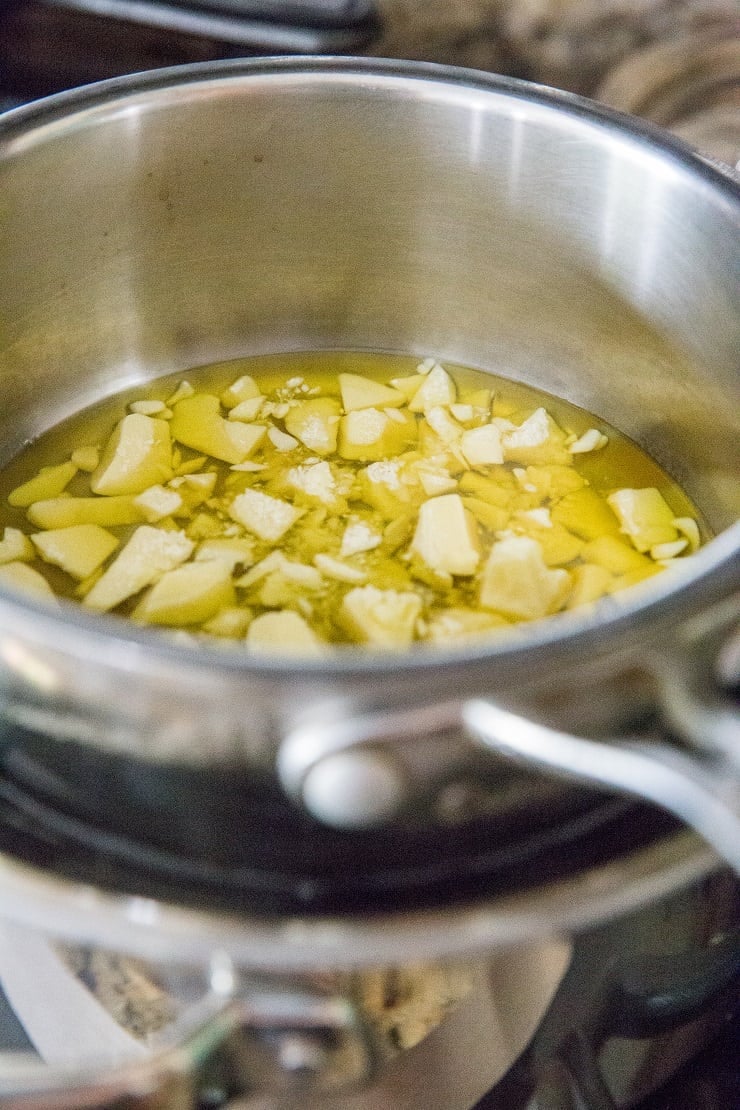
Chop or grate the cacao butter into small, similar sized pieces. Note that the smaller the cacao butter is grated or chopped, the faster it will melt. Transfer the chopped cacao butter to a small saucepan.
Heat a larger saucepan full of water and bring it to a full boil, then reduce the heat to a gentle boil. Place the saucepan with the cacao butter in the water and hold it with one hand while stirring with the other until melted. If desired, check the temperature of the cacao butter – it should be 115 degrees F or lower.
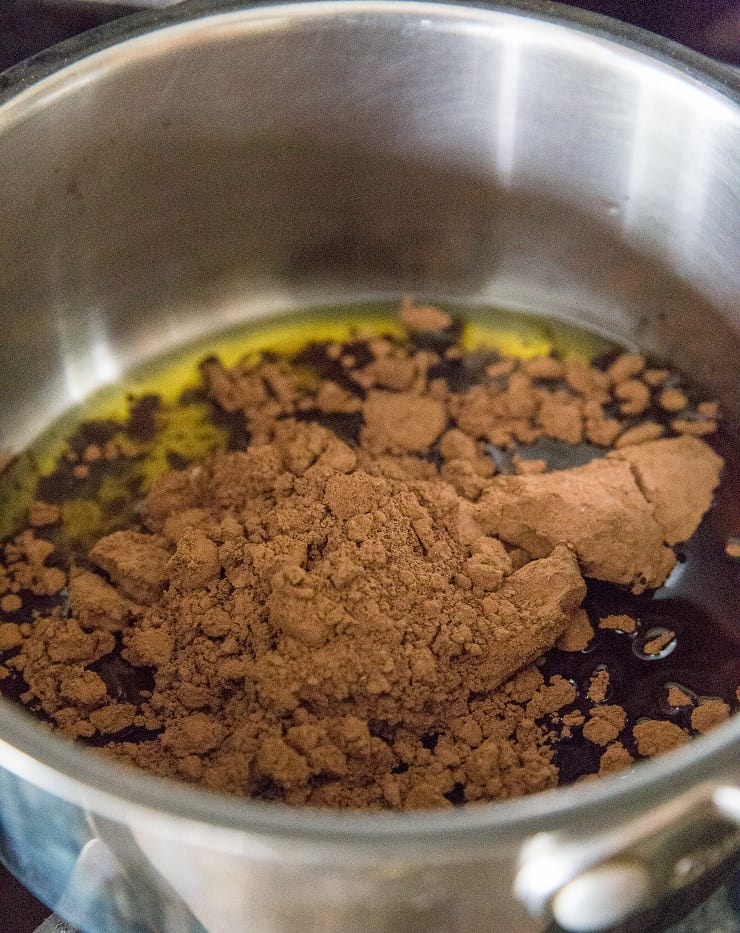
Remove the cacao butter from the heat and stir in the cacao powder and sweetener (in my case, coconut sugar or pure maple syrup) until well-combined and creamy.
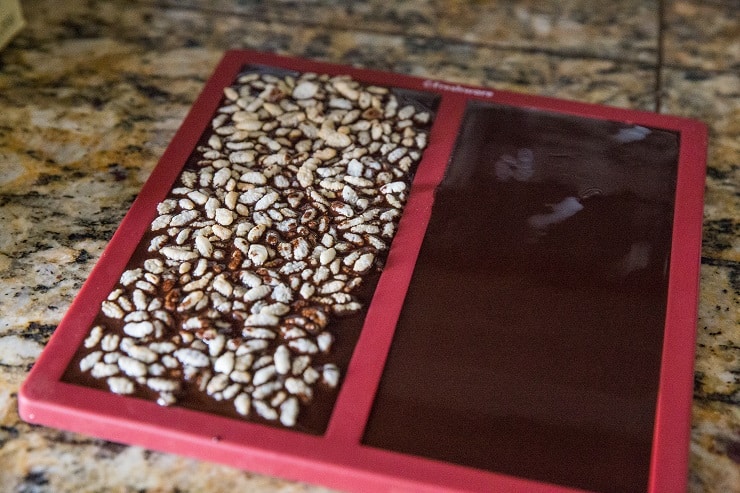
Pour the mixture into the chocolate molds and allow them to sit at room temperature for at least 20 minutes to set up slightly.
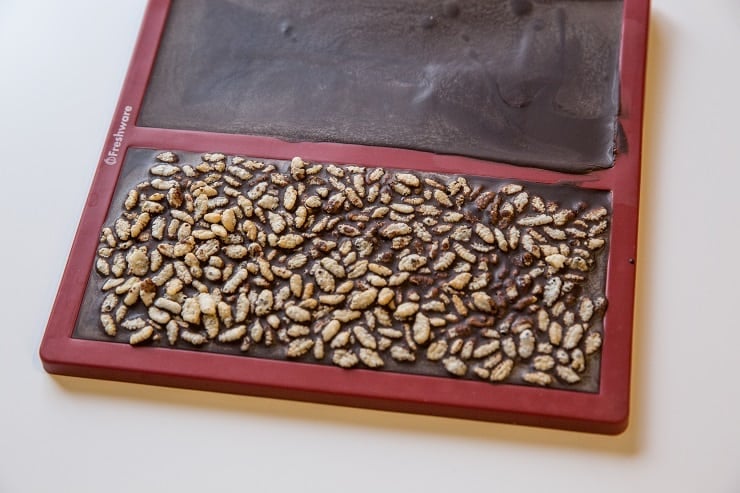
Transfer the chocolate to the refrigerator (keep it flat so that it doesn’t spill and dries evenly) and chill until completely hard.
Store in a zip lock bag in your refrigerator for up to 3 months!
Recipe Options:
- Instead of cacao butter, you can use coconut oil. As you would imagine, the mouth-feel of the bar will turn out more oily than silky, but it does work well!
- Add a small amount of pure vanilla extract (I go with a little less than a teaspoon for 2 bars-worth), or extract of choice.
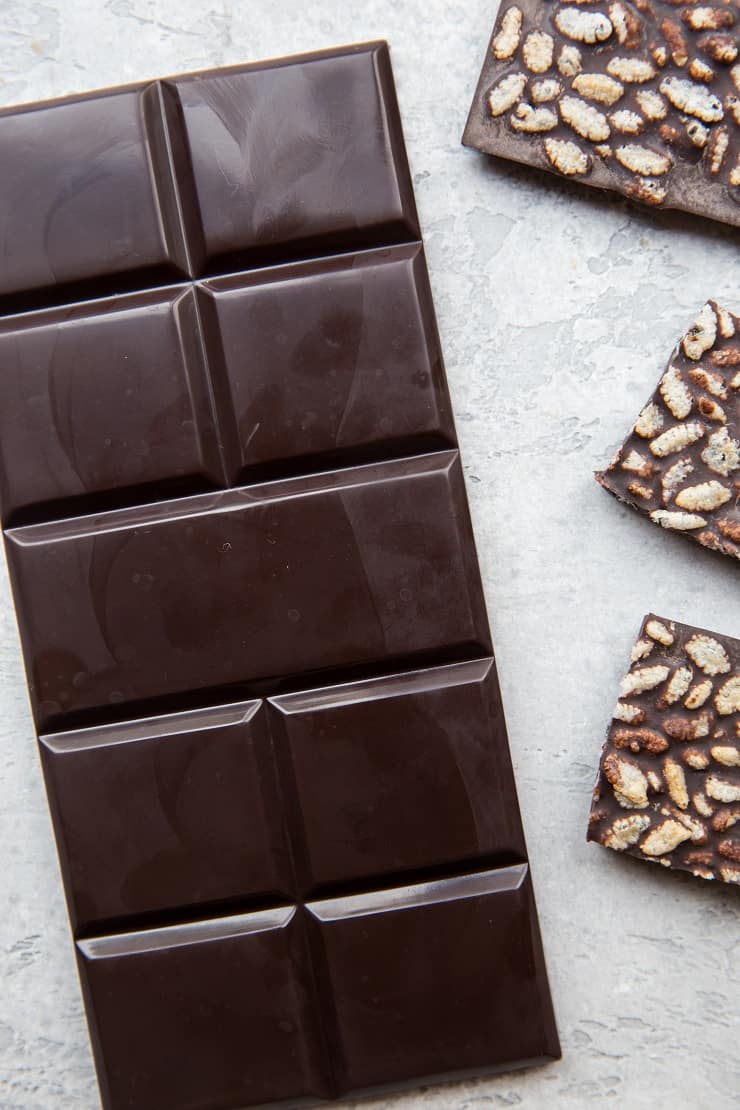
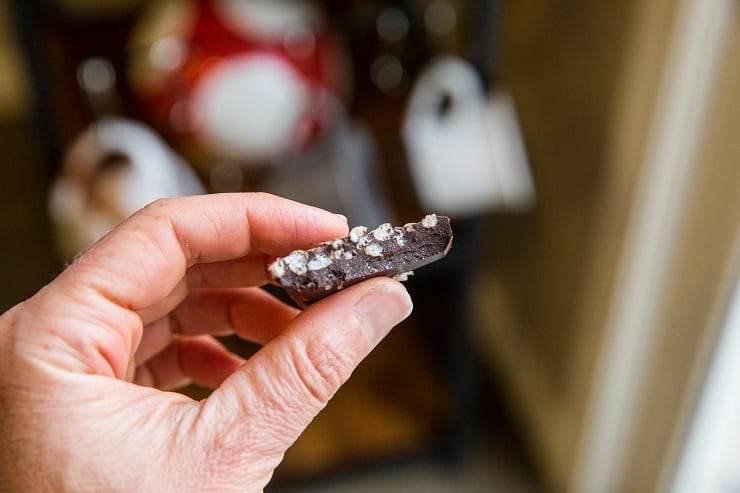
- Add puffed rice cereal for a crunchy chocolate bar!
- Use coarse sea salt if you’re a sea salt lover.
- Add chopped peanuts or almonds!
- Incorporate dried fruit, such as dried blueberries or strawberries.
Get that chocolate fix!
More Chocolate Recipes:
Dark Chocolate Bar Recipe
Equipment
Ingredients
- 140 g cacao butter
- 70 g raw cacao powder or unsweetened cocoa powder
- 2 Tbsp pure maple syrup or 42 g coconut sugar
- 1 pinch sea salt
Instructions
- Chop or grate the cacao butter into small, similar sized pieces. Note that the smaller the cacao butter is grated or chopped, the faster it will melt. Transfer the chopped cacao butter to a small saucepan.
- Heat a larger saucepan full of water and bring it to a full boil, then reduce the heat to a gentle boil. Place the saucepan with the cacao butter in the water and hold it with one hand while stirring with the other until melted. If desired, check the temperature of the cacao butter - it should be 115 degrees F or lower.
- Remove the cacao butter from the heat and stir in the cacao powder and sweetener (in my case, coconut sugar or pure maple syrup) until well-combined and creamy.
- Pour the chocolate mixture into the chocolate molds and allow them to sit at room temperature for at least 20 minutes to set up slightly. Transfer the chocolate to the refrigerator (keep it flat so that it doesn’t spill and dries evenly) and chill until completely hard.
- Store chocolate in a zip lock bag in your refrigerator for up to 3 months!
Notes
Nutrition



Hi – I try to eat 80% dark chocolate.
Do you know what this recipe would be in those terms?
Seems like “dark” chocolate can mean anything from 60-90%
Any thoughts?
I made this recipe and added some dried fruit and nuts. The chocolate came out exactly how it was supposed to but I prefer a denser more heartier chocolate and cocoa butter is expensive so I would’ve preferred to add more cocoa powder and less cocoa butter. I t was my fault for not reading through the whole recipe page to see that she said you can add either more cocoa powder and less cocoa butter or visa versa. Next time I try this recipe I will have to try that. Otherwise the recipe itself turned out to work great
Thank you so much for sharing your feedback, Lauren! This is helpful to others who want to try the recipe too with adjustments 🙂