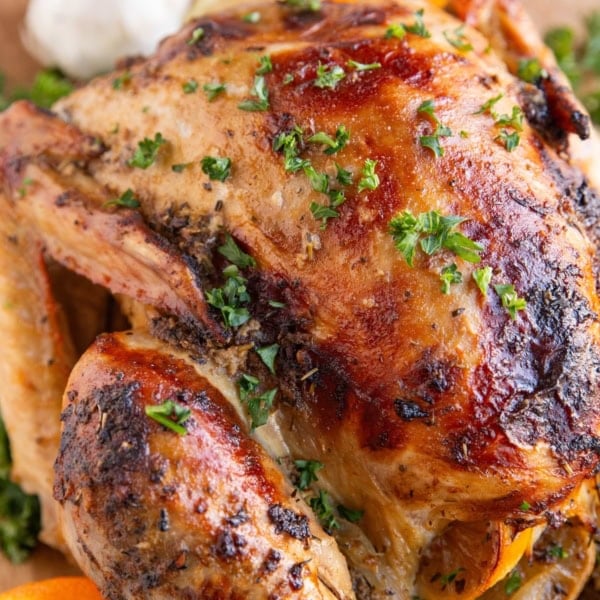
This post includes a tutorial on how to dry brine a turkey for Thanksgiving as well as extra steps (injecting and rubbing with butter/ghee) to make THE BEST Thanksgiving turkey this world has to offer.
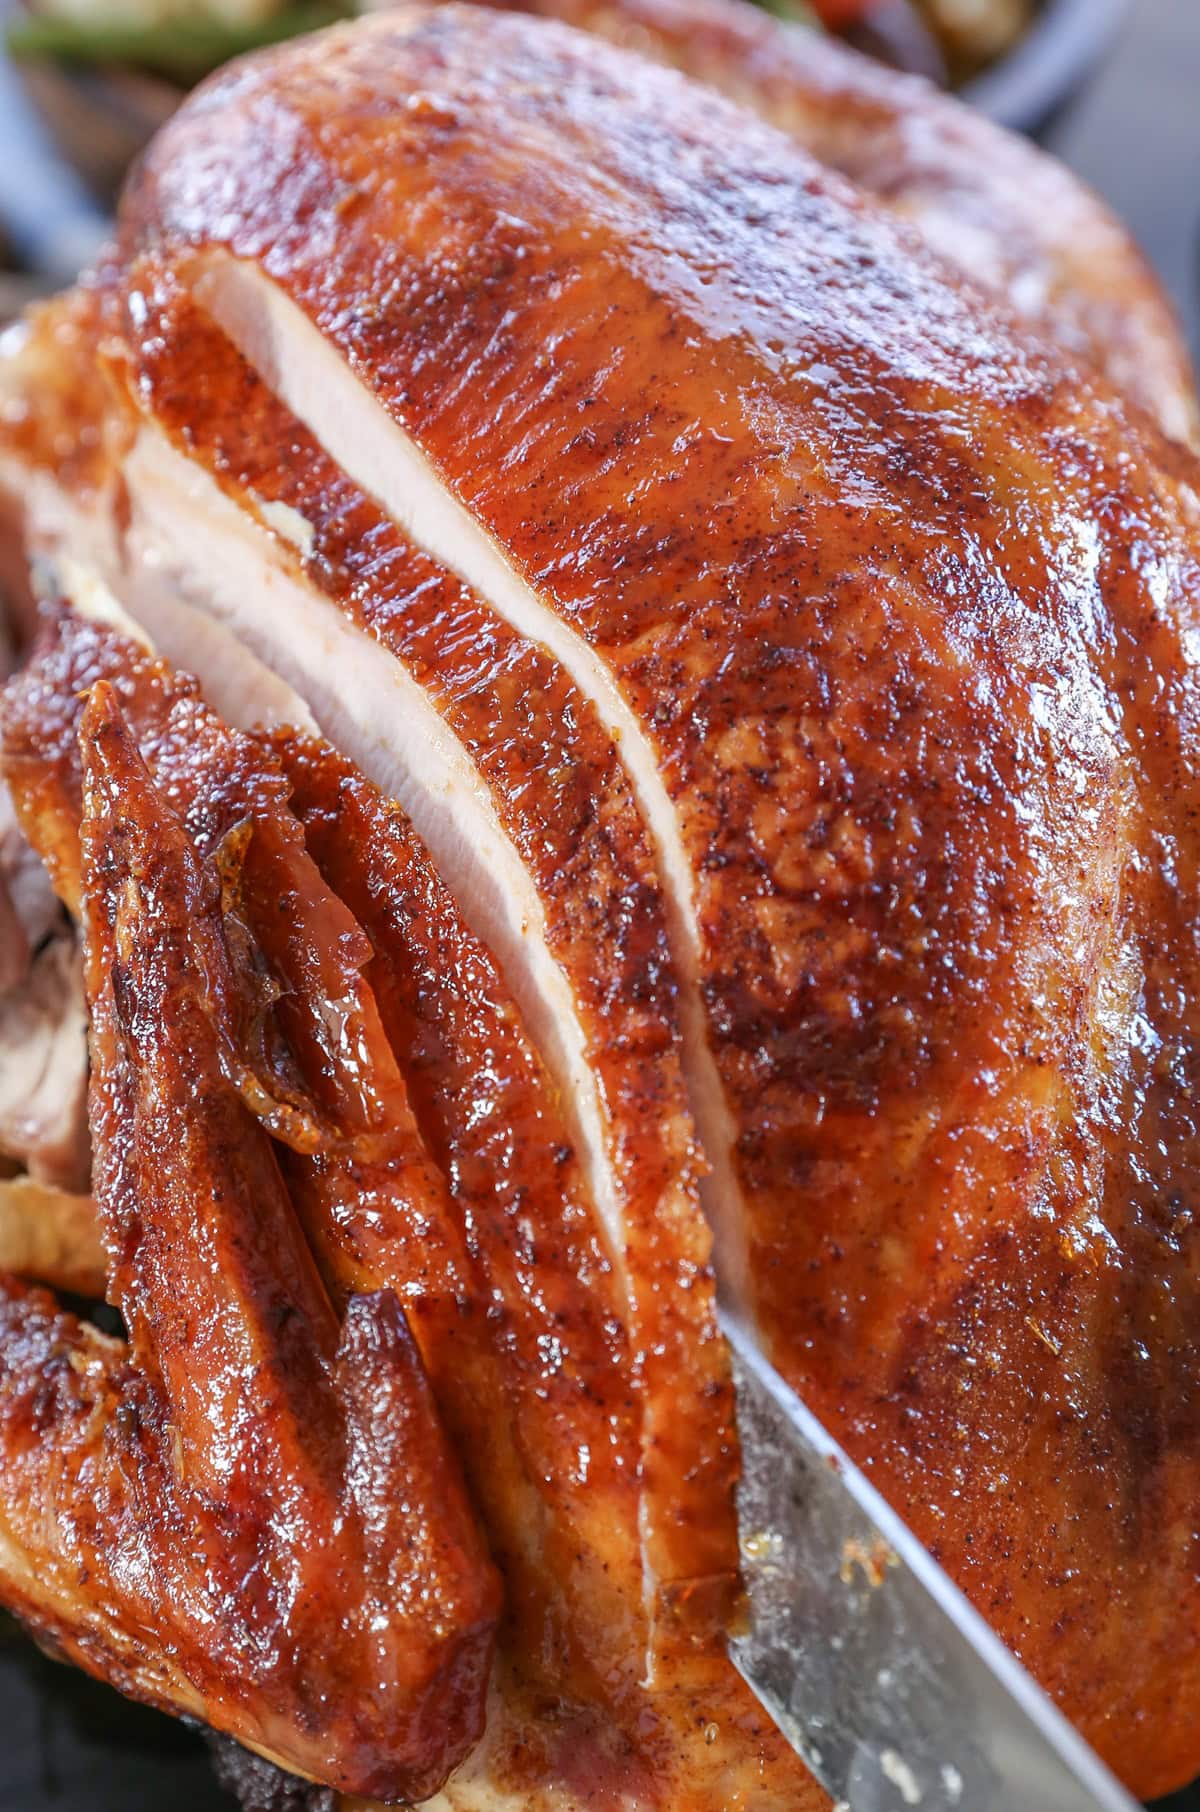
So you want to brine your Thanksgiving turkey this year and you’re looking for a recipe on how to do so? Well you’re in the right place, because this article covers everything you need to know about dry brining, and more! It even includes my best helpful steps to preparing the absolute best turkey with the crispiest skin and the most tender piece of meat.
You can easily click the ‘Jump to Recipe’ button at the top of the page to be taken directly to the answer, or you can read through the whole post for additional information.
I’m biased, but I suggest reading all of the information here. If nothing else, it will help calm any fears that making a perfect turkey is complicated and requires magic (it’s not, and it doesn’t)!
Let’s dive into the basics on dry brining, then move on to some additional tips.
Difference Between Wet Brining and Dry Brining Turkey:
Intuitive as it sounds, the main difference between a wet brine and a dry brine is a wet brine requires soaking the bird in cold water, whereas a dry brine involves no water.
When wet brining turkey, you must have a vessel that is large enough to store both the whole turkey and the wet brine solution, which can be challenging to find. Some people also find the process of wet brining to be a bit of a hassle, although the general consensus is that it is well worth the hassle given the amazing result.
A dry brine removes the need for water entirely and simply uses coarse salt to act as a brine.
What Does Dry Brining A Turkey Do?:
As salt penetrates deeply into the skin and meat, it begins to dissolve into the natural turkey juices, which in turn creates a natural brine.
The turkey reabsorbs the natural wet brine and breaks down the proteins, creating tender meat. Based on this description, you can probably tell why so many individuals choose to brine their holiday turkey!
This goof-proof dry brine turkey recipe requires hardly any effort, zero basting, stuffing, or hovering and results in the most tender, juicy turkey.
If you follow these basic tips on how to make the best Thanksgiving turkey, you will be well on your way to cashing in on the best centerpiece award.
Your friends and family will request you be in charge of the main course each and every year!
Tips for Making The Best Turkey:
- Start with a quality turkey
- Do a little advance prep. Dry brining is GREAT!
- Don’t stuff the bird with stuffing.
- Avoid opening the oven too frequently
- Make a meat thermometer your best friend
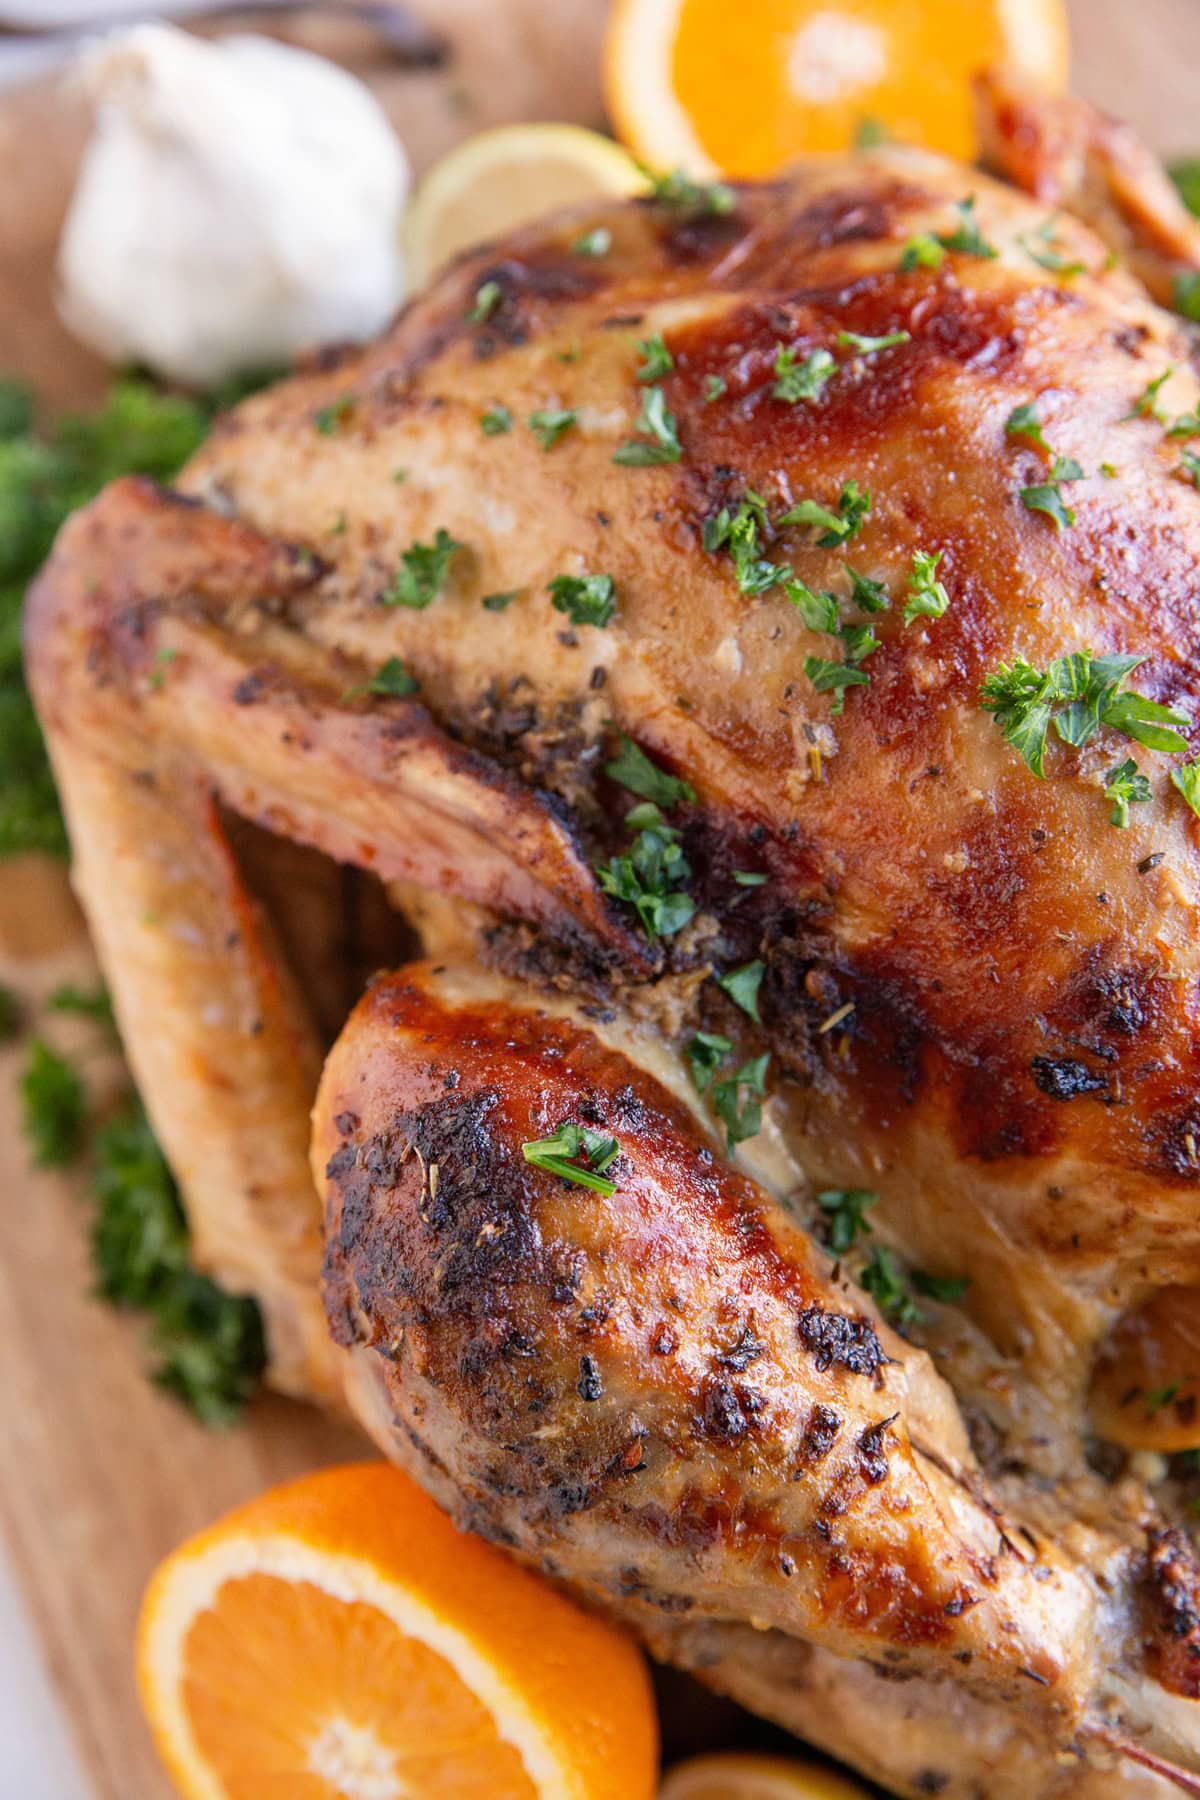
Sourcing Your Turkey:
As is the case with most (I’d argue all) animal proteins, starting with a great quality product is your best bet to having the best turkey. I always buy organic, pasture-raised birds (my favorite is Diestel Family Turkey Ranch, which I buy from Whole Foods but you can also purchase it online off of their website).
This REALLY does make a difference! The way an animal is raised directly impacts its flavor and your ability to digest it properly! It is more expensive. In my opinion, it is worth the added expense.
Advance Prep:
You have multiple options for sprucing up your bird. You can do a traditional brine using water and sea salt, a dry brine, you can inject the bird with seasonings, liquids, and/or some form of fat, and you can rub it in butter or avocado oil.
We’re going to discuss all options: dry brining, injecting, and rubbing the bird in ghee in this post.
I also cover the turkey with foil for the majority of the baking process, and remove it for the last 45 minutes to an hour to ensure the skin gets nice and crispy, but does not burn.
If you dry brine the turkey, you don’t really need to do anything else for an amazing turkey. You can pop it in the oven and the end result will be incredible. You’d never guess such a simple process could yield such amazing results.
Benefits of Dry Brining a Turkey:
- The turkey comes out SUPER moist and tender with TONS of flavor!
- You don’t have to figure out how to refrigerate a huge bucket (or bin) that’s housing your turkey for a wet brine.
- Dry brining yields the same result as a wet brine, but is much, much easier.
- It takes hardly any effort. You simply rub the bird with sea salt (and seasonings if desired), wrap it in plastic wrap, and allow it to sit for 24 to 48 hours.
- The turkey skin turns out delectably crispy.
How Long Does it Take To Dry Brine Turkey?:
For the best results, go with 24 to 46 hours.
If you didn’t think about dry brining until right now, a couple of hours before you put the turkey in the oven, you can still do it!
The effect won’t be as dramatic, but you will still notice a difference! Even if you have one hour to spare for the turkey to sit on a dry brine, go for it!
How Much Sea Salt to Use for a Dry Brine:
The only ingredient you need to dry brine a turkey is coarse sea salt. I use Morton’s Kosher Coarse Sea Salt, which you can buy from any grocery store.
You need about 1 tablespoon of salt per 5 pounds of turkey. So if you’re using a 15-lb turkey, use 3 tablespoons of coarse sea salt.
In addition to coarse sea salt, I use paprika and Italian Seasoning. I find this combination yields that traditional “Thanksgiving flavor,” and is such an easy ingredient list. I use about 2 teaspoons of paprika and 2 teaspoons of Italian Seasoning for a 15-lb turkey.
How to Dry Brine Turkey:
Thaw the turkey completely in your refrigerator. Depending on the size of your turkey, this usually takes 2 to 3 days (24 hours for every 5 lbs of frozen turkey).
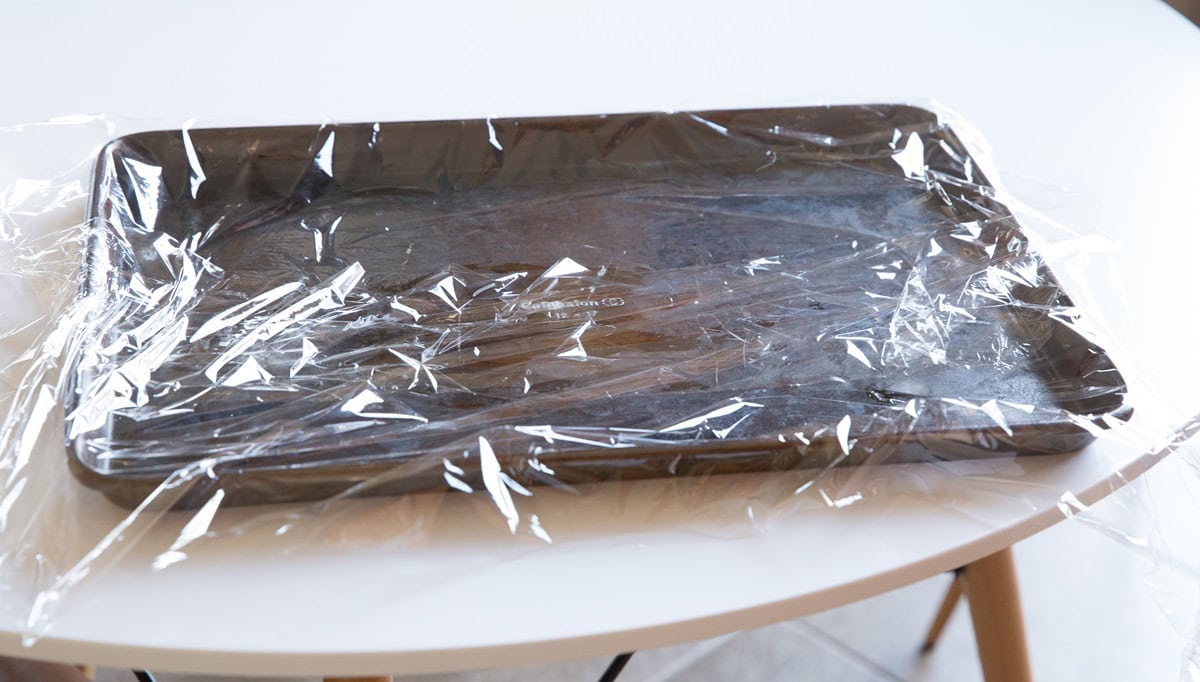
Lay two long sheets of plastic wrap over a large rimmed baking sheet and place the thawed turkey on top. Note: if your turkey has excess moisture on it, use paper towels to pat it dry.
In a small bowl, stir together 3 Tbsp coarse kosher sea salt, 2 tsp paprika, and 2 tsp Italian Seasoning (plus any other seasonings you like. Consider garlic powder, onion powder, black pepper, and/or ground cumin).
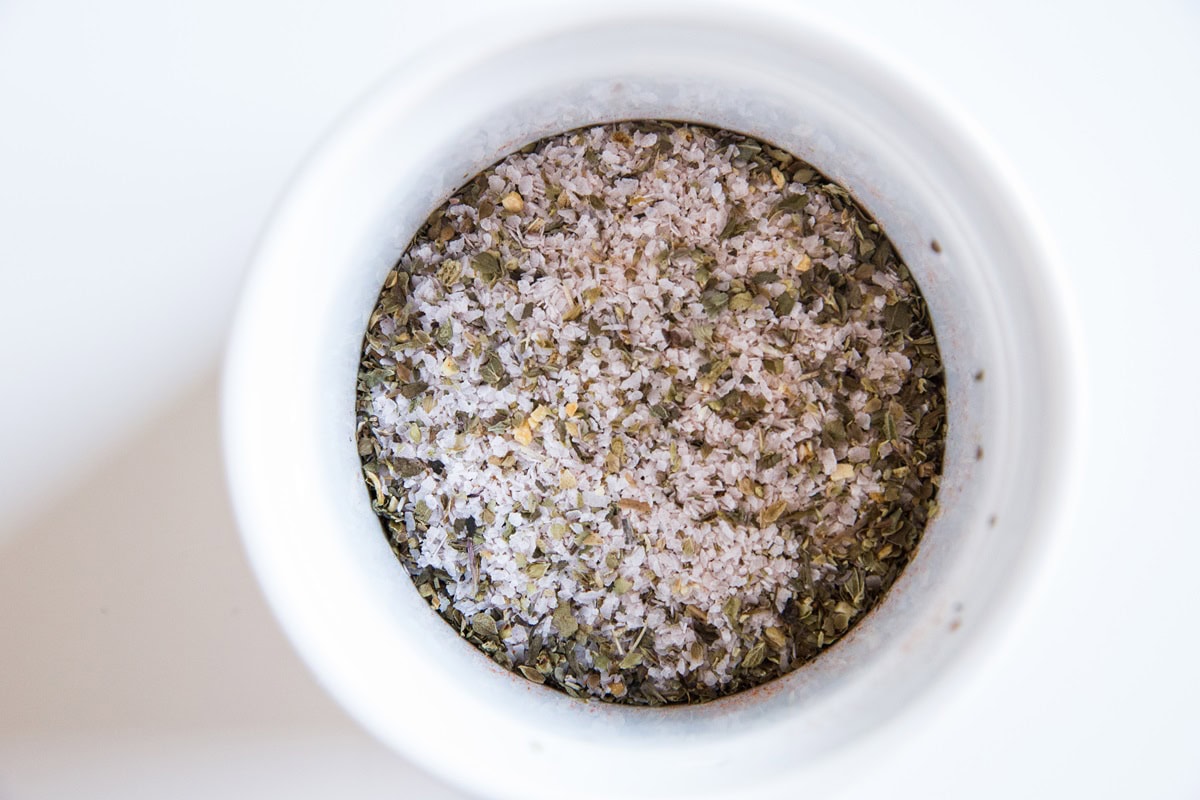
Remember, you can stop at the coarse salt, but I like adding seasonings here too for extra flavor, because why not? Use any homemade dry rub you like, but just be sure there is the right amount of salt.
Rub the dry brine mixture over the entire turkey (including the underside).
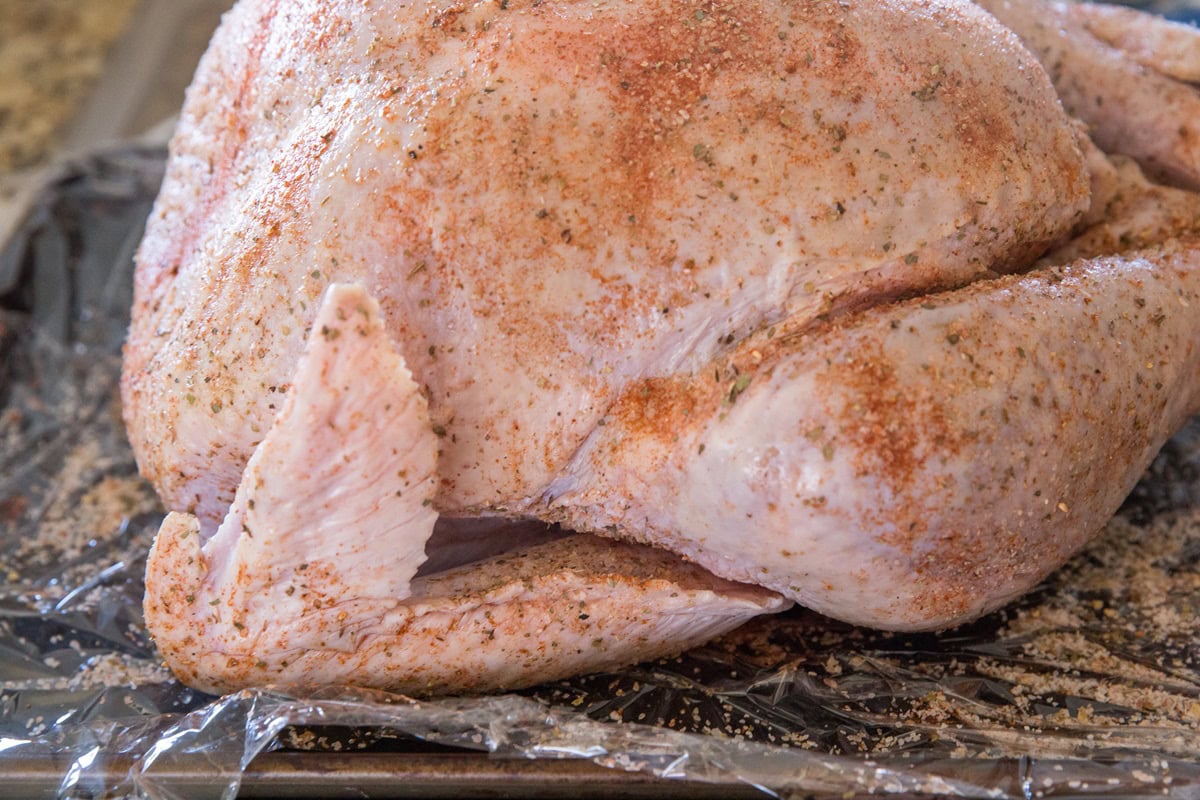
Note: If you’re experienced at separating the skin from the muscle, feel free to rub the brine underneath the skin.
Fold the plastic wrap over the turkey, securing it in a tightly-wrapped package. If necessary, use more plastic wrap to ensure the whole bird is covered.
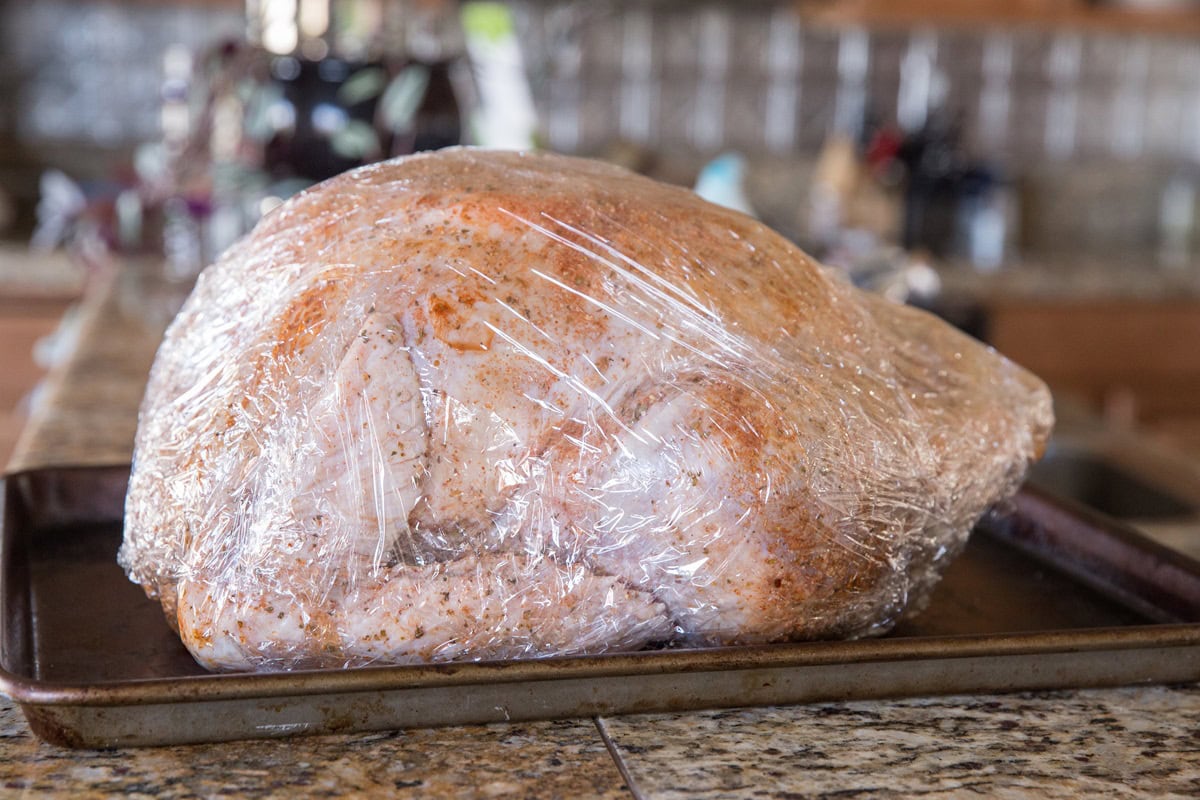
Place the turkey (with the baking sheet) back into your refrigerator and wait for 24 to 48 hours before roasting.
Note: rather than using a baking dish, you can also use a roasting pan for the dry bringing process. In fact, you can use the same roasting rack you intend to use for roasting the turkey.
Roasting Instructions:
After your turkey has finished its dry brine, you are ready to roast it.
Simply move it to a large roasting pan if it isn’t in one already, stuff the cavity of the turkey with some goodies like oranges, apples, onions, fresh herbs, and carrots, and make any additions you would like.
Hint: I like rubbing my turkey in garlic butter, as seen in my Garlic Butter Roast Turkey recipe. You can bind the legs with kitchen twine so that they don’t bow out during the roasting process.
Roast at 350 degrees Fahrenheit for 10-13 minutes per pound of turkey.
Remember, using an instant-read thermometer is the best way of ensuring your turkey comes out perfectly cooked and doesn’t become dry.
For an accurate read, insert the thermometer into the thickest part of the breast.
Turkey is fully cooked when the turkey breast meat reaches an internal temperature of 165 degrees F and the dark meat reaches an internal temperature of 180 degrees F or higher.
Let the dry-brined turkey rest for 20-30 minutes with aluminum foil on top prior to slicing and serving.
How to Inject a Turkey:
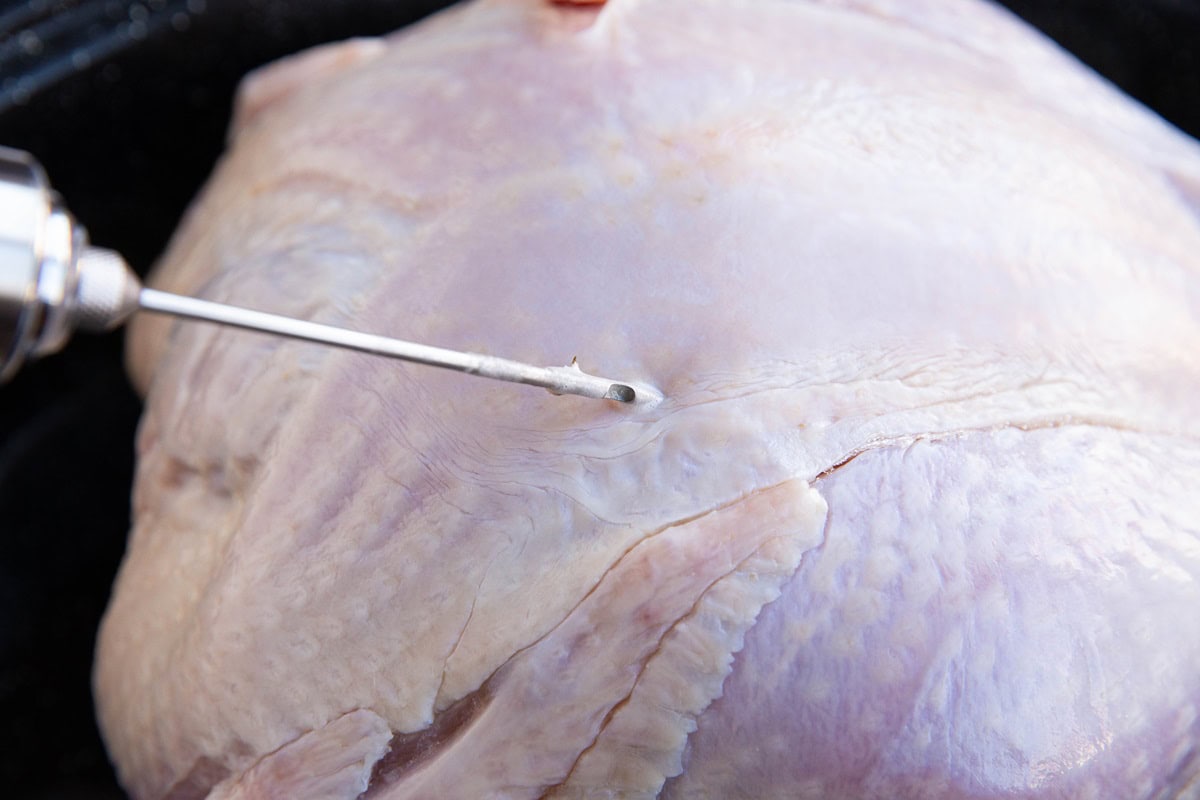
If you have a meat injector, now is a fabulous time to use it!
Pull the turkey out of the refrigerator 1 hour before you want to roast it. Make the injection liquid, inject the turkey, then cover it back up with plastic wrap and keep it at room temperature for 1 hour before preheating the oven to roast it.
Simply make a sort of marinade and inject the bird with it. Any combination of seasonings, garlic, oil (or butter), and liquid will work to make the turkey tender and flavorful through and through.
Here’s the Turkey Injection Recipe I use to inject a turkey:
Meat Injection Liquid:
- ½ cup unfiltered apple cider
- ¼ cup avocado oil
- 1 teaspoon garlic powder
- 1 teaspoon onion powder
- 1 teaspoon Italian Seasoning
- ¼ teaspoon sea salt
Blend this mixture in a blender, then suck it up using your meat injector.
Inject all of the mixture into the bird, and try to inject it all over the entire bird liberally so that much of the muscle tissue gets some extra love.
Trick for Incredibly Crispy Turkey Skin:
Rub it in butter or ghee!
Once you have dry brined and injected the turkey, do one last step! Take softened butter or ghee and rub it all over the bird. The exact amount you use doesn’t really matter.
A 15-pound turkey only needs about 3 tablespoons, but the heavier you go, the better it will be.
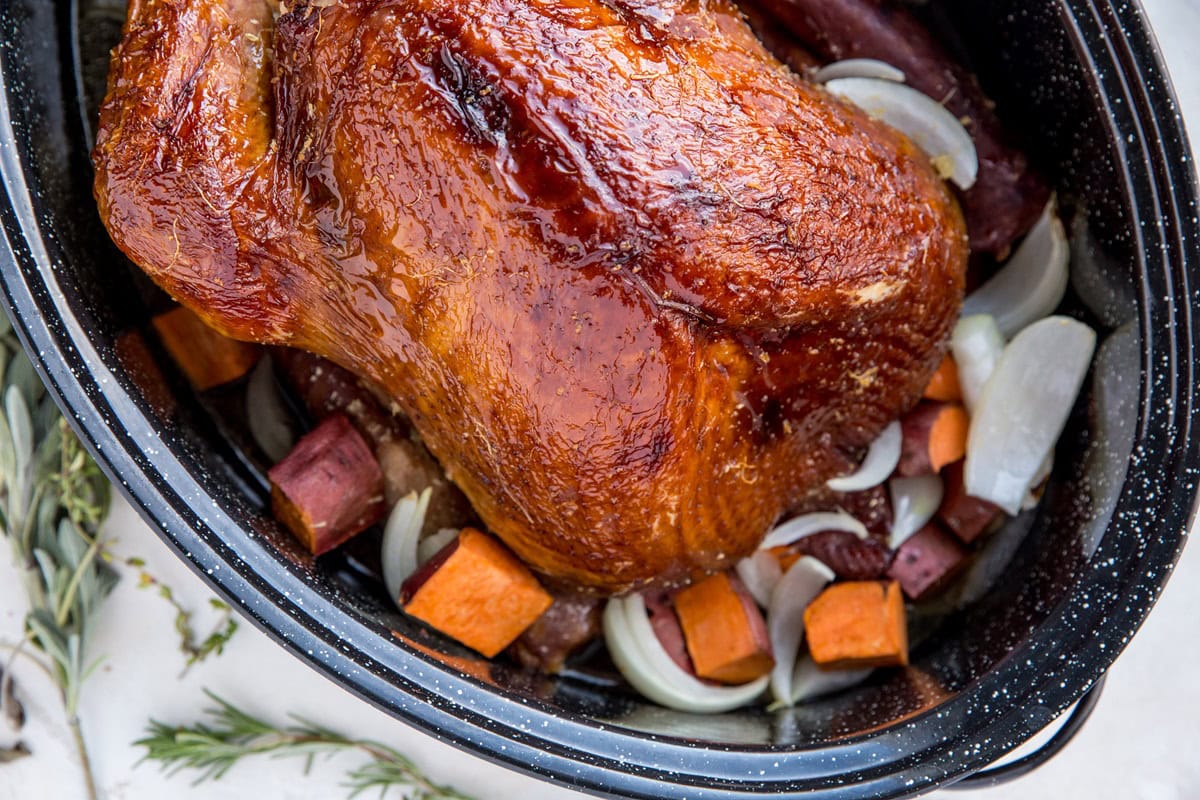
Cover the turkey with foil for the majority of the roasting process, then remove the foil when it has about 45 minutes to 1 hour left. This will result in the crispiest, most amazing golden-brown crispy skin.
How Long to Roast a Thanksgiving Turkey:
Roast turkey at 350 degrees F for 13 to 15 minutes per pound. So a 15 pound turkey need about 3 ¼ hours in the oven.
To check for doneness, use a meat thermometer and stick it in the breast of the bird. The FDA says it should read 165 degrees before pulling it out of the oven.
Do note that the bird continues to cook once it is out of the oven, so many people will pull it out around 160 degrees F.
Allow the turkey to rest 15 to 20 minutes before slicing and serving. This allows the juices to distribute throughout the meat. If you cut into it too early, the muscle fibers will break apart and the result won’t be quite as amazing.
As mentioned above, you can avoid burning the skin by covering the turkey with foil for the first 2-2.5 hours, then removing the foil for the last 45 minutes to 1 hour. This ensures the bird stays plenty moist and the skin does not burn, but becomes perfectly golden brown.
To recap, here are my steps on…
How to Make the PERFECT Thanksgiving Turkey:
- Dry Brine – combine coarse sea salt, paprika, and Italian seasoning for a dry brine. Rub this mixture over the entire turkey. If you can only do one step, do this step!
- Inject the Turkey – if you have a meat injector, inject the turkey with a mixture of apple cider, avocado oil, garlic powder, onion powder and Italian seasoning (or any mixture you’d like that includes some form of liquid, some form of fat, and seasonings). Allow the turkey to sit for 1 hour at room temperature after injecting it, and before roasting it.
- To stuff or not to stuff? Don’t stuff the bird with stuffing. In fact, you don’t need to stuff it with anything. You can stuff chunks of onion inside of the turkey cavity. This step is entirely optional. Do you have an extra onion? Chop it up, and stuff ‘er in.
- Butter it Up!: Rub the whole turkey in softened butter or ghee – Take half a stick of softened butter (or 4 tablespoons of ghee) and rub it all over the bird. If desired, you can sprinkle more seasonings on top, like Italian seasoning or garlic powder. I don’t find this step necessary, especially if you have injected it with seasonings.
- Roast the turkey – Transfer the turkey to a roasting pan. Cover with foil so that the skin doesn’t burn during the roasting process. Roast for 13 to 15 minutes per 1-lb of turkey. Remove the foil for the last 45 minutes to 1 hour of roasting so that the skin crisps up nicely to a perfect golden-brown.
- Rest! Allow the bird to rest before slicing. Give it a solid 15 to 20 minutes!
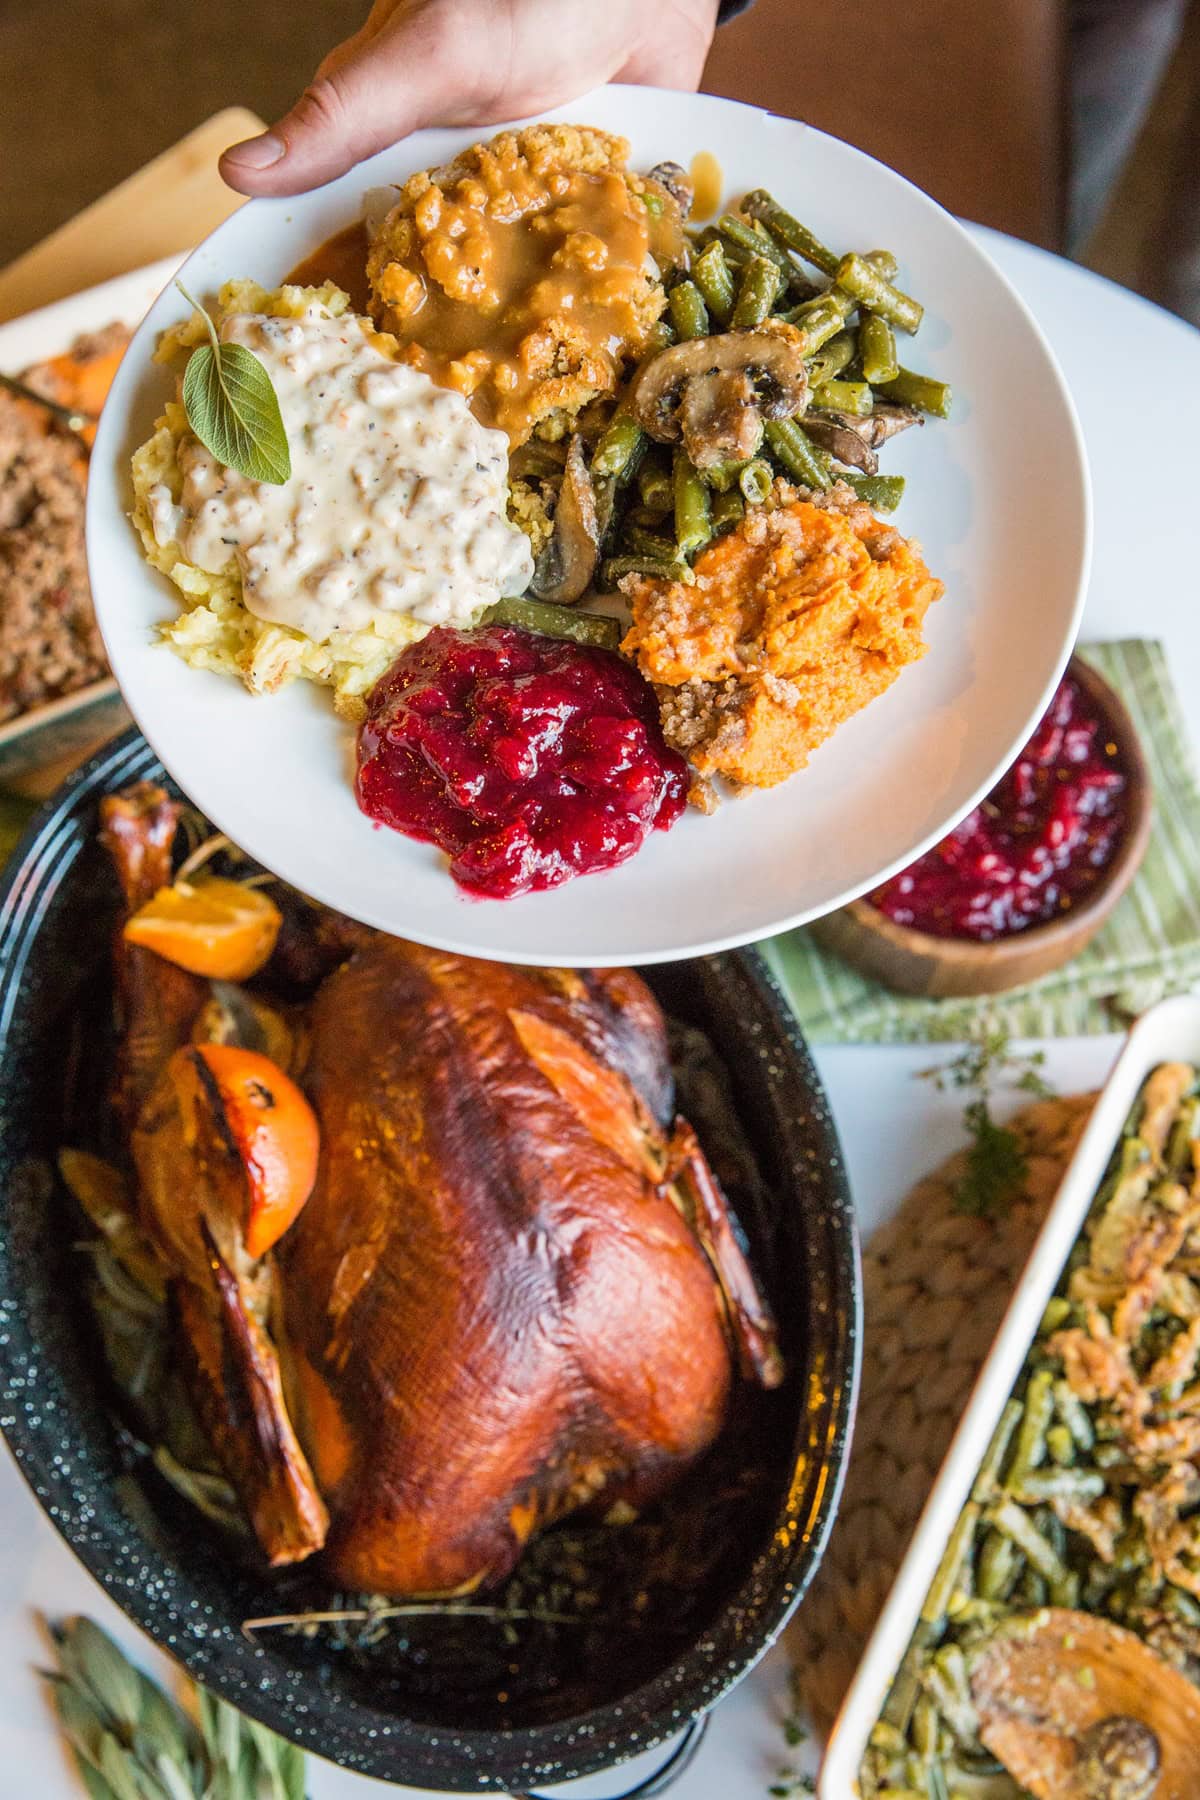
- Serve with some bangarang side dishes.
Should I Baste or Stuff a Turkey?:
No. As long as you dry brine a turkey and/or inject it, and/or rub it with butter/oil, you will not need to baste it.
Basting detracts from the baking process, because you have to open the oven a lot, which lets out the hot air. So while the process itself isn’t problematic, the uneven baking temperature can produce varied results.
In order for stuffing to be safe to eat (since it has been sitting in the cavity of a raw animal), you must overcook the turkey.
It’s best to make the stuffing entirely separate from the turkey. If you’d like, you can stuff the turkey with chunks of onion, which is what I do.
Serve your turkey with some tasty, fresh and healthy sides! Here are a lot of options for ya!
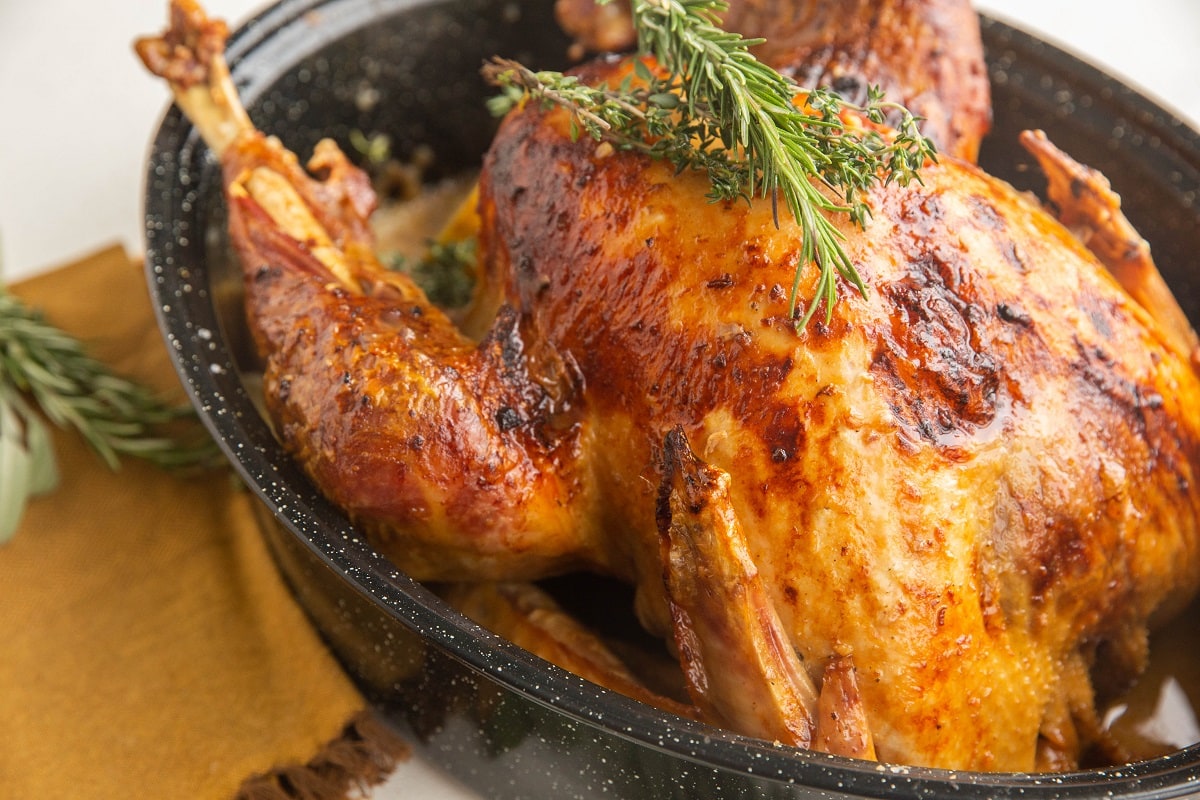
And that’s it! This dry brined turkey recipe will change the way you prepare your holiday centerpiece moving forward, and the whole family will notice the difference!
While it does require a little forethought, the dry brine method is well worth the extra time (and it doesn’t even take more than 15 minutes to set up)!
Amazing Thanksgiving Side Dishes:
- Maple Bourbon Cranberry Sauce
- Healthy Green Bean Casserole
- Creamy Cauliflower Casserole
- Healthy Sweet Potato Casserole
- Almond Flour Dinner Rolls
- Creamy Brussel Sprout Casserole
And of course, Paleo Pumpkin Cheesecake for dessert!
Enjoy a fabulous holiday season!
Dry Brine Turkey
Equipment
Ingredients
- 1 10 to 24-pound turkey
- Coarse Sea Salt See note*
Instructions
- Thaw the turkey completely in your refrigerator. Depending on the size of your turkey, this usually takes 2 to 3 days (24 hours for every 5 lbs of frozen turkey).
- Lay two long sheets of plastic wrap over a large baking sheet and place the thawed turkey on top. Note: if your turkey has excess moisture, pat it dry using paper towels.
- In a small bowl, stir together coarse kosher sea salt, paprika, and Italian Seasoning (plus any other seasonings you like. Consider garlic powder, onion powder, and/or ground cumin). At the very least, you need coarse salt, but I like adding some seasonings to this process too.
- Rub the dry brine mixture over the entire turkey (including the underside).
- Note: If you’re experienced at separating the skin from the muscle, feel free to rub the brine underneath the skin.
- Fold the plastic wrap over the turkey, securing it in a tightly-wrapped package. If necessary, use more plastic wrap to ensure the whole bird is covered.
- Place the turkey (with the baking sheet) back into your refrigerator and wait for 24 to 48 hours before roasting.
Notes
Nutrition
This post contains affiliate links, which means I make a small commission off items you purchase at no additional cost to you.




Does the gravy come out salty? My one attempt to wet brine was a disaster b/c the gravy was too salty to eat.
Hi Wanda! I find it to not turn out overly salty but you could definitely use less salt and be sure to stick with sea salt instead of iodized salt for a less salty flavor 🙂
We bought an extra turkey this year, and I am anxious to try dry brining. I had mixed results with brining in the past and didn’t think it was really worth the effort. Although, I have loved the results when others have done it. I am so thankful for you and all your wonderful posts. Happy Thanksgiving!
It’s amazing how big of a difference it makes! Hope you enjoy!! xoxox