Gluten-Free Pie Crust made with gluten-free all-purpose flour and chilled butter for a gluten-free version of classic pie crust. This simple recipe makes one pie crust for a 9-inch pie.
While I have shared recipes for Almond Flour Pie Crust and Coconut Flour Pie Crust, I’m here sharing a gluten-free pie dough recipe that closely mimics traditional pie crust.
Using a gluten-free flour blend, butter, and ice water, we’re whipping up a simple pie crust that tastes nearly identical to regular pie crust and can be used in any of your favorite pie recipes.
In order to simplify the process, I use a stand mixer to mix the crust ingredients rather than using a pastry cutter or forks to cut in the butter. I find this is much quicker and easier!
If you don’t have a stand mixer, I have read you can also use a food processor. Feel free to mix the crust by hand using a pastry cutter or two forks and a large bowl.
While most recipes for pie crust make two crusts, it is rare that I personally need two pie crusts or bake a double-crust pie, and I assume there are many others who are in the same boat.
For this reason, this recipe makes one pie crust for one 9-inch pie, but you can easily double the recipe for two pie crusts.
If you’re planning on baking a pie that requires both a bottom crust and a top crust (double crust pie), such as a pot pie or a traditional apple pie, you’ll need to double the recipe.
There is no sugar in this pie crust, which means it can easily be used for savory pies such as chicken pot pie in addition to sweet pies.
If this is your first time making a pie crust, be sure to read the recipe card all the way through before starting the recipe. I also recommend reading the full post with the step-by-step photos.
Let’s discuss the ingredients for this homemade gluten-free pie crust recipe, as each one serves an important role.
Ingredients for Gluten-Free Pie Crust:
Gluten-Free All-Purpose Flour: Taking the place of regular flour, we need a gluten-free all-purpose flour blend to make this delightful pie crust. I use Bob’s Red Mill Gluten-Free 1-to-1 Baking Flour because I find it yields the closest texture to wheat flour out of all the blends I’ve tried.
If you use a different flour, note that the results may vary as each brand of GF flour has its own unique quantity of ingredients, which makes their absorbencies slightly different.
For instance, some blends contain xanthan gum, which adds thickness and viscosity, and some contain no xanthan gum.
Each brand also contains varying quantities of brown rice flour, white rice flour, tapioca starch or tapioca flour, potato starch, and leavening agents, all of which affect the end result.
Unsalted Butter: The magic is made with butter. Using the right ratio of butter and flour, we end up with an amazing flaky gluten-free pie crust. For the best results, stick with regular butter.
If you need to make dairy-free gluten-free pie crust, you can use vegan butter such as earth balance for a dairy-free option.
I have also had success with softened palm shortening and coconut oil but you would likely need slightly less because they are greasier than butter.
Sea Salt: For just the right amount of salt, we add our own sea salt rather than using salted butter. The end result is a rich and buttery pie crust with flaky texture. Salt and flour are your only dry ingredients!
Ice Water: Water typically isn’t a notable ingredient but very cold water is a pivotal part of this recipe so I figured I would call it out. It must be very cold!
Tips For the Best Gluten-Free Pie Crust:
Don’t try to replace the flour with any other kind of flour. Instead, make my almond flour pie crust recipe or my coconut flour pie crust recipe, or google a recipe that is specific to the flour you want to use.
If the water isn’t cold enough, the butter in the dough could warm up to the extent that a sticky dough forms. This can be a pain to deal with.
Since we’re using gluten-free flour mixture instead of regular all-purpose flour which contains gluten, the pie crust is more delicate than regular pie crust. It will try to break apart on you, but you can simply press together any tares in order to keep it held together nicely.
Now that we’ve covered the simple ingredients for gluten free pie crust, let’s bake pie!
How to Make Gluten-Free Pie Crust:
Fill a small glass with ice cubes then fill it with water and set it aside. You’ll only need 4 to 5 tablespoons of water but you want to be sure it is ice cold.
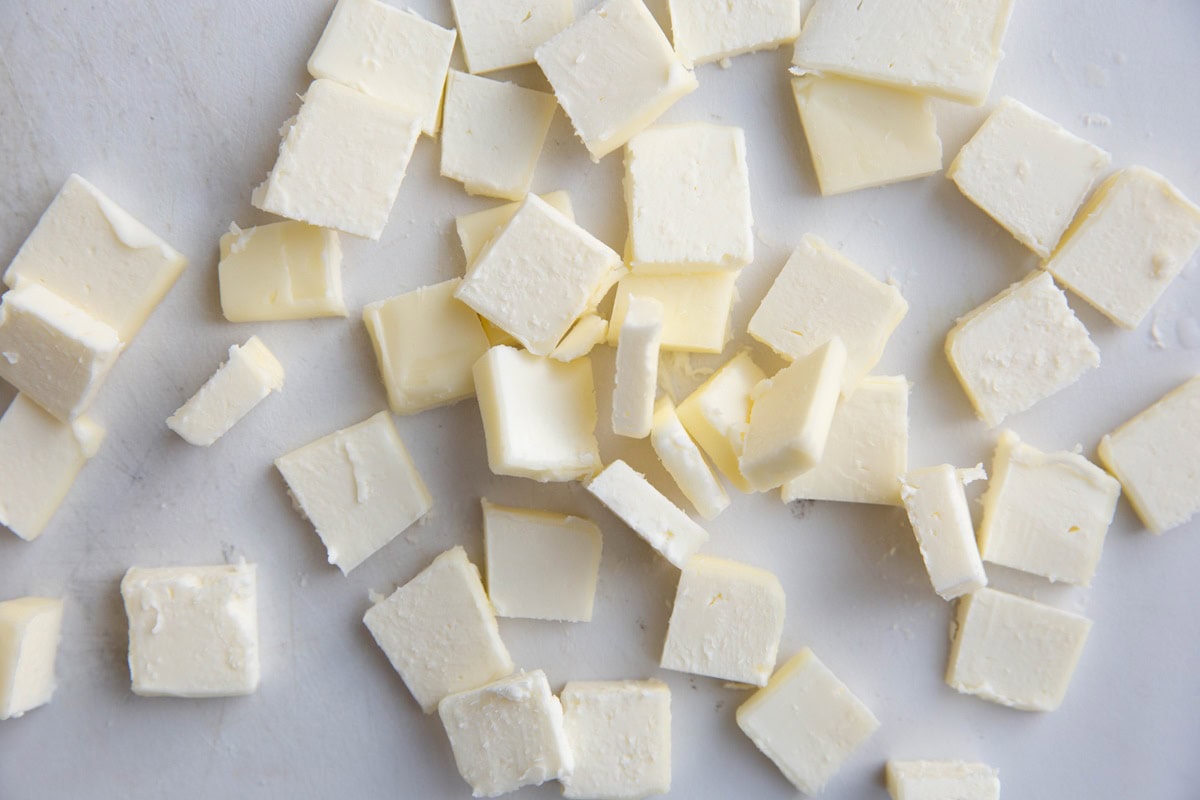
Making sure your butter is completely chilled (not softened), chop it into small chunks. I slice the butter into thin slices, then cut those slices into 4 squares. Be sure to do this fairly quickly to prevent the butter from warming up.
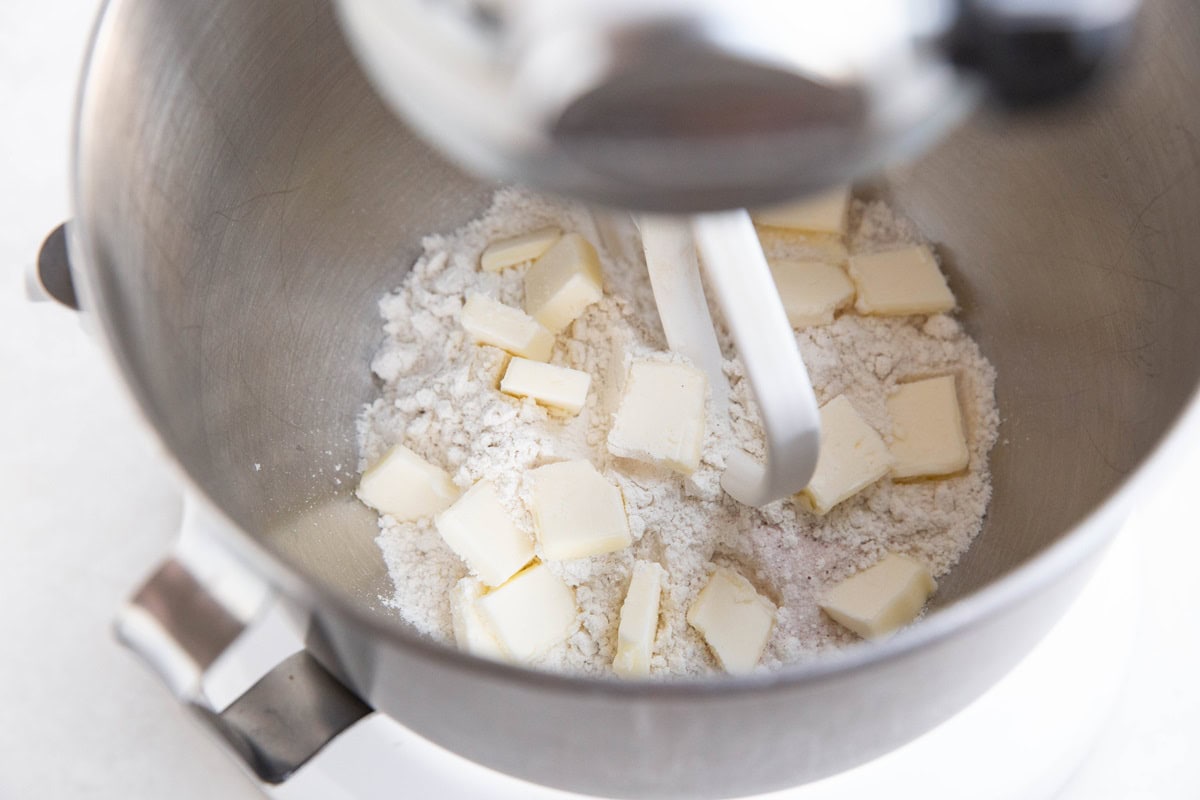
Pour the gluten-free all-purpose flour into the bowl of your stand mixer and fit it with the paddle attachment.
Add about half of the butter chunks then turn the mixer on low speed. As the mixer mixes, continue adding the rest of the butter until all of it has incorporated. I use this method to avoid any areas that have too much butter and to encourage the butter to mix evenly.
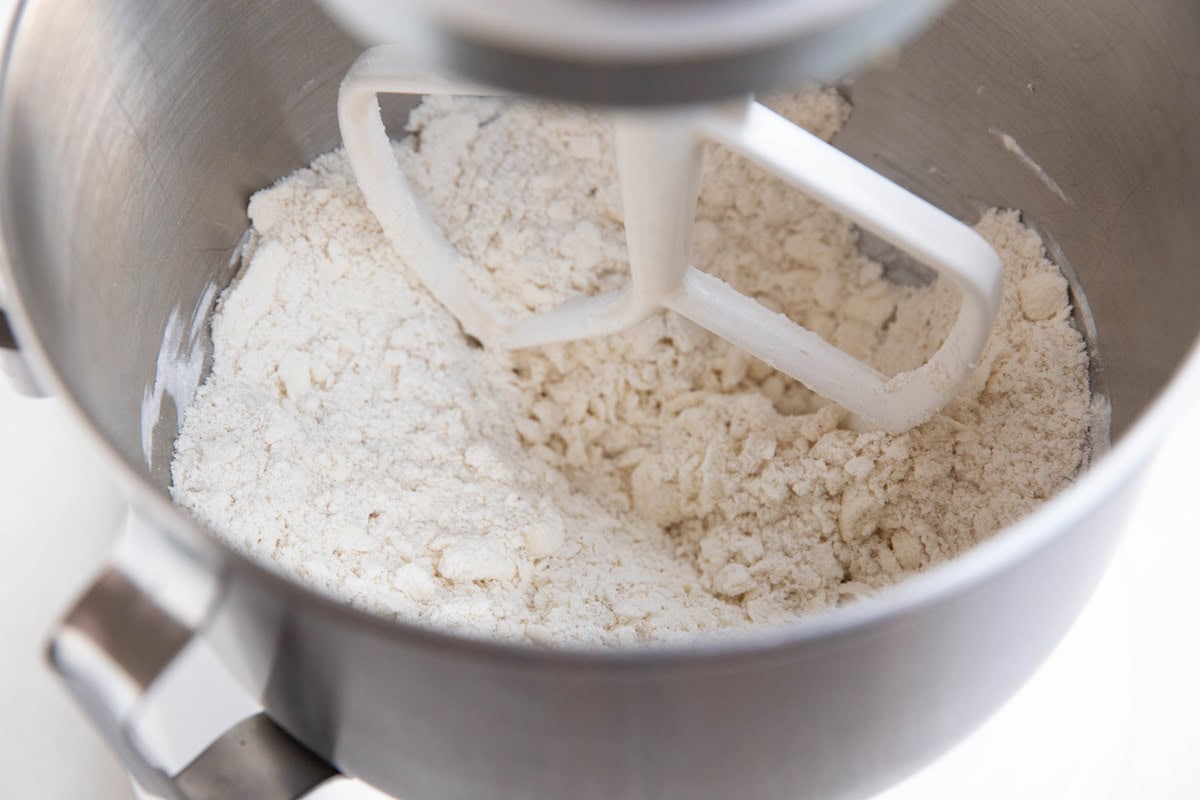
Once all of the butter is incorporated, continue mixing on medium speed until the flour appears to have small pieces pea sized chunks.
Leaving the mixer on low speed, add the water one tablespoon at a time and allow the mixer to thoroughly mix between each addition.
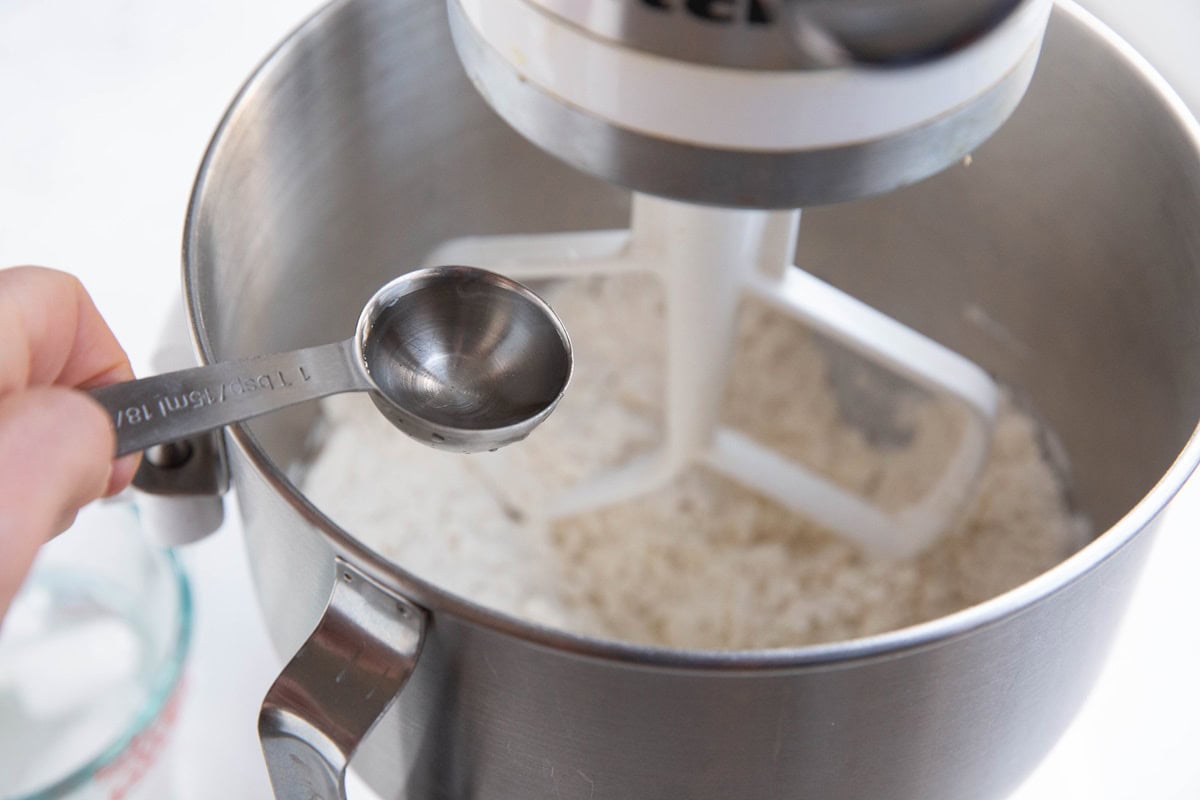
You should only need 4 or 5 tablespoons of water so after the fourth or fifth addition, allow the mixer to continue mixing until a thick dough forms.
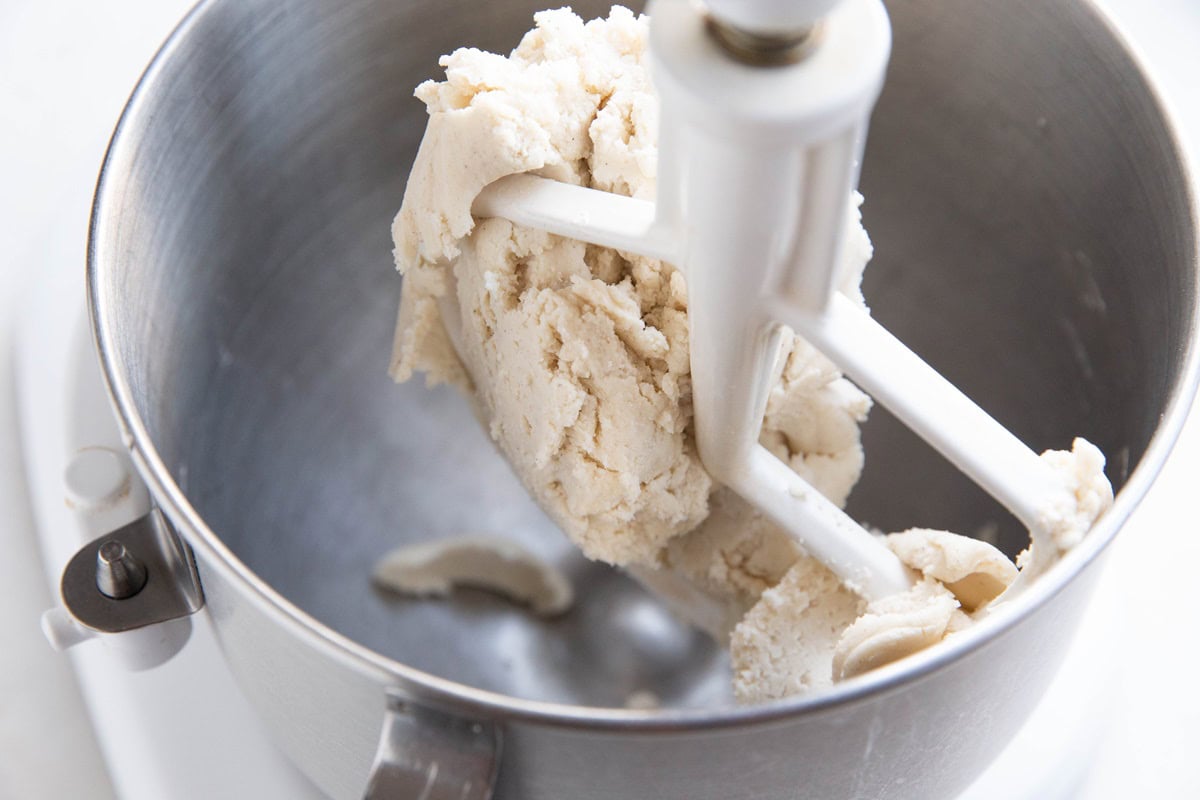
The dough should hold together easily but be sticky on your hands.
Immediately roll the dough into a dough ball, then press it into a disc shape. Wrap the pie dough tightly in plastic wrap then refrigerate for at least 3 hours, or up to 1 week.
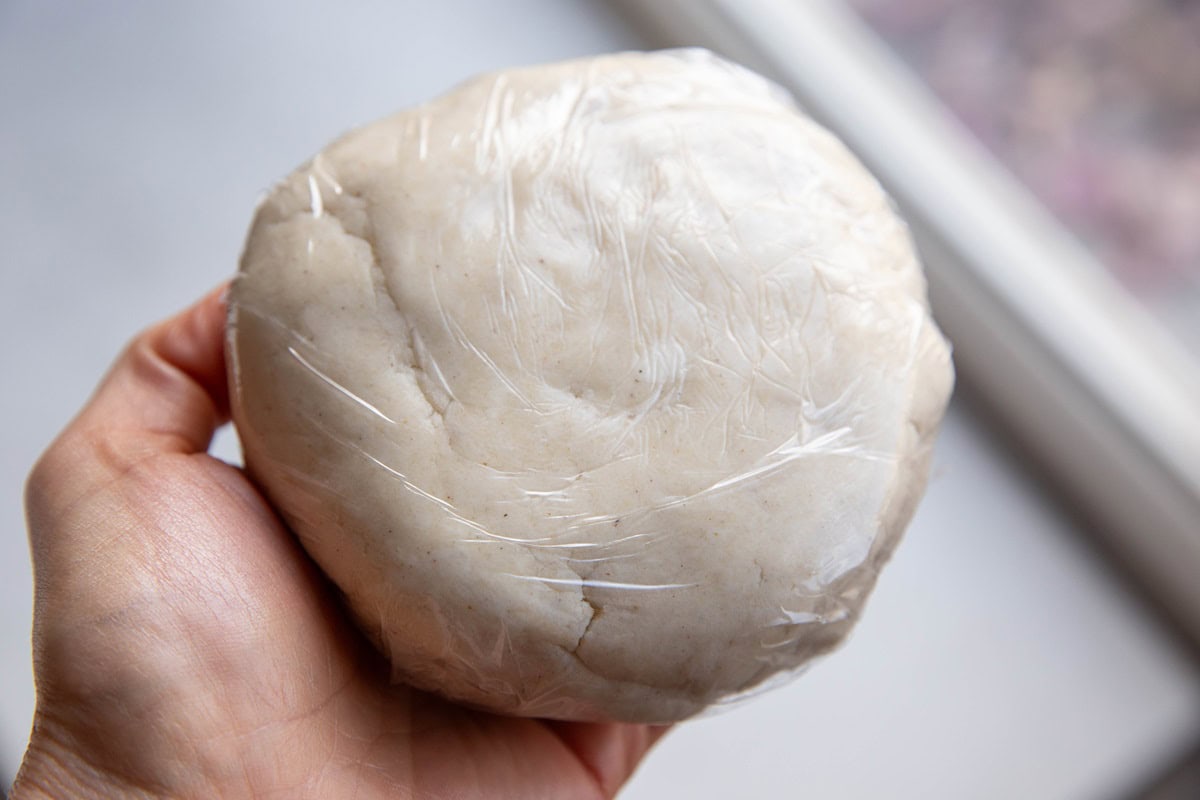
When you’re ready to bake your pie, remove the pie crust from the refrigerator and allow it to soften up at room temperature for a few minutes.
Dust a flat surface such as a large wooden cutting board with gluten-free flour, then unwrap your pastry dough and place it on the center on the dusted surface.
Use a rolling pin (or a wine bottle if you don’t have a rolling pin) to roll out the crust in a large circle about 12 inches in diameter. Press together any splits in the pie dough as you go along (there will be many).
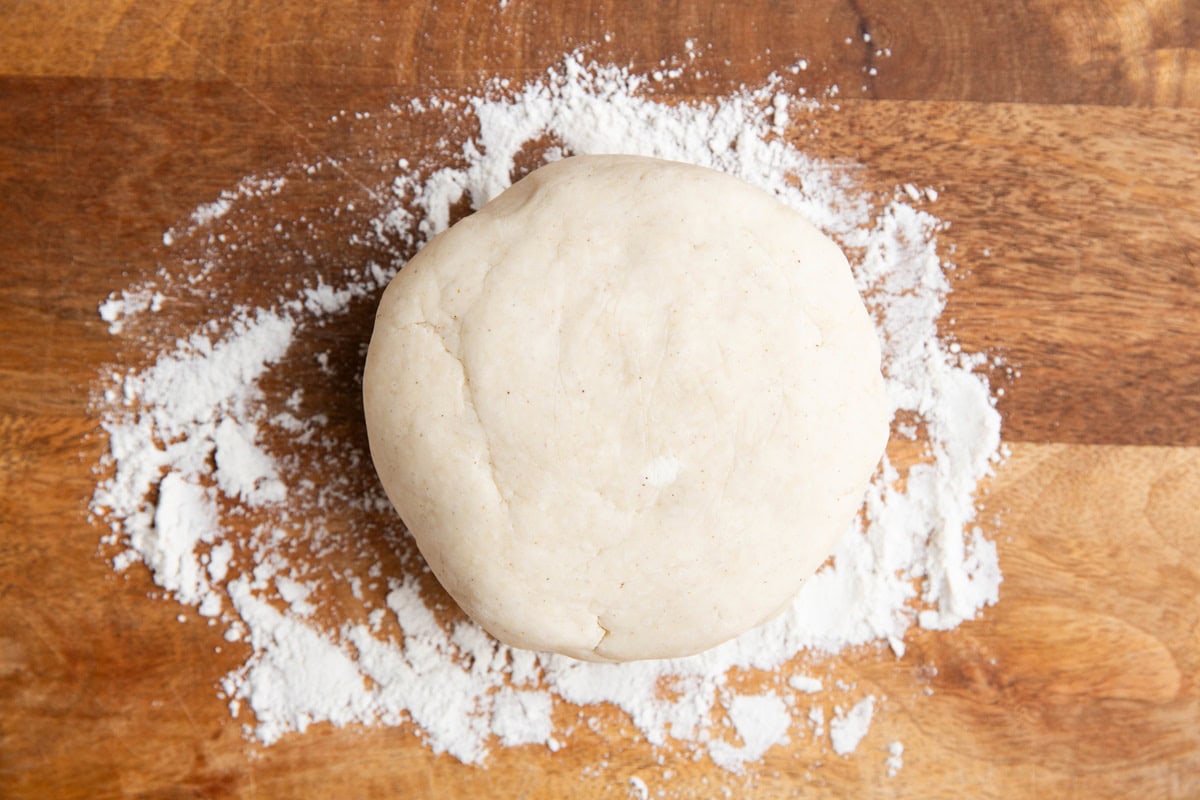
Lightly spray a 9-inch pie pan with cooking spray then gently transfer the rolled out pie dough to the prepared pie pan.
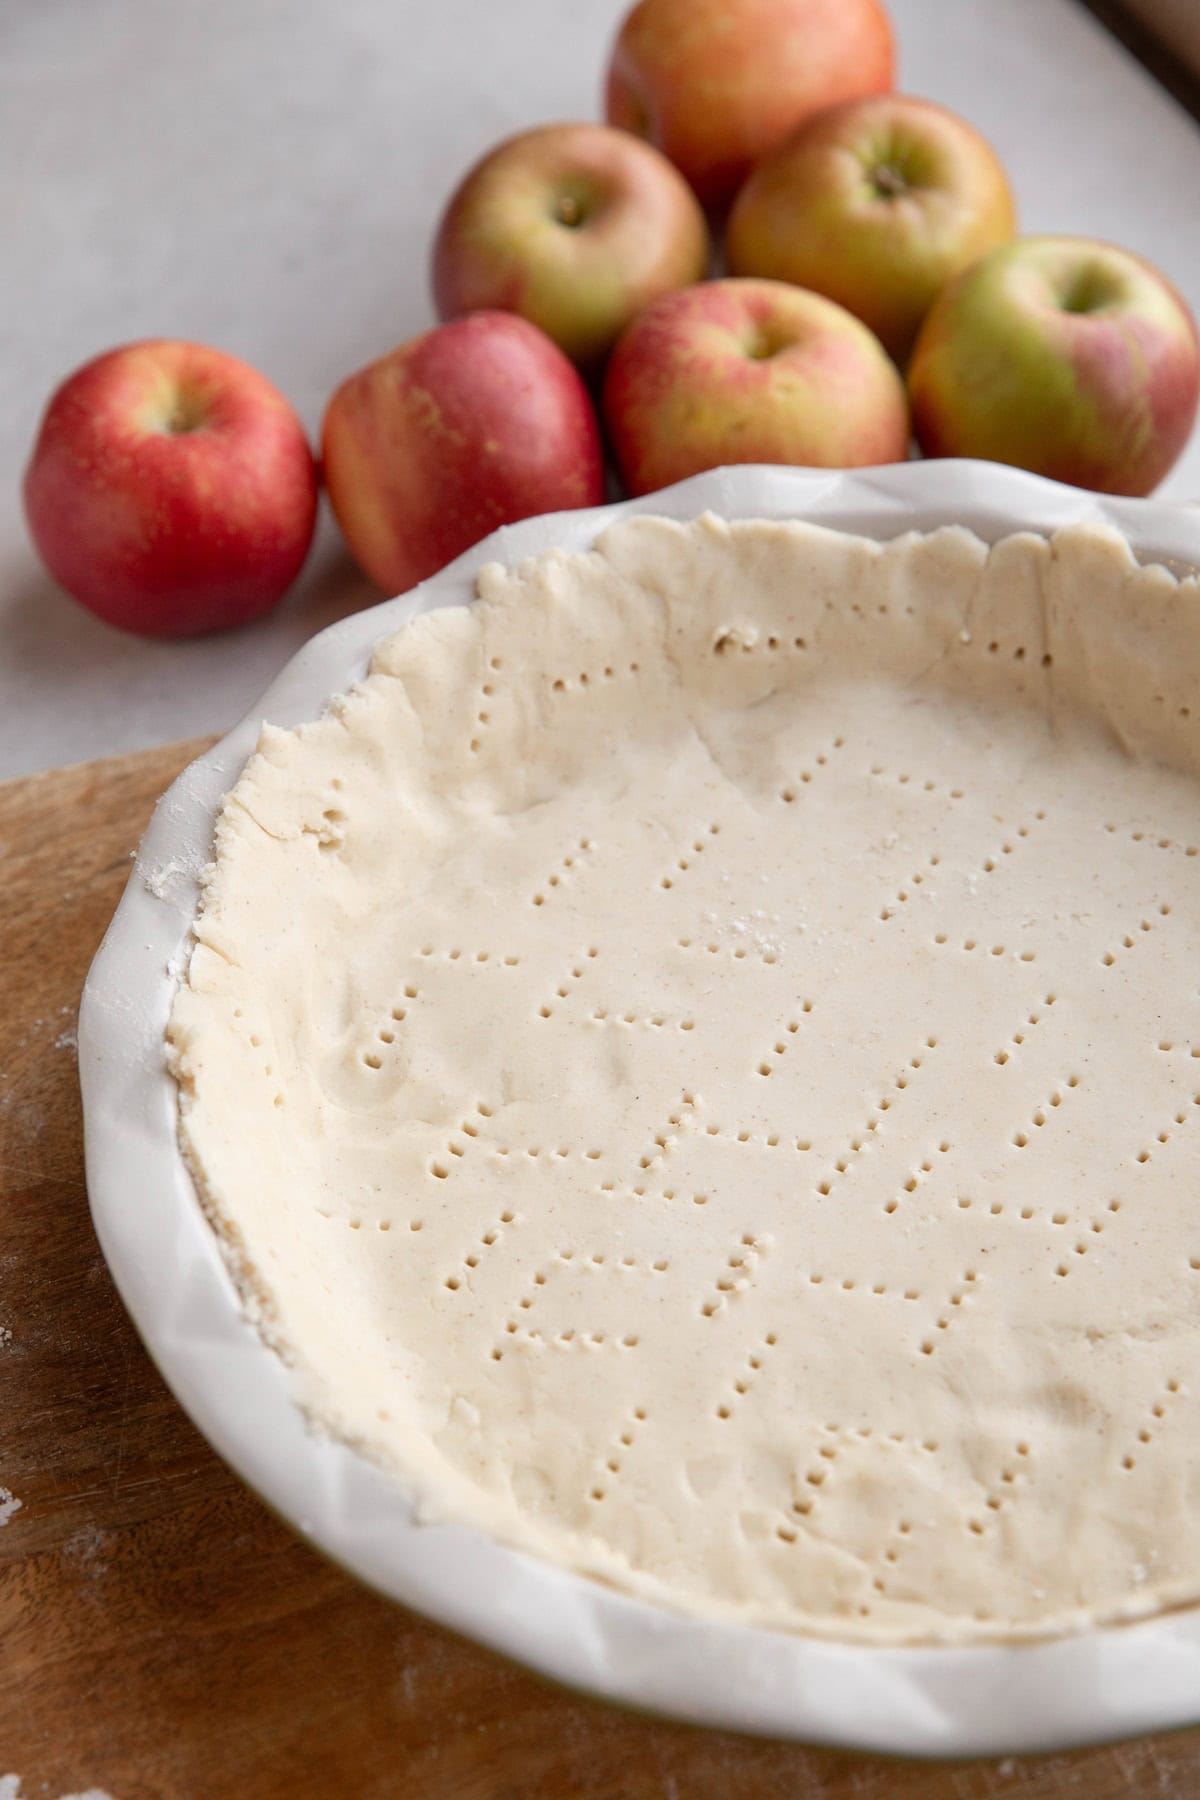
Press it into the pie plate, ensuring the surface is evenly covered. You can trim the edges or make fluted edges.
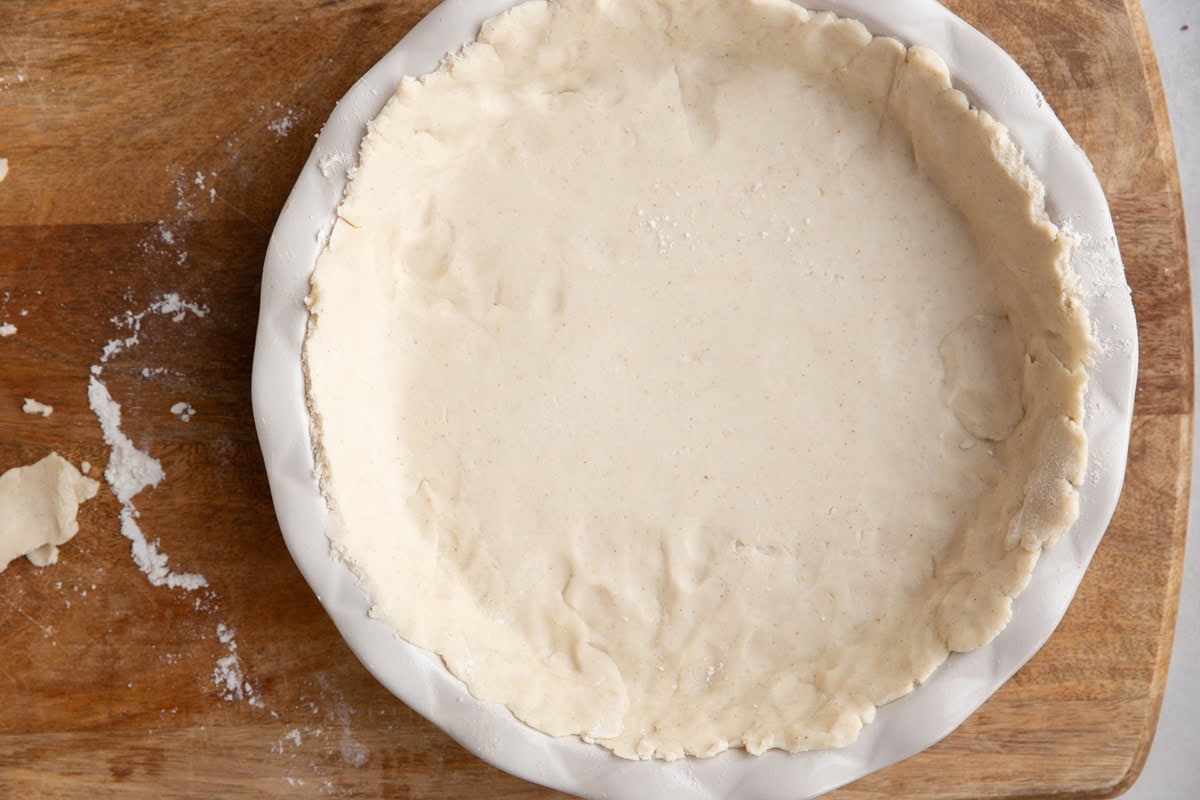
Poke many holes into the crust using a fork. This prevents the crust from bowing up.
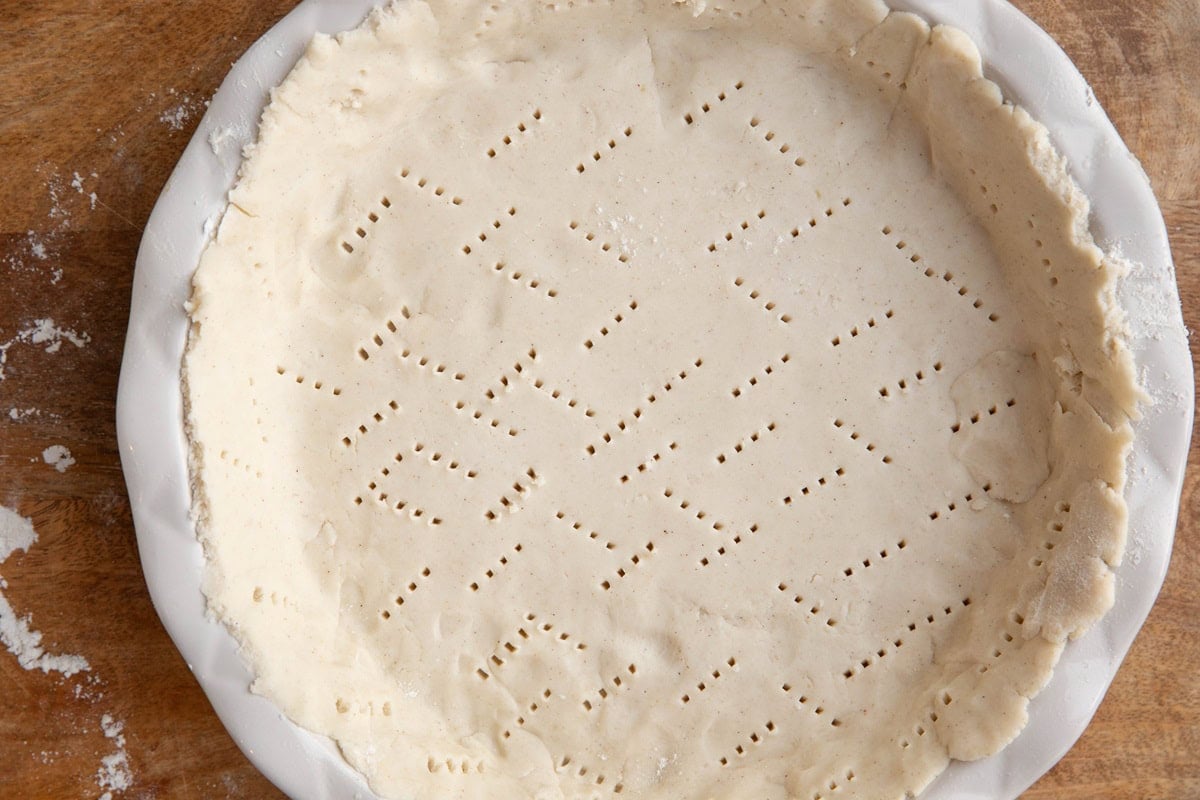
Proceed with your pie recipe, filling the crust with your pie filling.
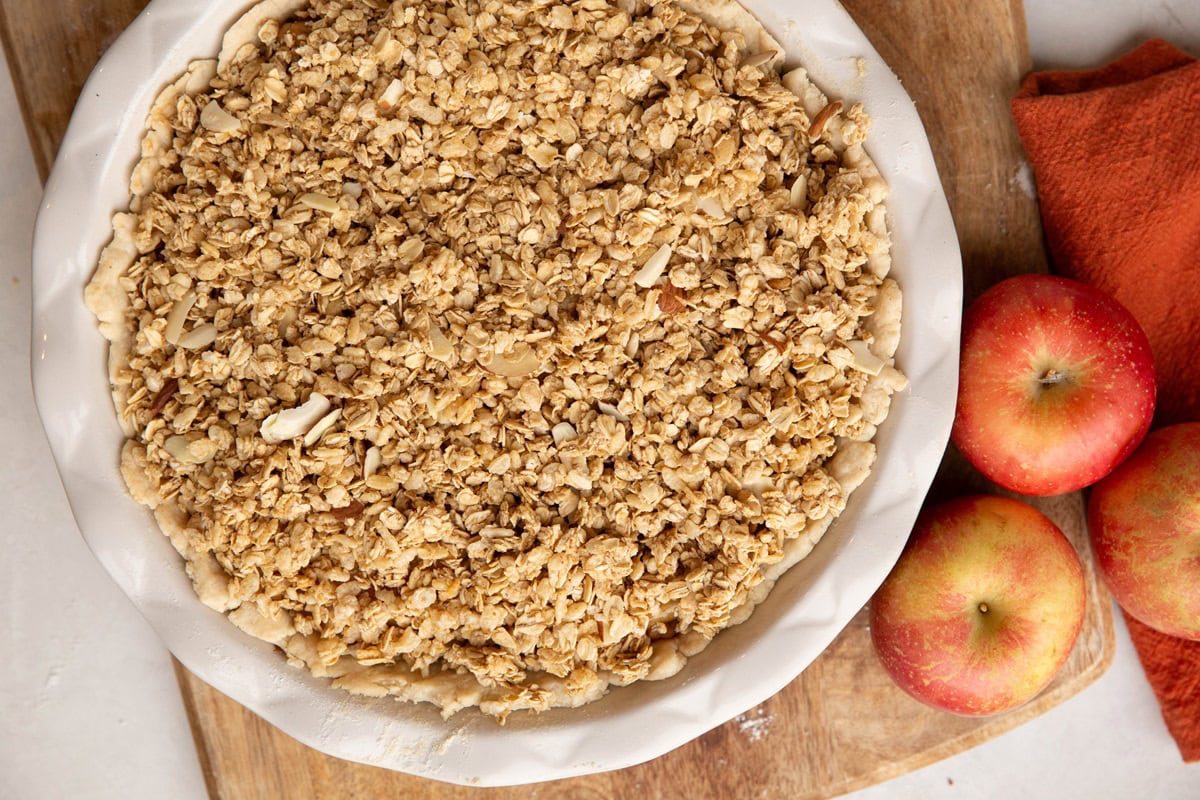
For pies that need to be baked for a long period of time, like apple pie or pumpkin pie, you won’t need to par-bake the crust.
How to Pre-Bake Pie Crust:
For pies that need less time in the oven, consider pre-baking for 10 to 15 minutes at 375 degrees Fahrenheit, just until the crust shows a little color.
If you’re making a no-bake pie, bake the pie crust completely for 25 to 30 minutes at 370 degrees F or until it is golden brown. Consider adding an egg wash if you want the egg wash effect on this easy gluten-free pie crust.
Tips for The Best Gluten-Free Pie Crust:
You’re looking for a consistency that holds together easily and doesn’t stick to your fingers. If the pie crust seems crumbly or too dry, add more ice water, one tablespoon at a time, and mix very thoroughly between additions. It may appear as though the crust is dry but after mixing well, it magically comes together.
If the pie crust is too sticky or wet and doesn’t press together easily, continue adding flour a small amount at a time, mixing well between additions.
Be sure the butter you use is fully chilled, not softened. If you use softened butter, the pie crust may appear too sticky which may cause you to add more flour when more flour isn’t needed.
Be sure to refrigerate the pie crust dough for at least 2 hours before using it so that it holds together as best as possible while rolling.
Do I Need Pie Weights for Gluten-Free Pie Crust?:
Expert bakers in gluten-free baking may disagree with me here, but in my experience, I have never needed pie weights for a gluten-free or grain-free pie crust.
As long as the pie crust is fairly cold before it goes into the oven and you poke plenty of holes, it shouldn’t bow out the way regular pie crust can.
If you own pie weights and would like to use them, feel free to do so. Otherwise, do as I do and skip them.
How to Store Raw Pie Crust:
Once your pie crust dough is prepared, roll it into a big ball and then press it into a disc shape. Wrap it tightly with plastic wrap, ensuring there are no air bubbles. You can store the pie crust in the refrigerator for up to 1 week or in the freezer for up to 3 months.
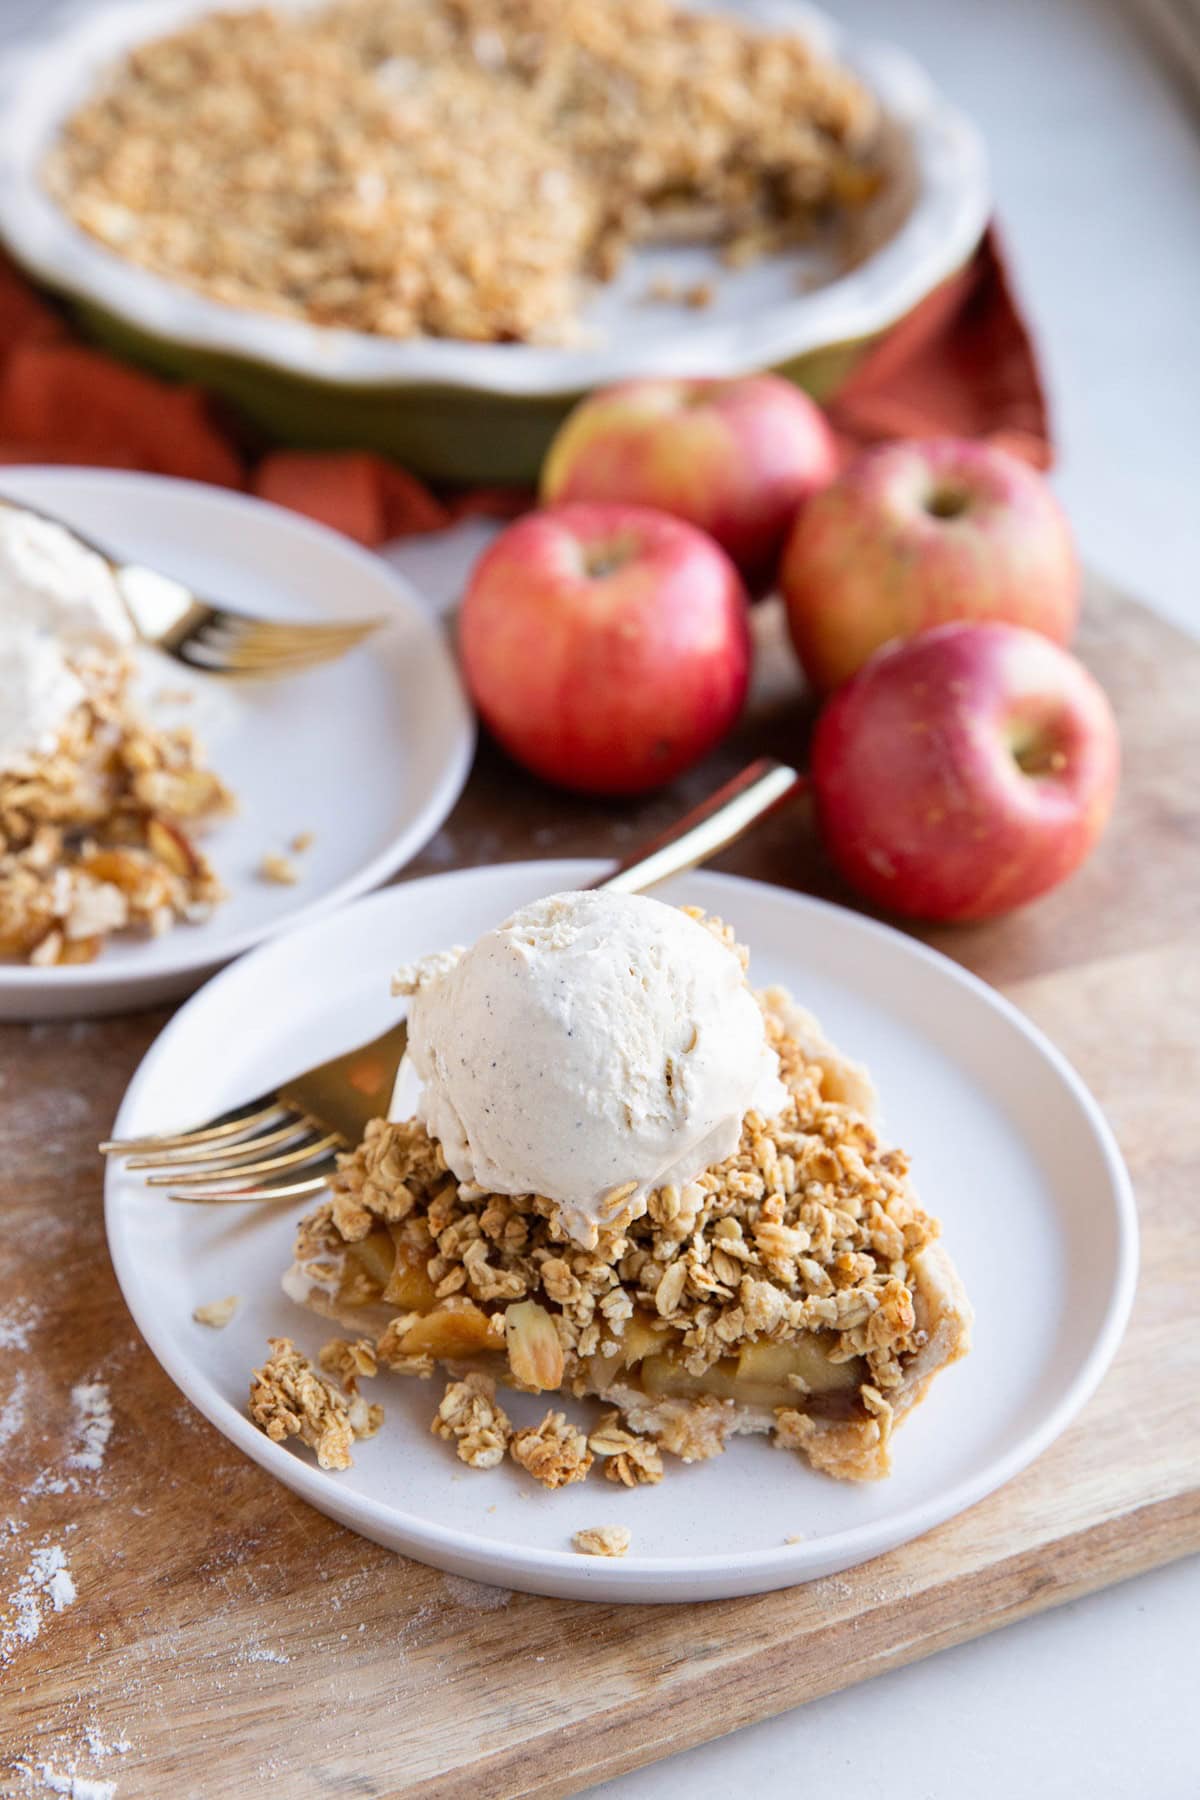
Looking for pie recipes to employ this pie crust? Here are some of my favorites.
Delicious Pie Recipes:
- Healthy Pumpkin Pie
- Silky Sweet Potato Pie
- Dairy-Free Keto Pecan Pie
- Dairy-Free Low-Carb Peanut Butter Pie
- Keto Chocolate Pie
Whip up this flaky pie crust the next time gluten free pies are on the agenda!
Enjoy this buttery pie crust for all your pie adventures! Happy baking!
Gluten-Free Pie Crust
Equipment
Ingredients
- 1 ¼ cups gluten-free all-purpose flour
- 8 Tbsp unsalted butter
- ½ tsp sea salt
- 4 to 5 Tbsp cup ice cold water*
Instructions
- Fill a small glass with ice cubes then fill it with water and set it aside. You’ll only need 4 to 5 tablespoons of water but you want to be sure it is ice cold.
- Making sure your butter is completely chilled (not softened), chop it into small chunks. I slice the butter into thin slices, then cut those slices into 4 squares. Be sure to do this fairly quickly to prevent the butter from warming up.
- Pour the gluten-free all-purpose flour into the bowl of your stand mixer and fit it with the paddle attachment. Add about half of the butter chunks then turn the mixer on low speed. As the mixer mixes, continue adding the rest of the butter until all of it has incorporated. I use this method to avoid any areas that have too much butter and to encourage the butter to mix evenly.
- Once all of the butter is incorporated, continue mixing on medium speed until the flour appears to have small pieces pea sized chunks.
- Leaving the mixer on low speed, add the water one tablespoon at a time and allow the mixer to thoroughly mix between each addition. You should only need 4 or 5 tablespoons of water so after the fourth or fifth addition, allow the mixer to continue mixing until a thick dough forms. The dough should hold together easily but be sticky on your hands. Immediately roll the dough into a dough ball, then press it into a disc shape. Wrap the pie dough tightly in plastic wrap then refrigerate for at least 3 hours, or up to 1 week.
- When you’re ready to bake your pie, remove the pie crust from the refrigerator and allow it to soften up at room temperature for a few minutes.
- Dust a flat surface such as a large wooden cutting board with gluten-free flour, then unwrap your pastry dough and place it on the center on the dusted surface. Use a rolling pin (or a wine bottle if you don’t have a rolling pin) to roll out the crust in a large circle about 12 inches in diameter. Press together any splits in the pie dough as you go along (there will be many).
- Lightly spray a 9-inch pie pan with cooking spray then gently transfer the rolled out pie dough to the prepared pie pan. Press it into the pie plate, ensuring the surface is evenly covered. You can trim the edges or make fluted edges.
- Poke the pie crust many times using a fork. This helps the pie crust bake evenly and prevents it from bowing up during the baking process.
- Proceed with your pie recipe, filling the crust with your pie filling.
Notes
For Two Pie Crusts:
- 2 1/2 cups gluten-free all-purpose flour
- 16 Tbsp (2 sticks) unsalted butter
- 1 sea salt
- 8 to 10 Tbsp cup ice cold water*
Nutrition
This post contains affiliate links, which means I make a small commission off items you purchase at no additional cost to you.

