Amazing light and fluffy gluten-free crepes. This simple dairy-free easy recipe for crepes is easy to toss together at a moment’s notice for a memorable weekend breakfast.
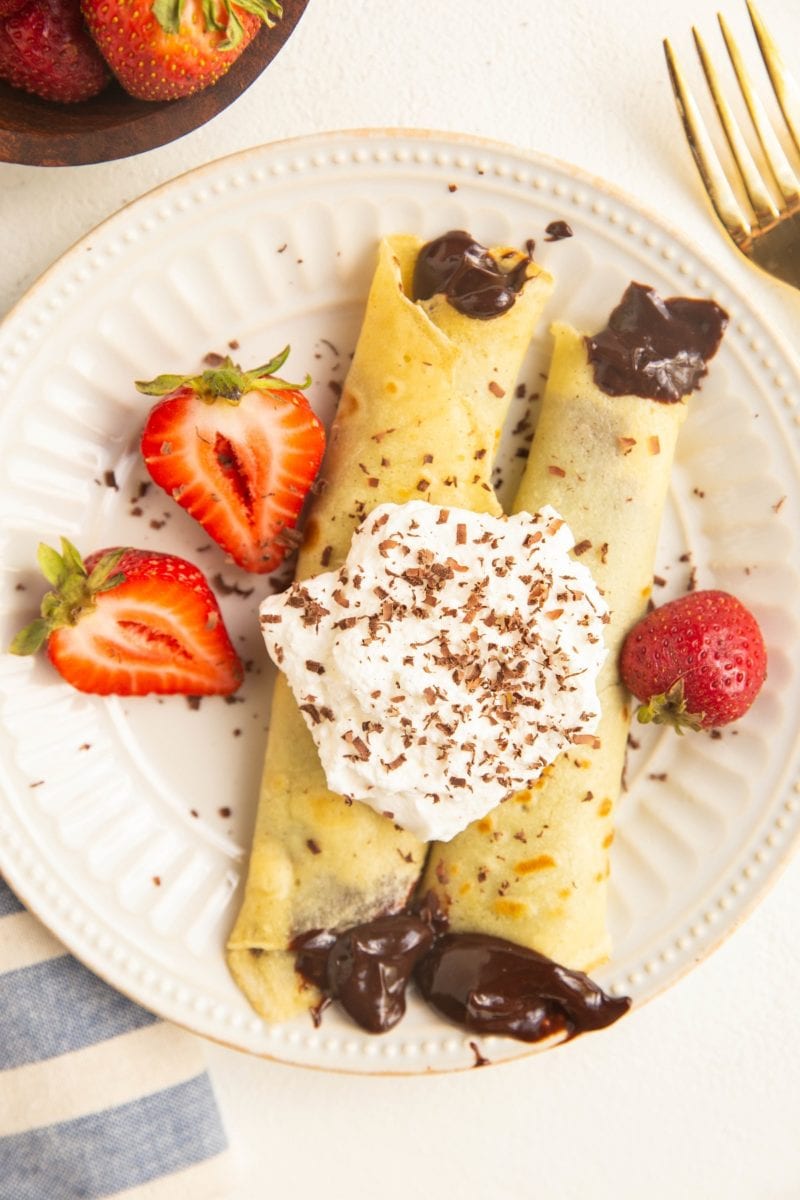
When I was a kid, my mom made crepes, pancakes, or waffles every weekend.
It was such an ingrained part of our family tradition that I thought every family did the same.
Carrying the tradition of making the occasional special weekend breakfast into adulthood, I had to share my gluten-free crepe recipe.
If you love crepes for breakfast, dinner, or dessert, you’ll absolutely love this simple crepe recipe.
Everything gets blended together in a blender rather than having to separate the wet and the dry ingredients. Because making crepe batter in a mixing bowl often results in lumps of flour, I do recommend sticking with the blender method for the silkiest batter, unless you don’t own a blender.
You need minimal ingredients, no fancy tools, and the whole family will certainly love them with the wide array of topping and filling options.
You can mix up the filling to make it sweet or savory, healthy or decadent.
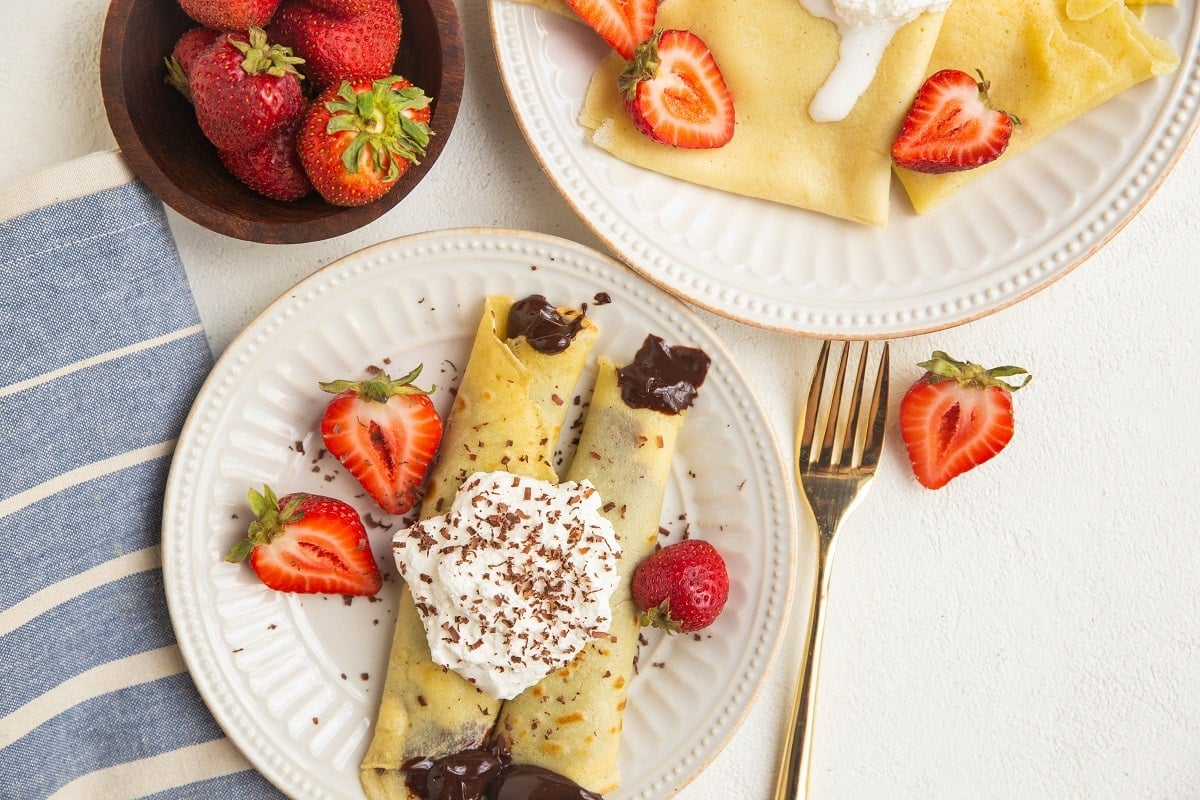
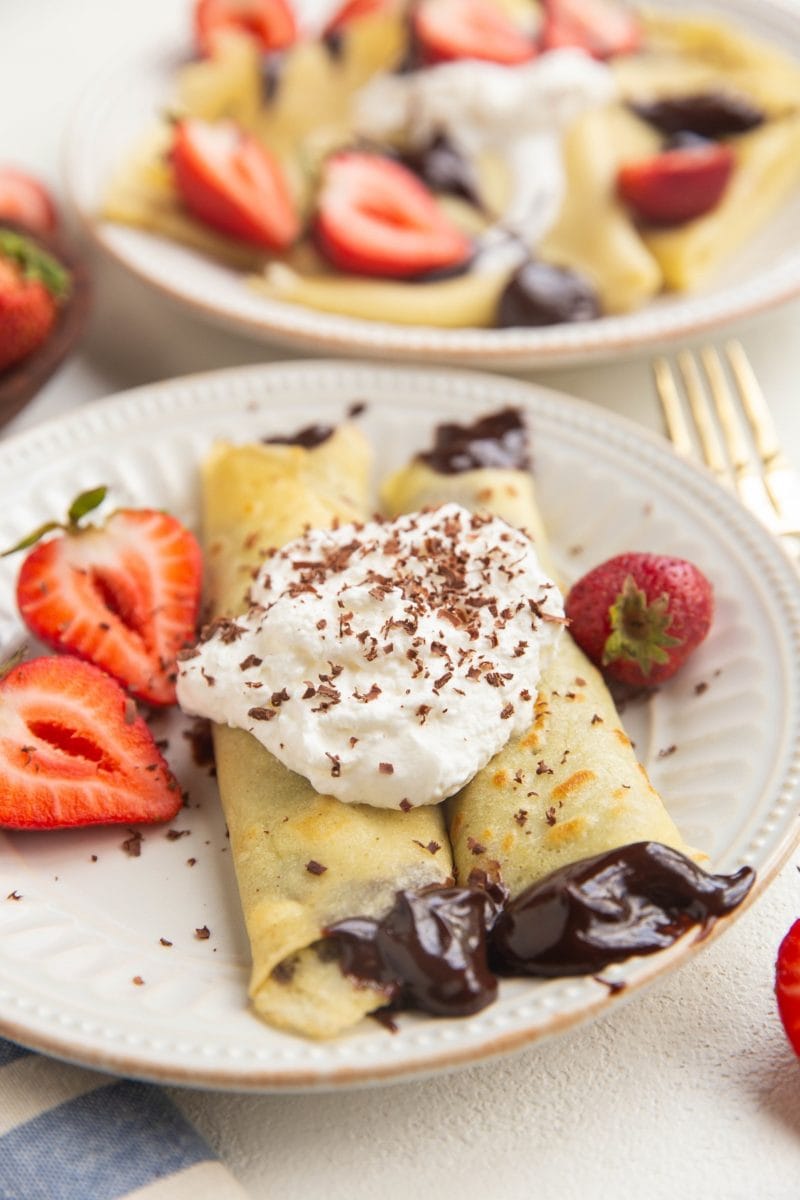
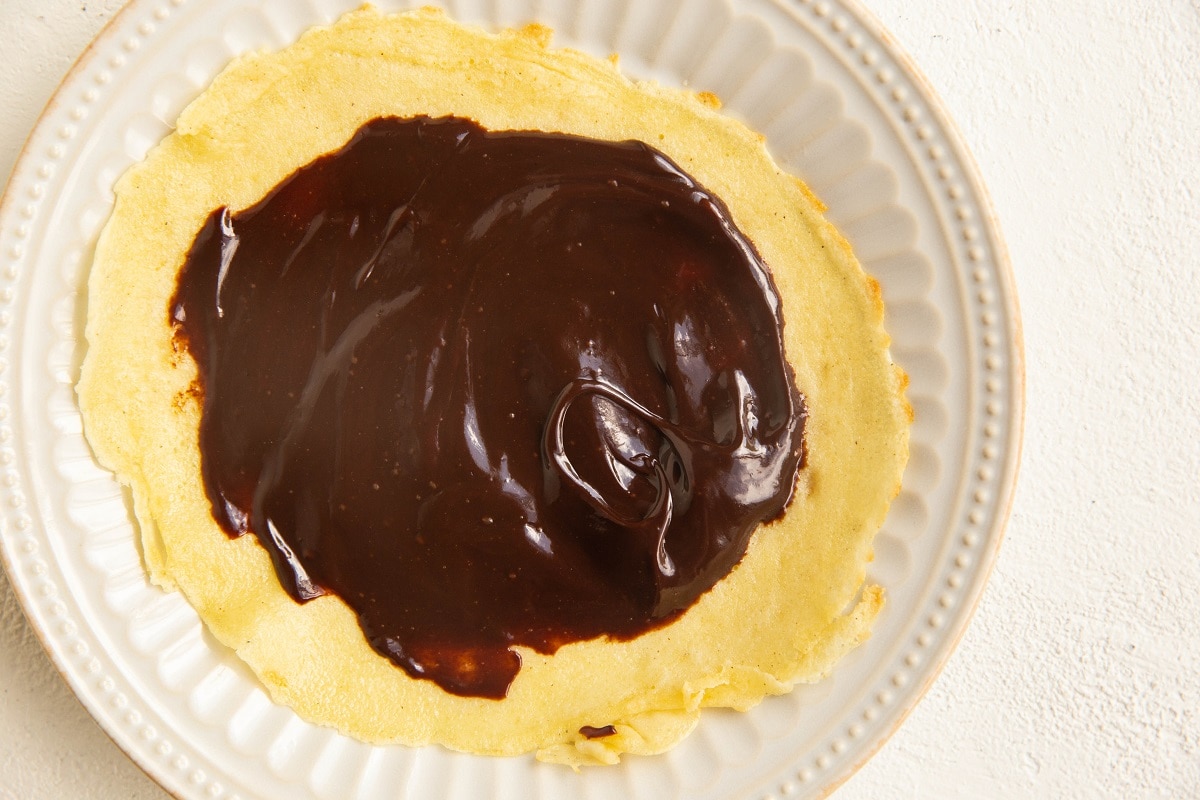
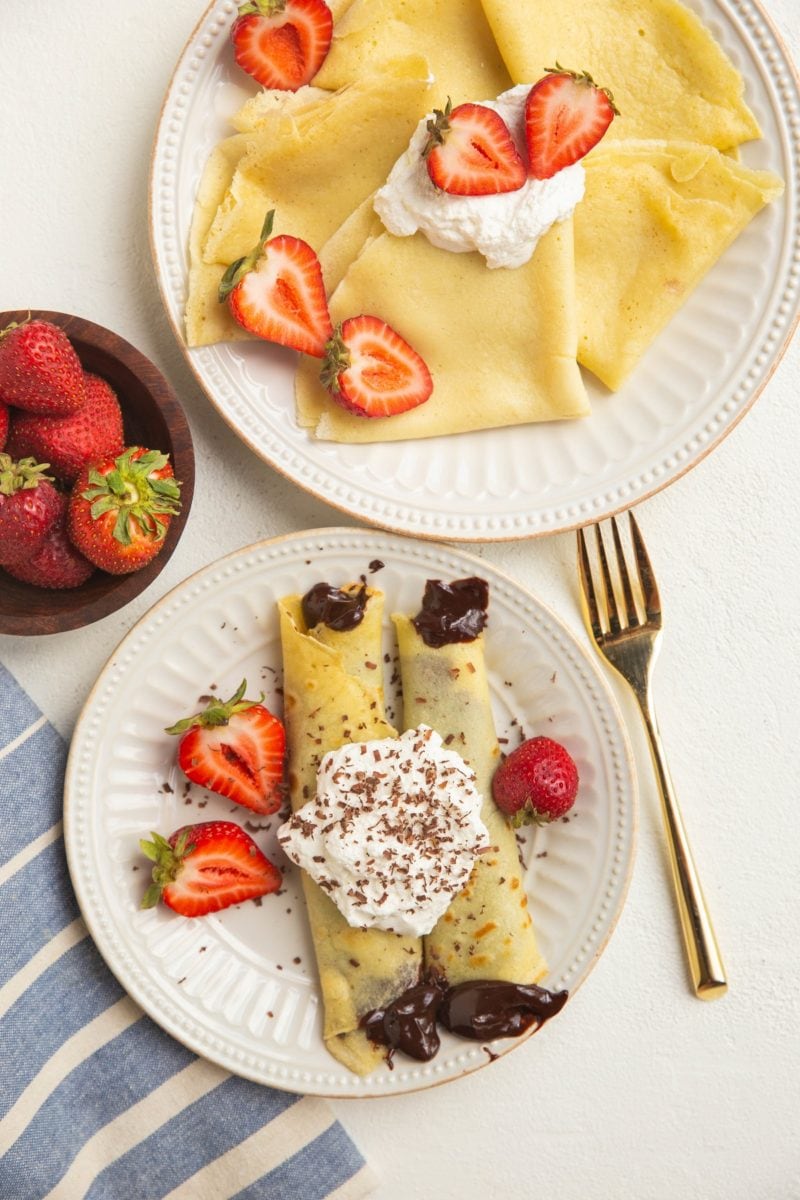
As you can see in the photos, I took the sultry approach by filling the crepes with my homemade dairy-free ganache (which is so easy to make!).
If you follow a grain-free diet, make my recipe for Paleo Crepes which calls for almond flour.
Let’s discuss the fresh ingredients for crepes.
Crepe Ingredients:
Gluten-Free All-Purpose Flour: To keep these crepes gluten-free but maintain the same traditional soft and squishy texture as regular crepes, we use gluten-free flour blend which is typically a blend of rice flour, potato starch, tapioca flour, xanthan gum, and more.
I use Bob’s Red Mill Gluten-Free 1-to-1 Baking Flour, but King Arthur Measure for Measure and Pamela’s and most gluten free flours will also work as long as they are a blend commensurate with regular all-purpose flour.
I have also made crepes using half buckwheat flour and half gluten free flour for those interested in experimenting.
If you don’t follow a gluten-free diet, you can easily use regular all-purpose flour in this recipe as a 1:1 replacement.
Sugar or Pure Maple Syrup: A little sweetener makes the crepe batter just a little more inviting. You can leave the sugar out if you prefer, but I find it adds a nice touch. Coconut sugar, maple sugar, and sugar-free sweetener all work too.
Milk of Choice: What differentiates crepe batter from pancake batter is the amount of liquid in the recipe. We need a great deal of any type of milk for a thin batter to make thin crepes. Cow’s milk works best, but almond milk, cashew milk, oat milk, and coconut milk will also work for a dairy-free option.
Water: It may seem like we can just replace the water in crepes with more milk, but trust me: they turn out better when a combination of water and milk is used.
Eggs: Eggs help bring rise and fluff to the crepes and also help them stay held together. I’ve never tried making vegan crepes with an egg replacer like flax eggs so I’m not sure how this would turn out without the eggs.
Avocado Oil or Melted Butter: Adding a little fat to the batter brings some richness but also helps achieve an even cook and ensures the crepes don’t burn or turn out flaky from the cooking process.
Vanilla Extract: A little vanilla extract brings a warm flavor that is just so inviting!
Sea Salt: A pinch of sea salt enhances the flavor you otherwise wouldn’t get without salt.
You will also need a small non-stick pan. An 8-inch skillet or a 9-inch skillet or a smaller pan in general works best, but if you don’t own one, you can use the bottom of the pan that has deep walls, such as a wok.
A 10-inch skillet will also work and you can either control the size by sticking with 1/3 cup of batter or increase the amount of batter to 1/2 to 2/3 cup for larger crepes.
If you have a special crepe pan, put it to use here!
How to Make Amazing Homemade Crepes:
Add all of the ingredients for the crepe batter to a high speed blender. Blend until completely smooth.
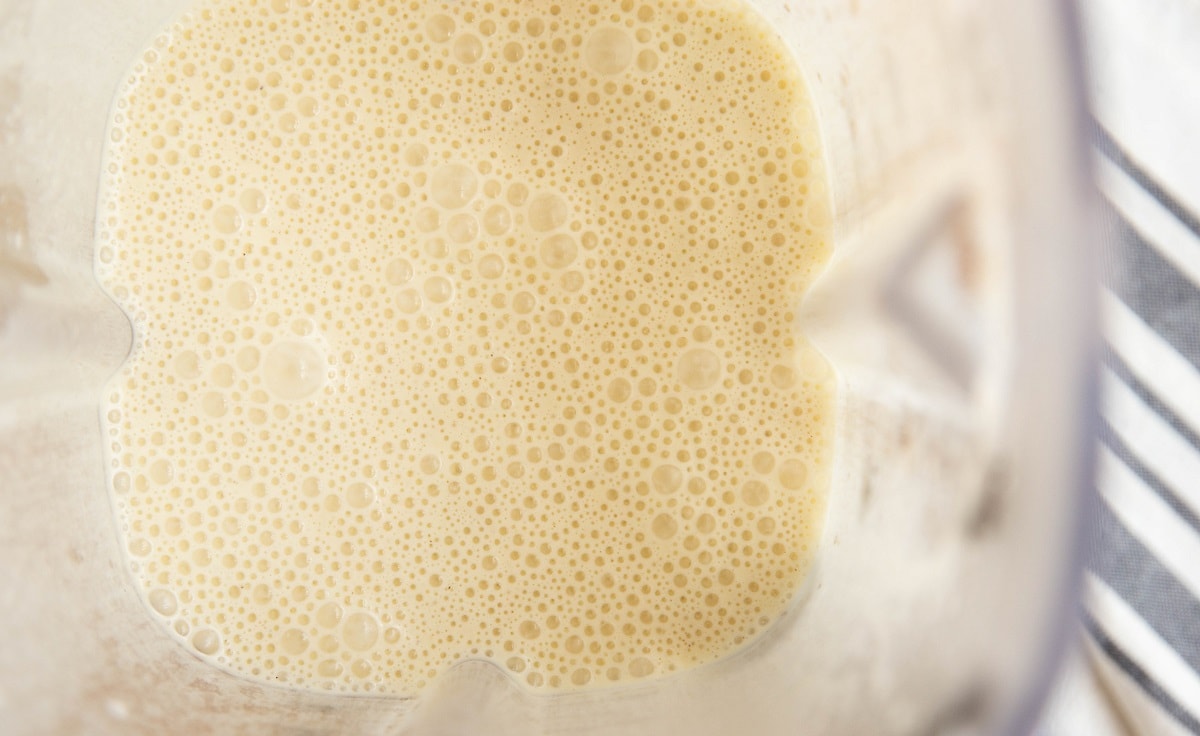
Transfer the crepe batter to an airtight container or a bowl covered with plastic wrap. Refrigerate the batter for at least 20 minutes, ideally several hours (up to 24 hours).
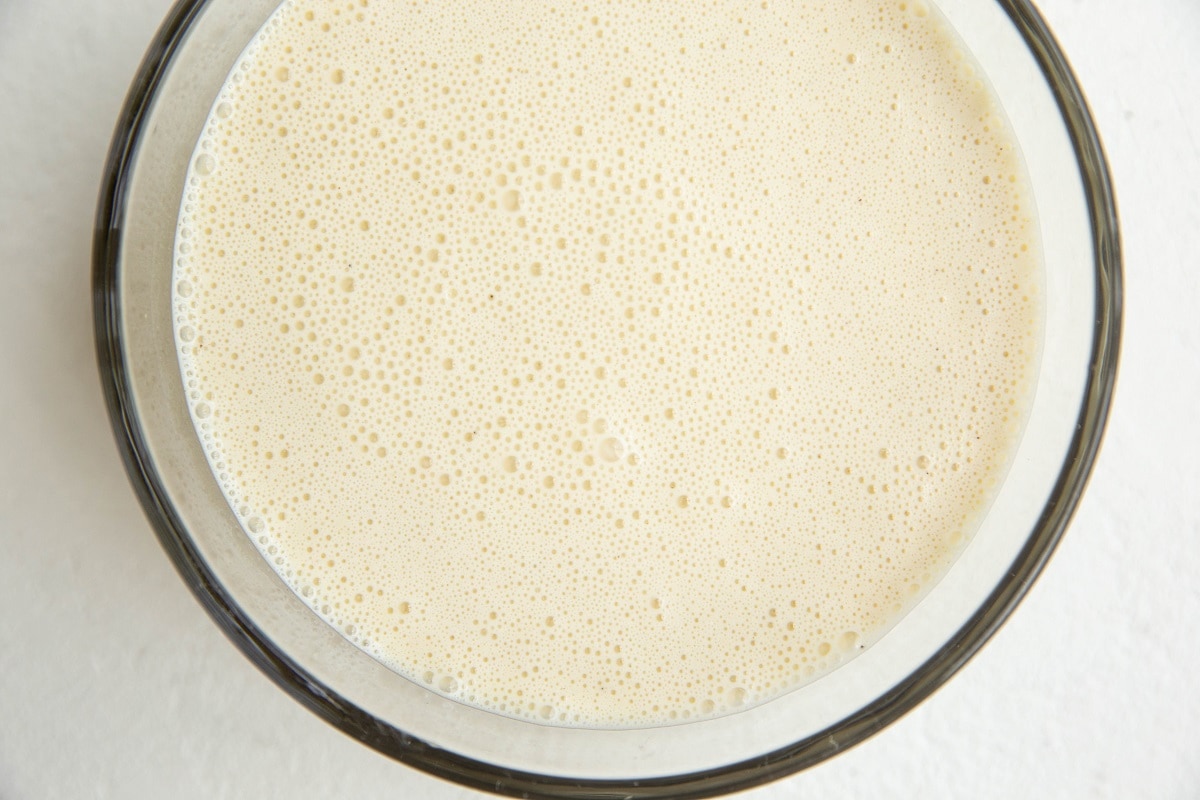
This may seem like a trivial step but letting the batter rest ensures you end up with the best crepes with perfect texture as it allows the air bubbles to dissipate.
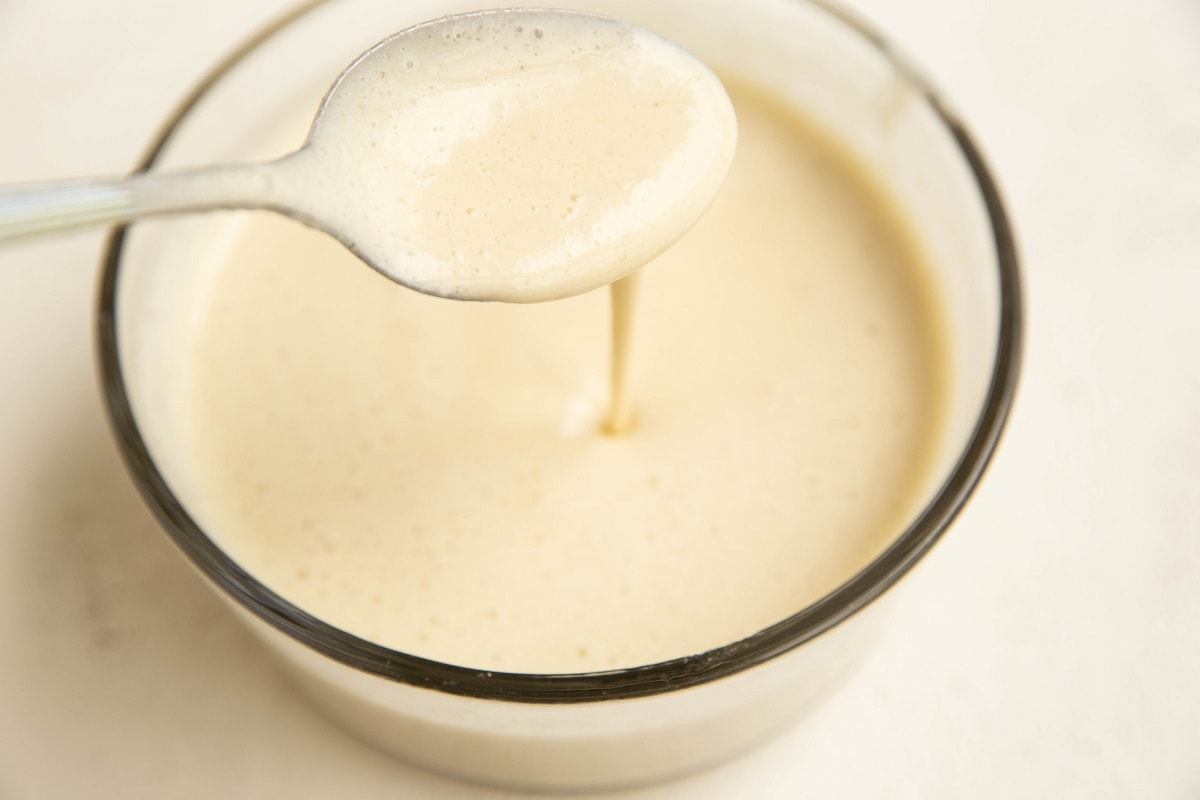
When you’re ready to make crepes, bring the batter out of the refrigerator 15 minutes early if possible to bring it to room temperature.
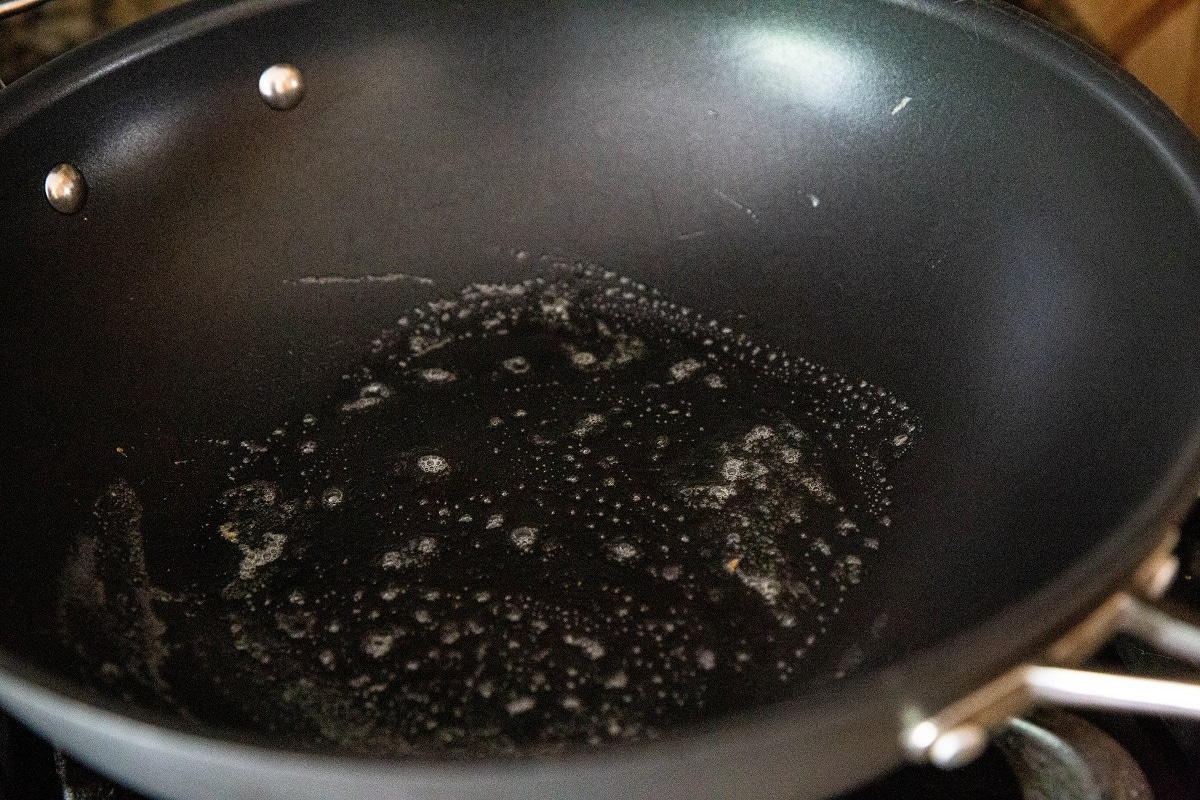
Add a pat of butter to the hot skillet and swirl it around. The butter should sizzle and bubble but not burn. This is how you know you’re cooking at a good temperature for crepes.
Measure out about 4 tablespoons of batter (I use a ⅓ measuring cup and then I don’t fill it all the way up with batter) and pour it onto the center of the skillet.
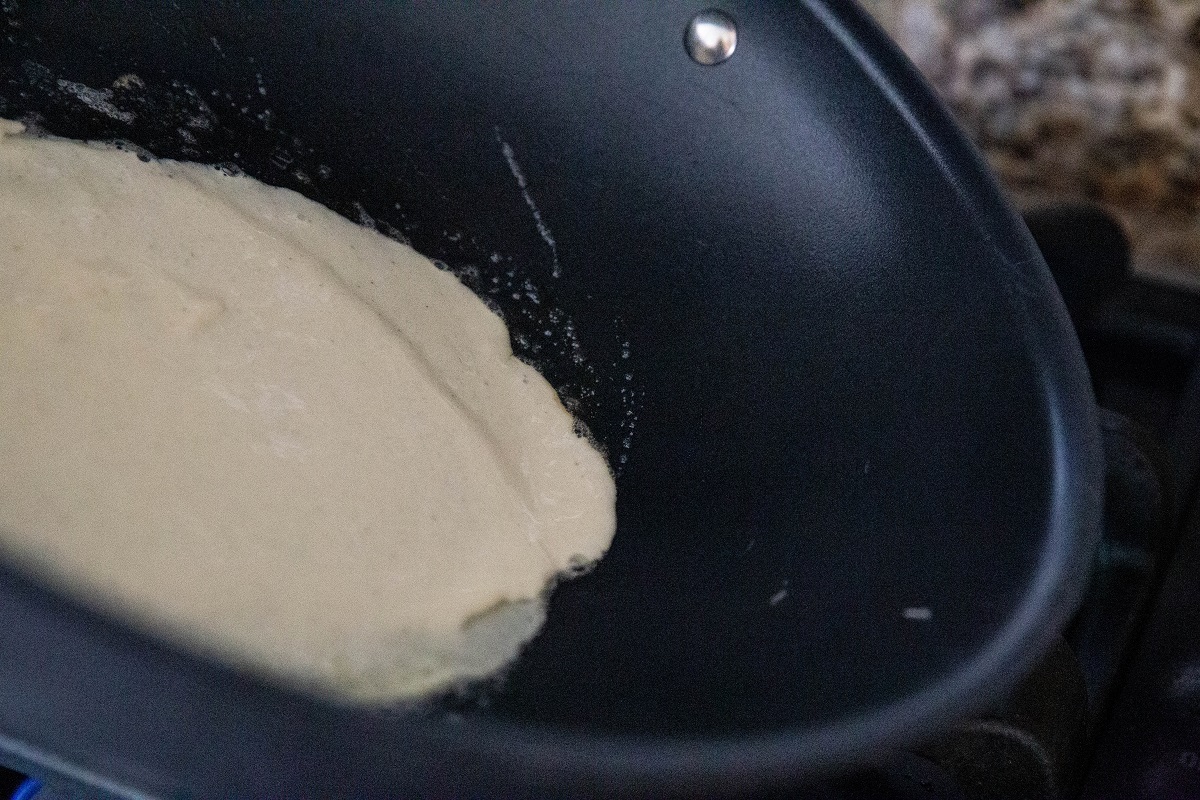
As soon as the batter hits the skillet, it should make a slight sizzle sound – this is how you know you’re at the right temperature.
Immediately swirl the batter in the skillet using a big circular motion with your wrist, creating a larger circle than the one you poured. This ensures you get a nice thin crepe that cooks evenly.
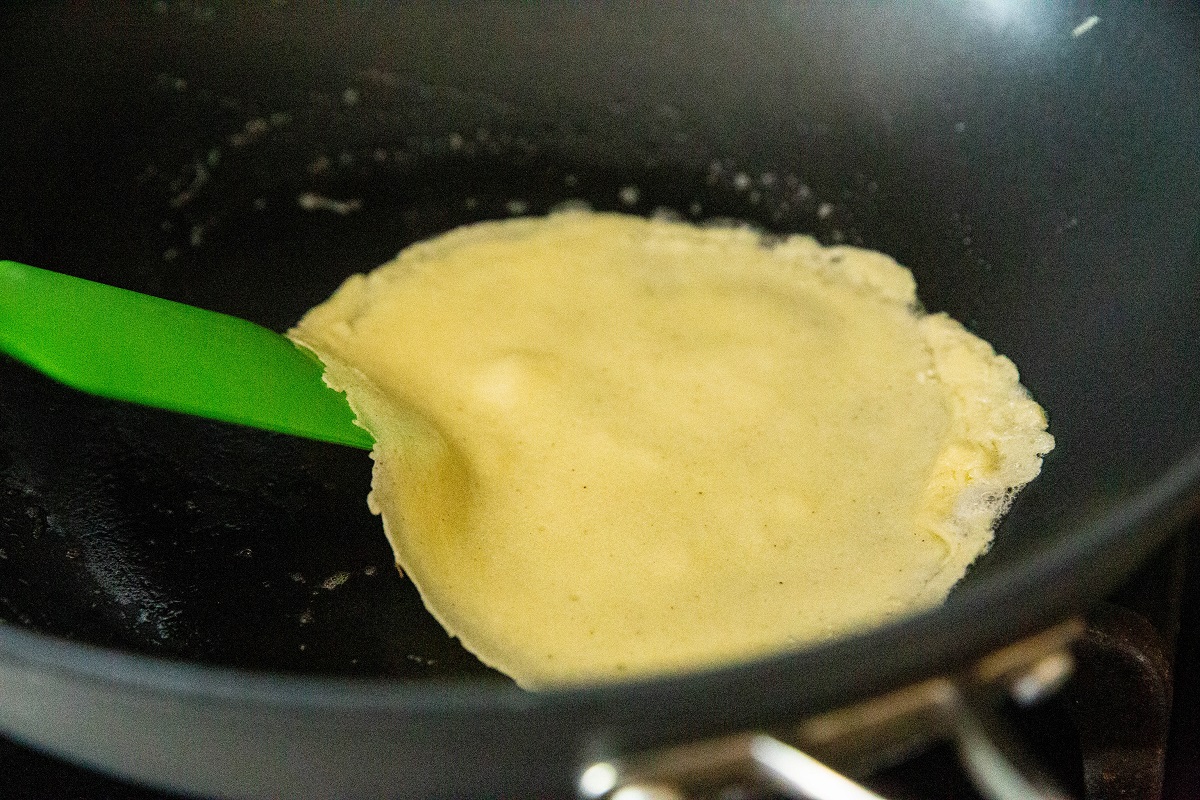
Cook the first side for two to 3 minutes, or until the sides appear to have set up and is very lightly golden brown. Use a rubber spatula or a flexible spatula to gently flip the crepe.
Continue cooking on the second side for another 1-2 minutes or so before transferring to a plate. Repeat the process for the remaining batter.
Spread filling ingredients over the full surface of each crepe. Some great options for crepe fillings are Nutella, peanut butter, fresh fruit, jam or preserves, butter, whipped cream, or grated cheese, meat and vegetables for a savory version.
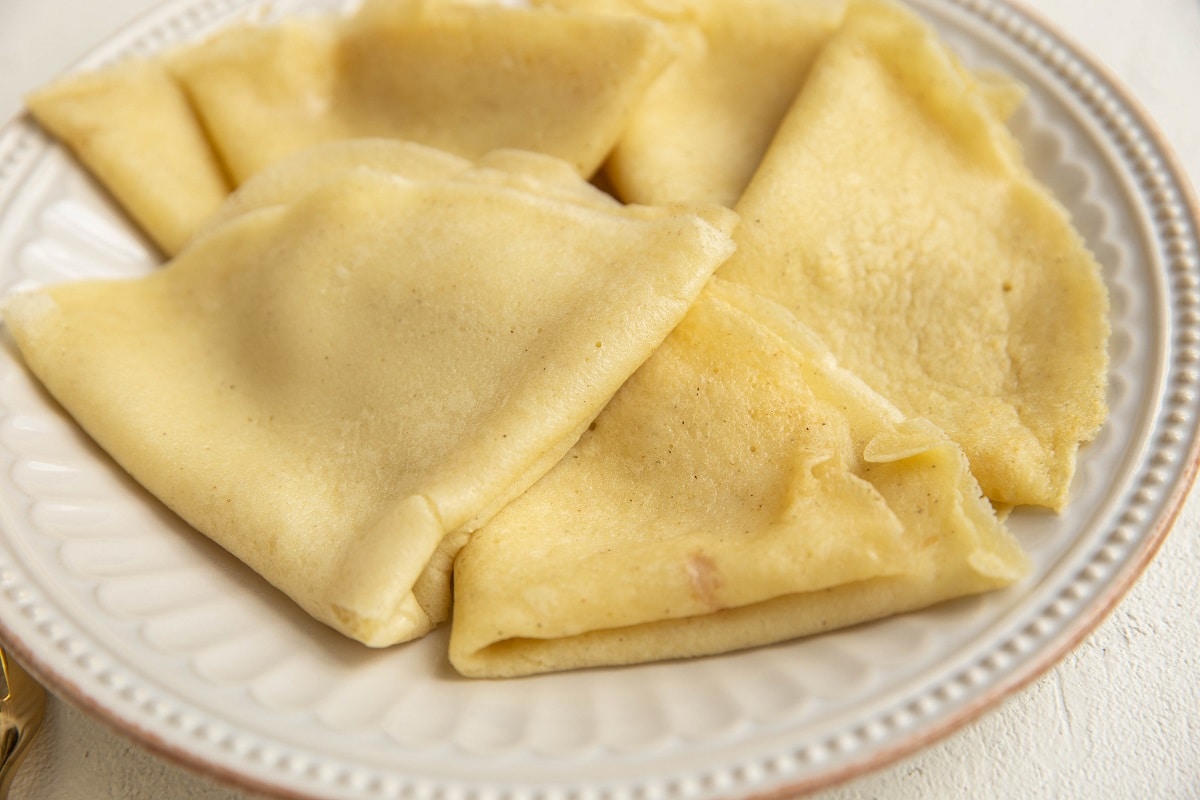
Roll the crepes into a cylinder shape, or keep them folded in triangles for serving.
Crepes are best when served immediately, but you can stack them on a plate with wax paper between to keep them from stickling together.
Leftover crepes can be stored in an air-tight container for up to 3 days.
Enjoy these gluten-free crepes with your favorite fillings. Sweet crepes and savory fillings are both so enjoyable, so you can use these for breakfast, dessert or dinner crepes.
Tips for Making the BEST Crepes!:
Butter the nonstick skillet generously between each crepe. I take a chunk of butter and use the butter wrapper to help me hold it as I swirl the butter around the skillet.
Remember that the first crepe is always a dud. I’m not sure why but it never fails: every time I make pancakes or crepes, the first one is all wonky.
The first one is what alerts me to turn the heat higher or lower for the rest of the batch. Use it as a learning experience.
Depending on how you like your crepes served, you can either layer sauces and fruit on the crepe and then roll it like a taquito or fold it into a triangle shape.
My slight preference is rolled crepes mostly because that’s how my momma made them but truly there isn’t a remarkable difference between the crepe shapes and how they taste.
Many recipes on the internet say to cook crepes on medium heat on the stove top. I’ve never found medium heat to work and I always use a medium-high heat. For me, medium heat results in a crepe that takes a long time to cook and ends up drying out, where medium-high is fast and results in an even cook for perfect crepes.
You may need to play with the skillet temperature to find just the right heat for you based on your skillet and your cooking element.
Looking for fun ways of enjoying homemade crepes? Here are some of my thoughts.
Crepe Stuffing and Topping Ideas:
- The combination of nutella and sliced banana (and sometimes strawberries) is classic!
- Peanut butter, almond butter, or nut butter of your choosing and seasonal fresh fruit always impresses.
- Make savory crepes by going with ham and cheese or turkey and cheese crepe.
- Grilled Chicken Thighs with salsa, black beans and guacamole.
- Smoked Salmon with cream cheese, fresh herbs, and chives.
- Pulled Pork with coleslaw.
- Make crepe breakfast tacos with bacon or sausage, scrambled eggs, avocado, sautéed onions and veggies, etc.
- Strawberry jam, blackberry jam, apricot preserves or store-bought or homemade jelly or preserves of choice along with fresh homemade whipped cream and fresh fruit is absolutely decadent for a sweet filling. Try my Strawberry Chia Seed Jam or my Raspberry Chia Seed Jam, which take roughly 10 minutes to make!
Get creative with your crepe toppings and stuffings and let me know what you try!
And that’s it! Everything you need for a successful gluten-free crepes experience. Now that you’re an expert, make them every weekend!
If you love making delicious breakfast recipes, also check out these favorites.
More Delicious Breakfast Recipes:
- Paleo Almond Flour Pancakes
- The Best Gluten-Free Waffles
- Sweet Potato Rolled Oat Protein Pancakes
- Grain-Free Almond Flour Waffles
- Keto Pancakes
- Flourless Oatmeal Banana Pancakes
For breakfast, for lunch, for dinner!

Gluten-Free Crepes
Ingredients
- 1 cup gluten-free all-purpose flour
- 1 Tbsp sugar or pure maple syrup optional
- ¾ cup milk or non-dairy milk of choice
- ½ cup water
- 2 Tbsp avocado oil or melted butter
- 2 large eggs
- 1 tsp pure vanilla extract
Instructions
- Add all of the ingredients for the crepe batter to a high speed blender. Blend until completely smooth.
- Transfer the crepe batter to an airtight container or a bowl covered with plastic wrap. Refrigerate the batter for at least 20 minutes, ideally several hours (up to 24 hours). This may seem like a trivial step but letting the batter rest ensures you end up with the best crepes with perfect texture as it allows the air bubbles to dissipate.
- When you're ready to make crepes, bring the batter out of the refrigerator 15 minutes early if possible to bring it to room temperature.
- Add a pat of butter to the hot skillet and swirl it around. You want the butter to sizzle and bubble but not burn – this is how you know you’re cooking at a good temperature for crepes.
- Measure out about 4 tablespoons of batter (I use a ⅓ measuring cup and then I don’t fill it all the way up with batter) and pour it onto the center of an 8-inch skillet (use more batter if using a larger skillet).
- As soon as the batter hits the skillet, it should make a slight sizzle sound – this is how you know you’re at the right temperature. Immediately swirl the batter in the skillet using a big circular motion with your wrist, creating a larger circle than the one you poured. This ensures you get a nice thin crepe that cooks evenly.
- Cook the first side for two to 3 minutes, or until the sides appear to have set up and are very lightly golden brown. Use a rubber spatula or a flexible spatula to gently flip the crepe.
- Continue cooking on the second side for another 1-2 minutes or so before transferring to a plate.
- Repeat the process for the remaining batter. Crepes are best when served immediately, but you can stack them on a plate with wax paper between to keep them from sticking together.
- Spread your favorite fillings over the crepes and either roll them or fold them into triangles.
- Both sweet and savory fillings or toppings work with these crepes! Serve and enjoy!
Notes
Nutrition
This post contains affiliate links, which means I make a small commission off items you purchase at no additional cost to you.



They are so good!👌 Can’t believe how quick and easy, plus gluten free🎊🙌
Next time I have to double the recipe cause we finished them so fast lol😋😋
I’m so happy you love them, Ana!! I find them to be just so fun and enjoyable too. Thanks so much for the sweet note! xoxo
Weekend family breakfast is the best! Using a blender is a great way to solve the lumpy crepe batter problem. If you don’t have a blender, you can make the batter the night before which gives the flour time to absorb the liquid. I love this gluten free version.
That’s such a great tip! Very helpful for those who don’t own a blender 🙂