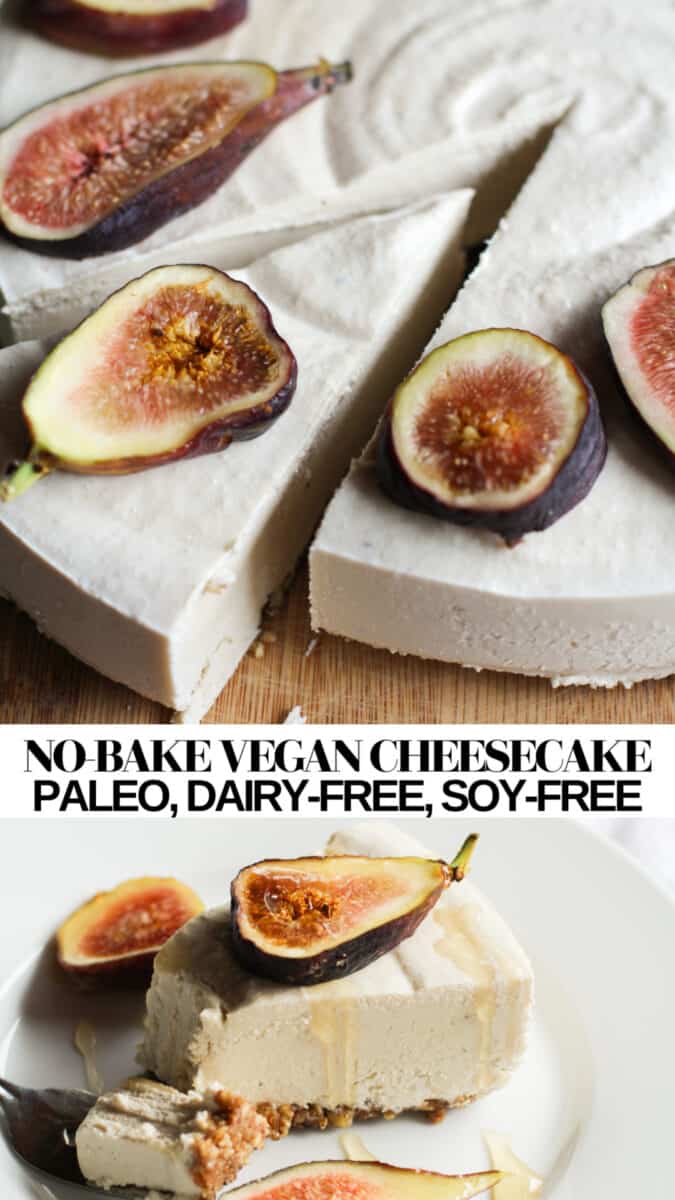
No-Bake Raw Vegan Cheesecake made with raw cashews and pure maple syrup. This easy “cheesecake” recipe is grain-free, dairy-free and paleo friendly.
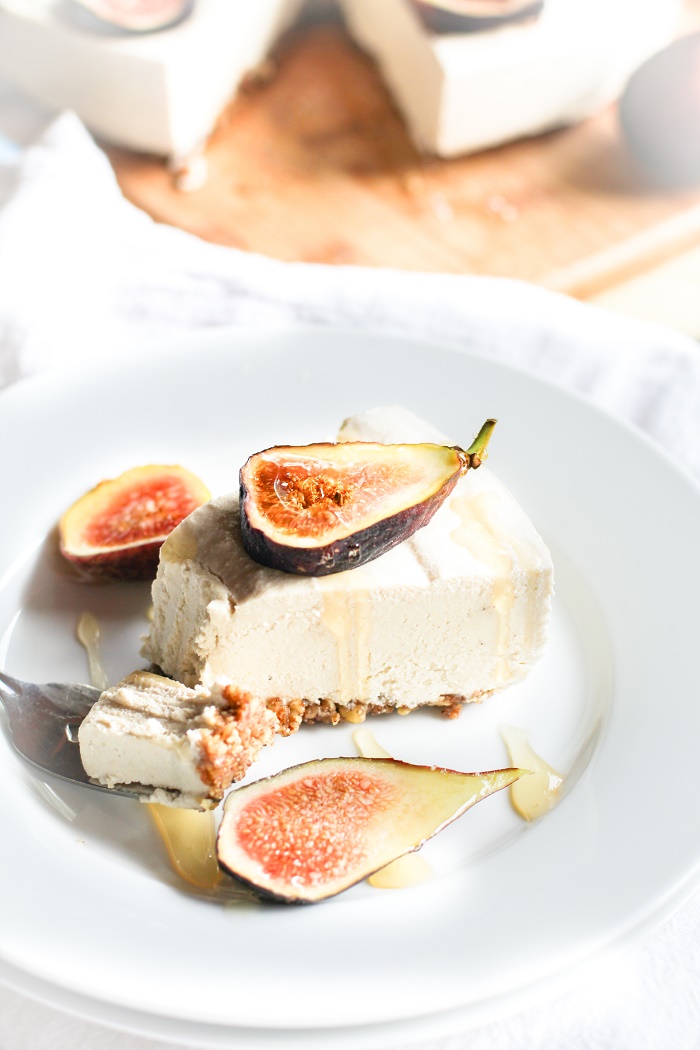
Here we have a basic dairy-free “cheesecake” recipe that can serve as your base camp to all of your cheesecake adventures!
Once you try this classic Vegan Cashew Cheesecake, you can do all sorts of cool things, like add fresh pureed fruit, a vanilla bean or two, peanut butter, instant coffee, chocolate, caramel, etc etc to really whet your whistle.
OR simply keep it plain Jane, straight-forward, classic, and simple. So many options for your no-bake bliss.
Recipe Highlights:
- Vegan
- No-cook, no-bake, no heat needed whatsoever
- Easily adaptable to incorporate most fresh seasonal fruits, and other fun ingredients
- Gluten-free and grain-free
- Cane sugar-free
- Dairy-free AND soy-free
- High in protein and fat
- Flipping delicioso
Ingredients for No-Bake Vegan Cheesecake:
The crust is made mostly of ground up raw pecans and dates, and the “cheesecake” filling is made with soaked raw cashews, pure maple syrup, lemon juice, coconut milk, and coconut oil.
A note about the sweetener: I like using a combination of honey and maple syrup (1/3 cup of each) for sweetening the cheesecake (although this method is not vegan due to the honey).
Honey lends tanginess to the “cheesecake” flavor, and the maple syrup helps to soften it out so that the honey flavor isn’t too apparent. To keep this recipe vegan, use pure maple syrup, coconut nectar, or agave nectar for sweetening.
What Does Vegan Cheesecake Taste Like?
This cashew cheesecake melts on your tongue in creamy delight – I have a difficult time stopping at just one slice. It is thick and creamy, perfectly sweet, and has a definite cheesecake essence to it – many people won’t be able to distinguish it from regular cheesecake!
This doesn’t have to be a weekend/special occasion/holiday dessert – it can be your all-the-time healthful treat to be enjoyed guilt-free on any dang day.
How to Store Vegan Cheesecake:
This cashew cheesecake recipe keeps in the refrigerator for up to 2 weeks in a sealed container. You can also wrap it in plastic wrap, place it in a zip lock bag, and freeze it. It doesn’t take long to thaw, so I tend to keep my cheesecake in the freezer and break it out when I want a slice.
I’m gonna call a spade a spade: this cheesecake is still super high in fat and is jam packed with calories from the cashews.
Now that we’ve pegged this thing as a fat bomb from the heavens, we can proceed forth…
More No-Bake Dessert Recipes:
- Low-Carb Peanut Butter Fudge
- No-Bake Keto Chocolate Chip Cookie Bars
- No-Bake Paleo Lemon Bars
- Vegan No-Bake Strawberry Cheesecake
- No-Bake Vegan Key Lime Tarts
My cookbook, Paleo Power Bowls, is now available! CLICK HERE to check it out. Thank you for your support!
If you make this recipe, please feel free to share a photo and tag @TheRoastedRoot on Instagram!
No-Bake Vegan Cheesecake (grain-free and paleo)
Ingredients
For the Crust:
- 2 cups raw pecans
- 3 Tbsp coconut oil softened
- 8 large medjool dates pitted
- Zest of 1 lemon
- ¼ teaspoon sea salt
- ¼ teaspoon ground cinnamon
For the Vegan “Cheesecake” Filling:
- 3-½ cups raw cashews soaked overnight
- 2/3 cup fresh lemon juice
- 2/3 cup pure maple syrup*
- 1 cup full-fat coconut milk
- 4 to 8 Tbsp water as needed
Instructions
- Place the raw cashews in a bowl and cover them with a couple inches of water. Allow them to soak overnight (at least 8 hours). Drain and rinse.
Prepare the Crust:
- Add the ingredients for the crust to a food processor (or blender) and process until a thick, sticky dough forms. You may need to stop the food processor a couple of times and scrape the sides with a rubber spatula.
- Transfer the crust mixture to a 10-inch springform pan and press it into the bottom, forming an even layer. Refrigerate the crust while you're preparing the filling.
Prepare the "Cheesecake" filling:
- Add all of the ingredients for the filling to a high-powered blender and blend until completely smooth. This will require several rounds of blending. If the mixture is too thick, add water a couple of tablespoons at a time and continue blending until smooth.
Prepare the "Cheesecake":
- Pour the "cheesecake" filling into the springform pan and smooth evenly over the crust. Freeze for 1 hour, then place in the refrigerator and refrigerate until completely firm, about another hour.
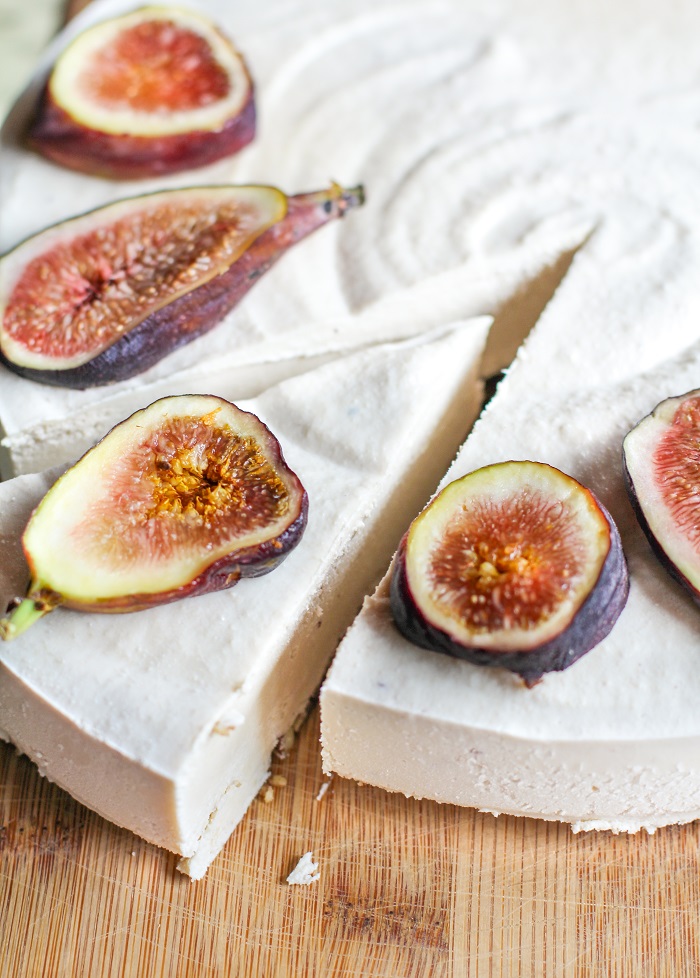
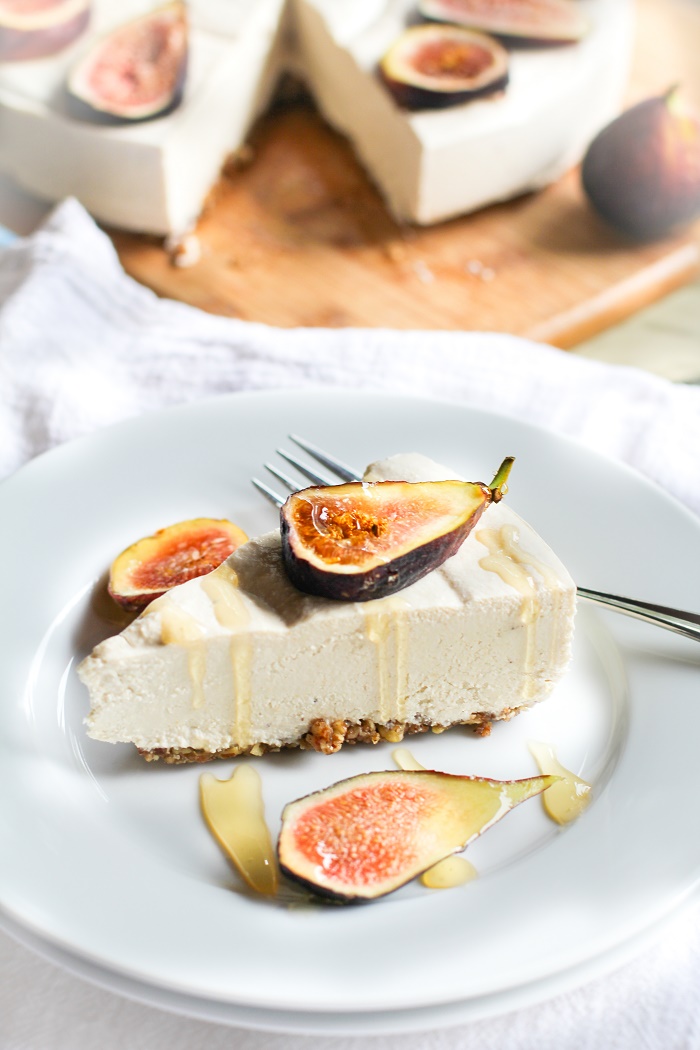
- Remove the outside mold from the springform pan and cut slices. Serve with fresh fruit and a drizzle of agave or maple syrup (or honey if not vegan)



I was looking for a recipe that doesn’t need coconut oil, this has it in the description but not in the recipe, I don’t understand if it’s needed or not 🙁
@Sara,
Just use butter.
Do I need to refrigerate the full fat coconut milk to use the cream part or use the milk not separated?
Coconut oil is saturated fat. The article you link to on fats even says so. Not that there’s anything wrong with that. But your writing is misleading about saturated fat in doing so. There’s nothing wrong with eating saturated fat.
Hahahaha! Holy hell girl, you are funny! My husband ate cheesecake everyday after school too, but for far flimsier reasons than you (aka, he just liked it). I love your pictures here! I can’t handle cashews very well, but for this, I wish I did!
Oh, please, please, can I have a slice? Mouthwatering!
I recently befriended a bunch of vegans (they’re an alright bunch!) and was totally befuddled about how to bake for them – we were just desserting on fruit 😀
Next time, this one!
Oh to have that kind of metabolism again…I would eat SO MUCH CHEESECAKE. At least this one is full of good for you fats and ingredients! That totally warrants having a slice a day.
This looks fabulous- slightly different than other vegan cheesecakes I’ve made or tried- gotta give this a go. Loving those fresh figs, pinning 🙂
That cracked me up–eating cheesecake in pursuit of sexiness! Lol 😛 This cheesecake looks delicious, especially with figs! 🙂
Oh man. Cheesecake a day habit sounds pretty awesome. Oh how I long for the metabolism of the good old days! This looks divine AND hello figs are so awesome right now too!
Love the photo of the slice with honey running all over. Love the recipe–that’s a given!
Nice! I like the high protein value too! You can bring the leftovers to my house anytime.
Wow! This has my name written all over it. Simply delightful, Julia! 😀
Wow, this is one stunner of a cheesecake! Just gorgeous!
Aw hell yeah vegan cheesecake!! I would gladly eat a slice of this errryday in order to maintain my hips (already got plenty going on there, but meh), but WORTH IT. Also, those figs are too cute to eat, but not really.