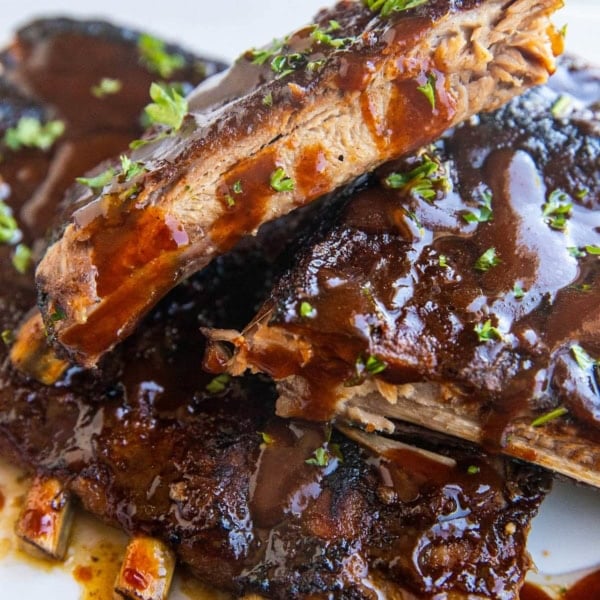
This simple recipe for bbq pork ribs or bbq beef ribs results in finger lickin’ good ribs, perfect for summer cookouts. Featuring both a dry rub and bbq sauce, these flavorful ribs are a family favorite.
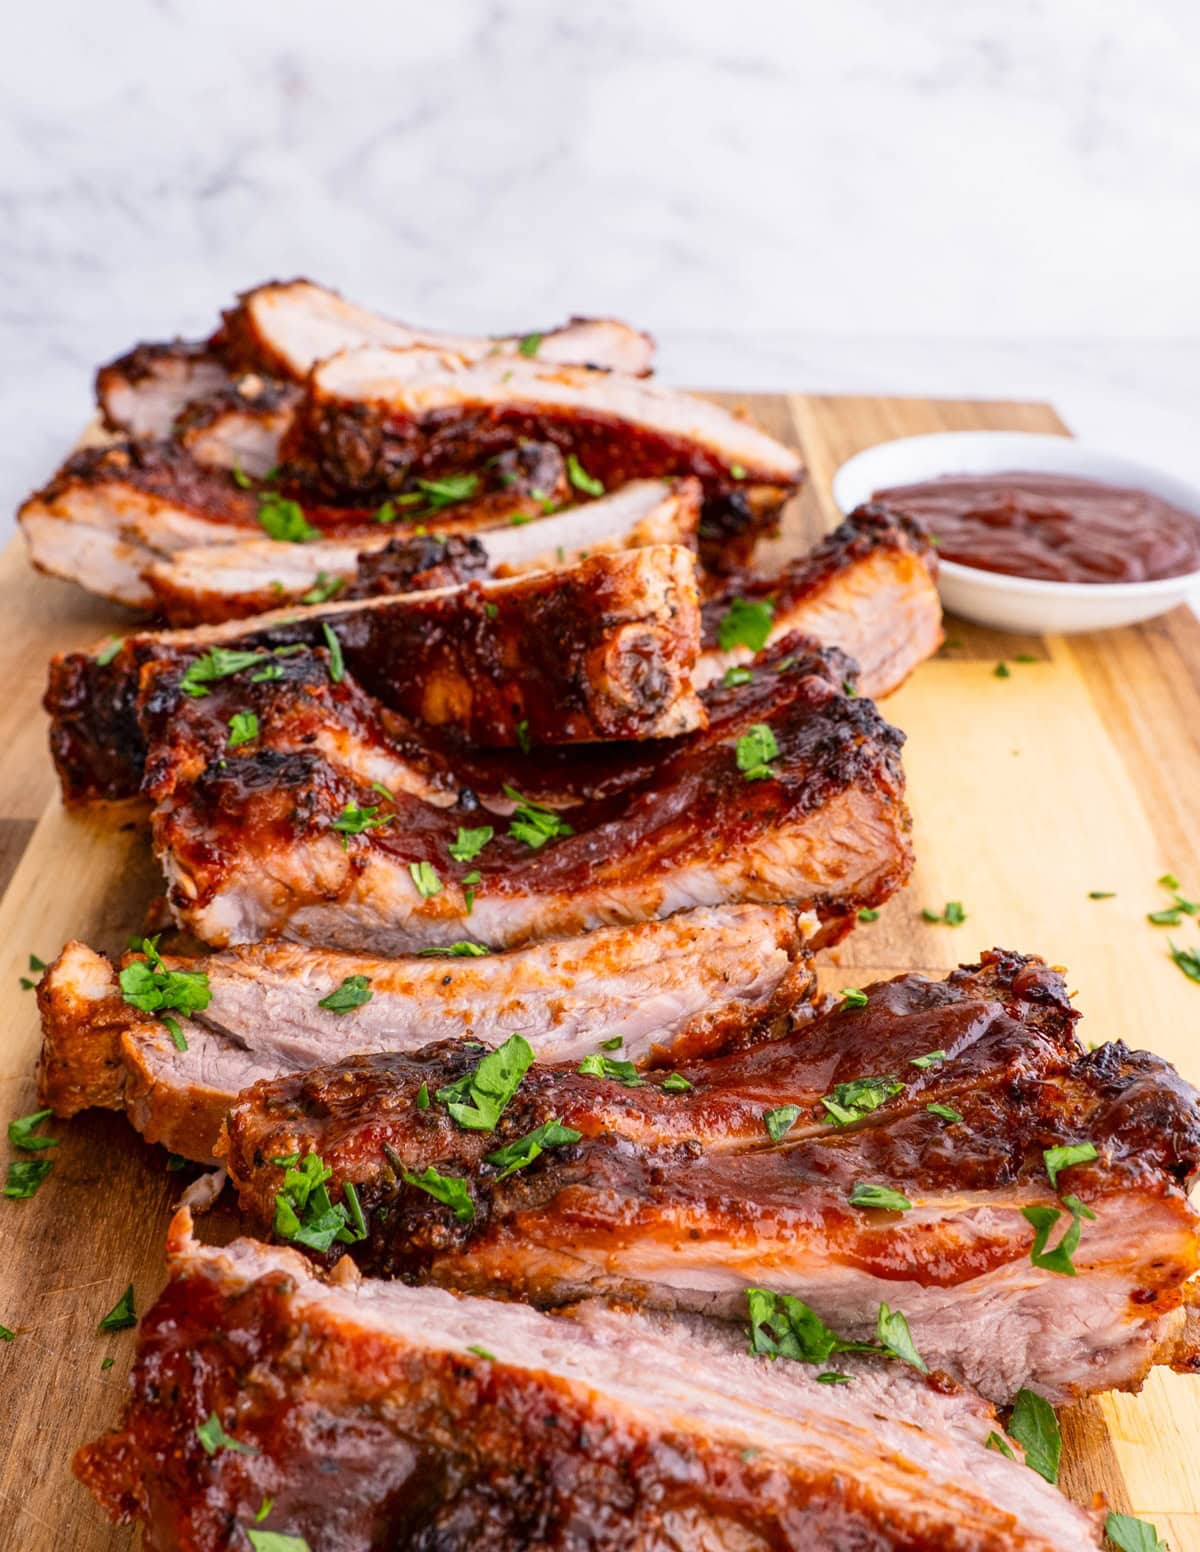
Rib lovers, if you’re looking for the dreamiest tutorial on how to make the best ribs, you’re in the right place!
This simple yet delicious rib recipe results in tender, flavorful ribs with the best texture.
With a handful of basic ingredients you likely already have on hand, you’ll love the result of slow cooking ribs using the barbecue.
Depending on the consistency of the temperature of your grill and how much meat is on the rack of ribs, the cooking time can vary wildly.
In general, the ribs should be ready in an hour and a half, but I recommend allotting over two hours to ensure you have plenty of time.
While this recipe calls for one full rack of ribs, most grocery stores package their racks in twos. For this reason, feel free to double the ingredients in the recipe card below to make two racks of ribs.
If you’re looking for a different cooking method for cooking ribs, try my BBQ Baked Ribs or my Crock Pot Ribs if you prefer cooking ribs in the slow cooker or in the oven.
Let’s chat about the simple ingredients for the best beef back ribs or pork ribs. You can find the full ingredient list at all grocery stores.
Ingredients for BBQ Beef Ribs:
Rack of Pork Ribs or Beef Ribs: Pick up a rack of ribs to grill up on the outdoor grill. Baby back ribs, spare ribs, or beef ribs all work for this recipe.
I like using beef ribs because I enjoy the flavor and they are both meatier and fattier than pork ribs, giving you a better return on investment.
The excess fat equals flavor here and also contributes to a tender texture.
If you can’t find the kind of ribs you’re looking for at the grocery store, give your local butcher shop a call.
Seasonings for Dry Rub: Paprika, garlic powder, dried oregano, onion powder, salt, and black pepper.
As is the case in my Dry Rub for Beef, this combination of ingredients provides a blast of flavor to any rack of ribs. You can easily add 2 tablespoons of brown sugar to the seasoning blend if you like some sweet flavor.
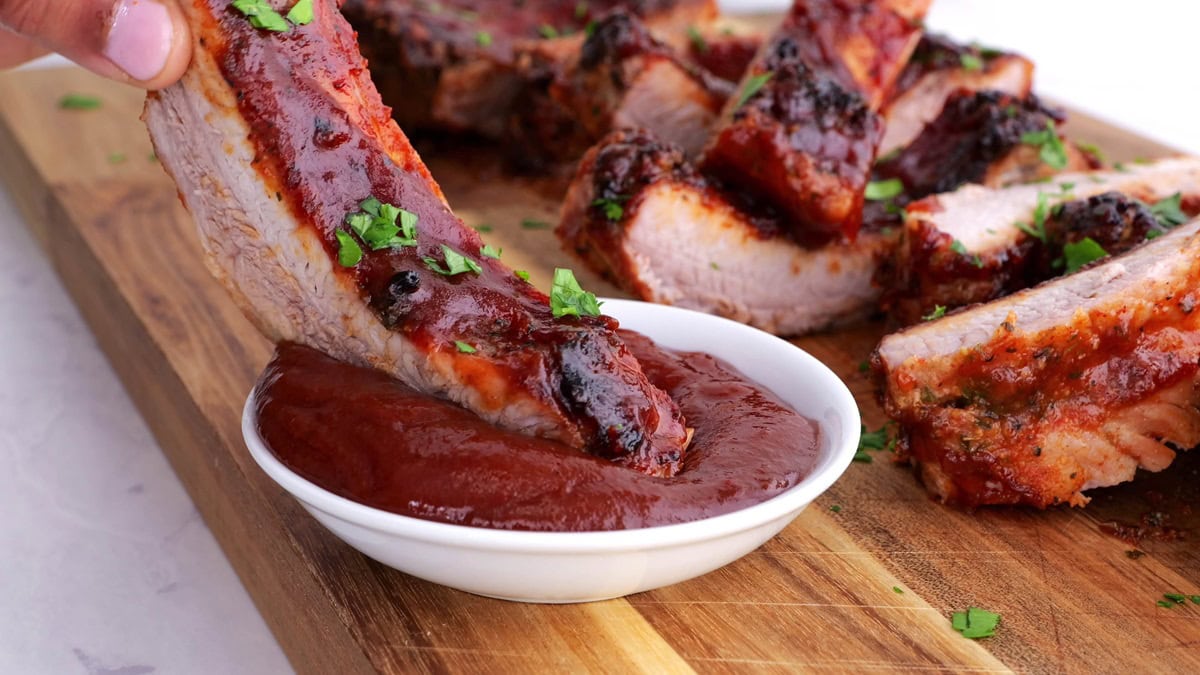
BBQ Sauce: Pick your favorite barbecue sauce to brush over the ribs at the end of barbecuing.
I like using homemade barbecue sauce or store-bought barbecue sauce. Just be sure to use a sauce you’ve tried and love.
Now that we’re familiar with the basic ingredients, let’s make some ribs.
How to Make BBQ Beef Ribs:
Preheat the grill to 300 degrees Fahrenheit. Once hot, scrape any food particles off of the grill so that it is squeaky clean. Spray or brush the grill with cooking oil.
Remove one rack of ribs from the packaging and transfer the ribs to a large rimmed cookie sheet lined with aluminum foil.
Pat the ribs dry with a paper towel.
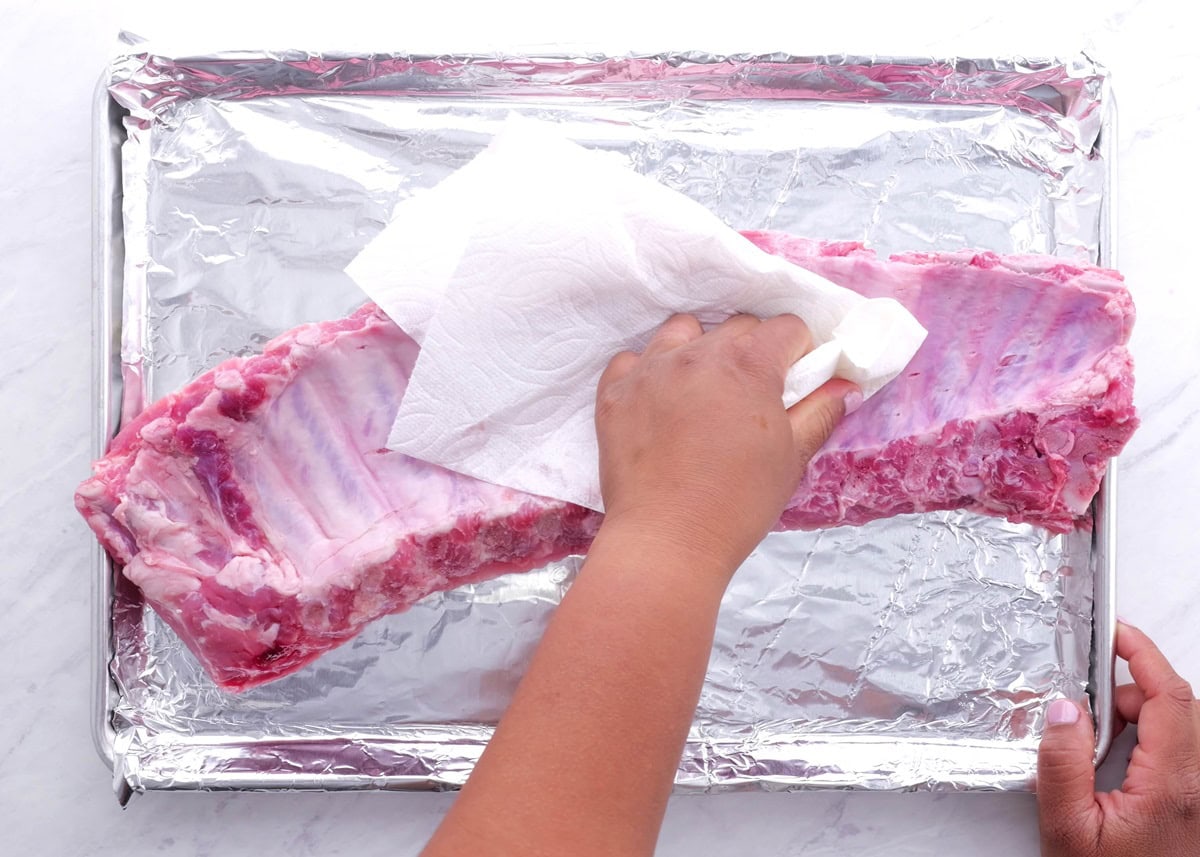
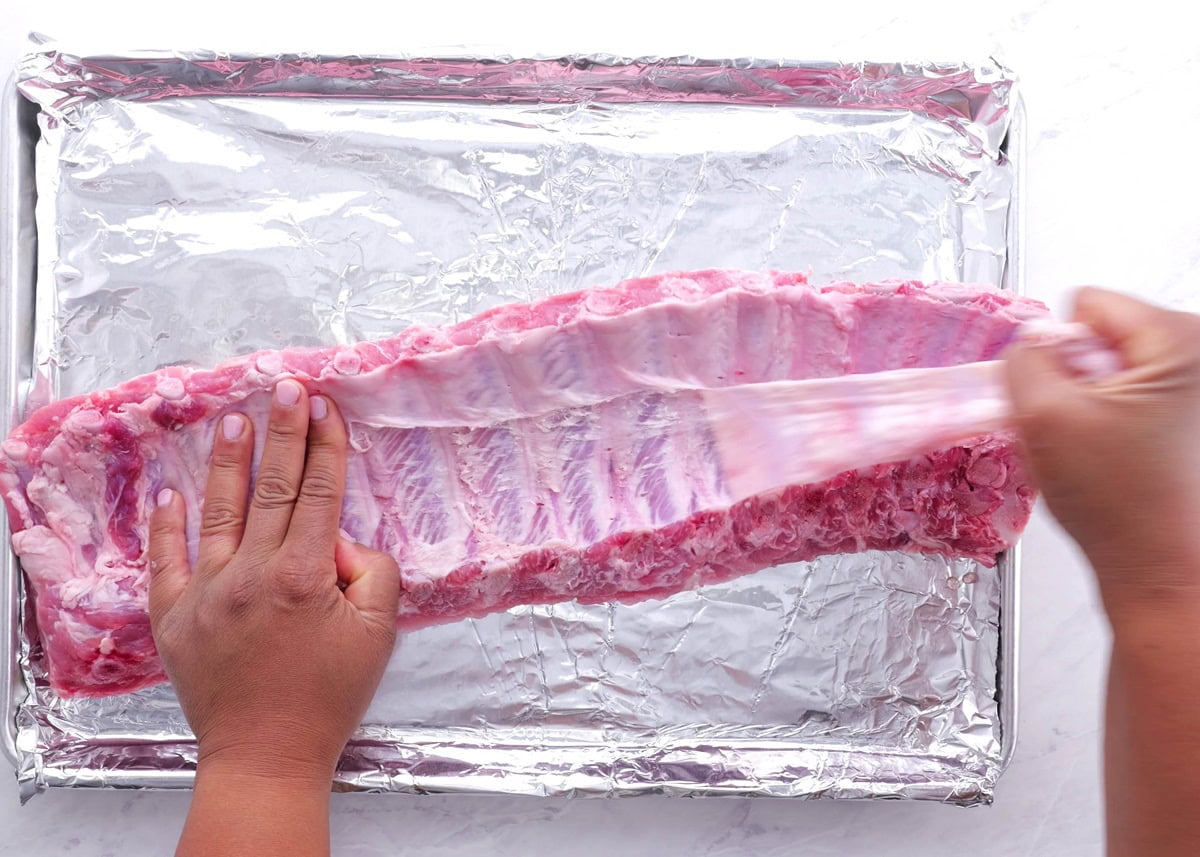
Peel off the silver skin from the bone side of the ribs. It should come off fairly easy in one long sheet.
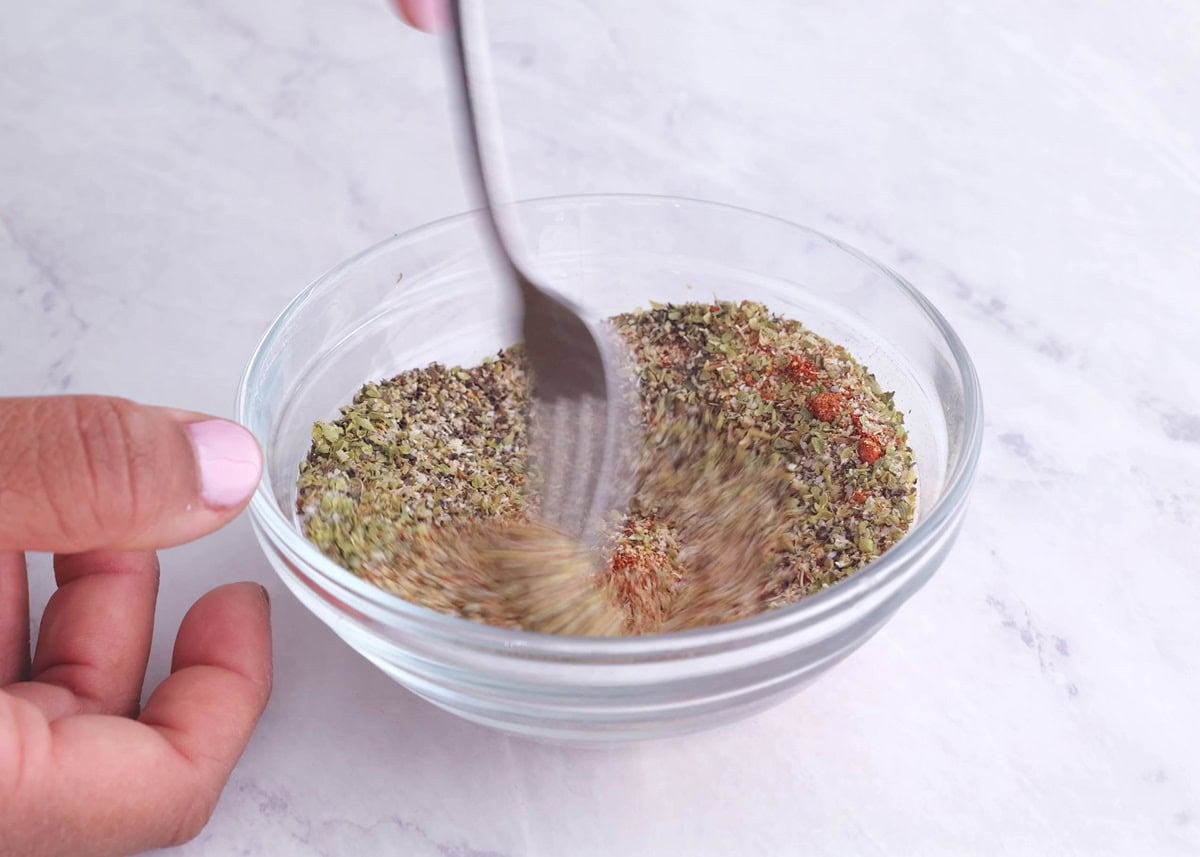
Combine all of the seasonings in a small bowl and stir well.
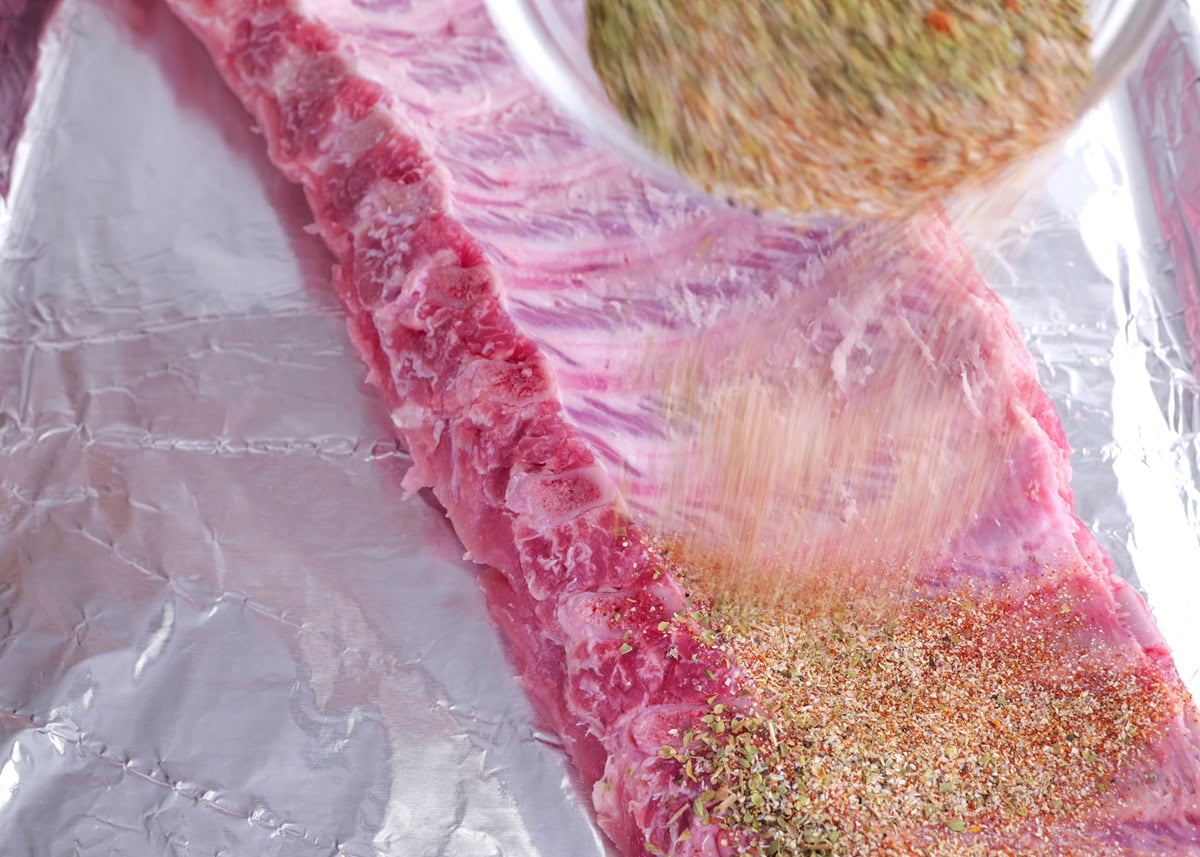
Sprinkle the dry rub over both sides of the ribs and use your hands to pat it into the meat.
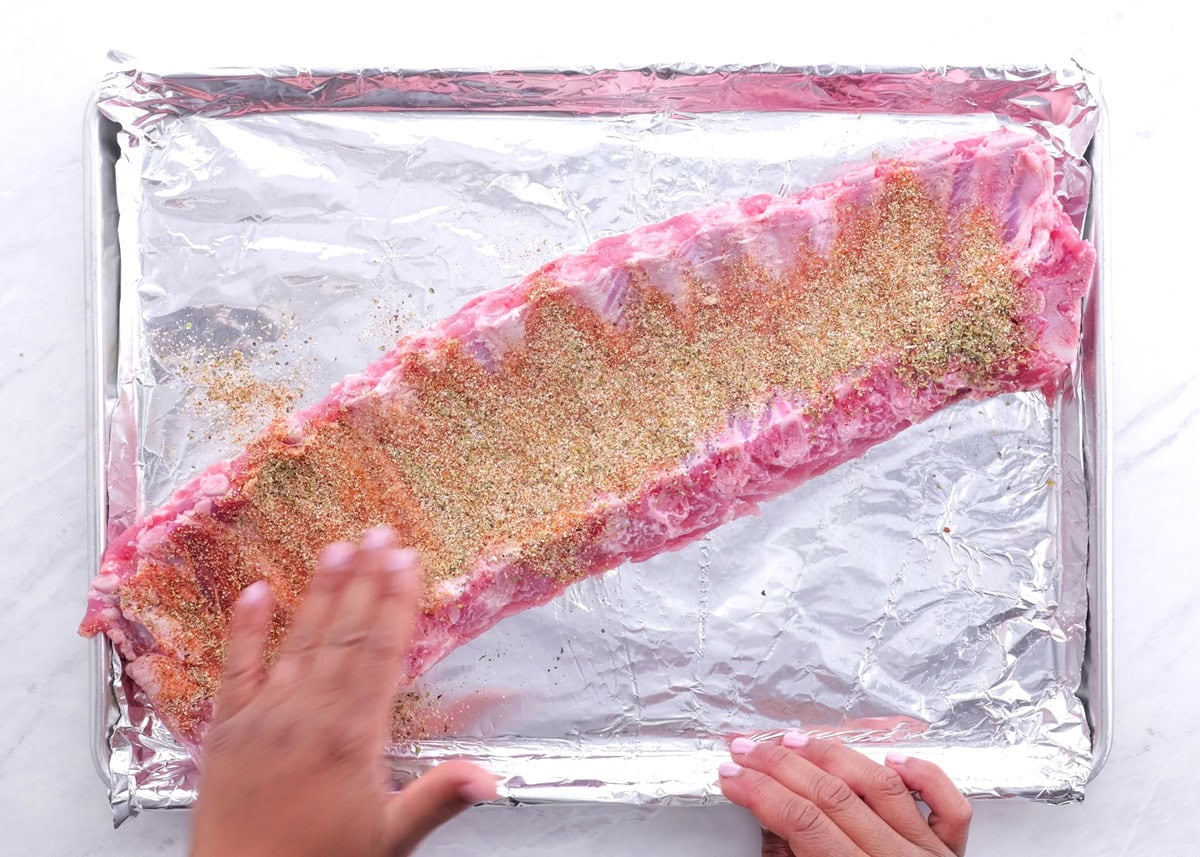
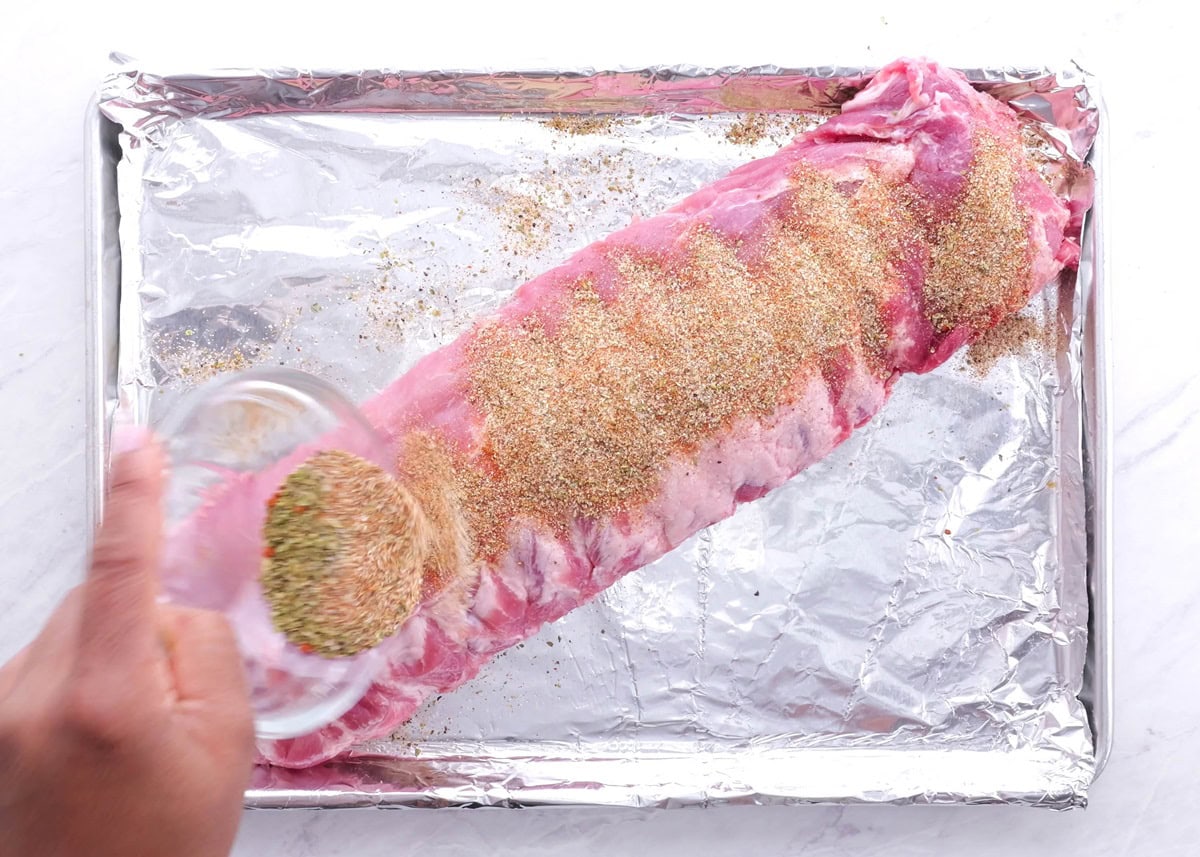
If you’d like, you can add a little water, red wine, or beef broth to the bottom of the pan to keep in some moisture.
Cover the baking sheet with aluminum foil and place it on the preheated grill. Cover the grill and cook for 1 hour for pork ribs, or 1.5 to 2.5 hours for beef ribs, maintaining a temperature of 300 degrees F as best as possible throughout the cooking process.
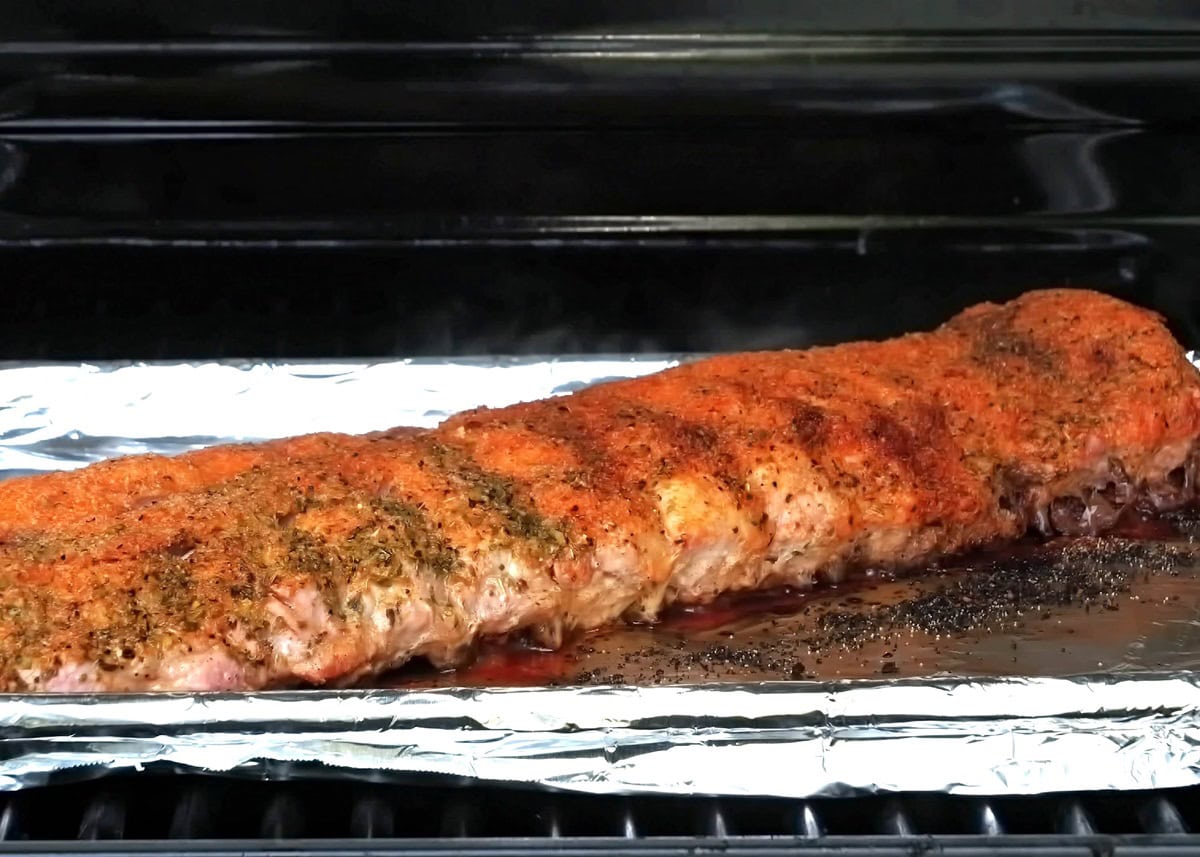
If the temperature fluctuates too low, the ribs will require longer to cook – up to 2 hours.
Ribs are fully cooked once they reach an internal temperature of 145 degrees F; however, they have the best tender texture when they are cooked to 180-190 degrees Fahrenheit, or 200 degrees F for beef ribs.
To test for doneness, insert a digital thermometer into the thickest part of the largest rib. You can also tell the ribs are done when the meat pulls away from the bone easily and they are nice and bone tender.
Because you’ll be grilling the ribs directly on the grill next, it’s perfectly fine to take them off the baking sheet a little early, around 165 to 170 degrees F.
Just be sure to check the internal temperature after the one hour mark to gauge how much longer the ribs need.
Use two sets of tongs to carefully remove the ribs from the baking sheet and directly onto the grill. It may be easiest to perform this step using two people.
Brush the ribs liberally on the meaty side with your favorite BBQ sauce then replace the cover on the grill.
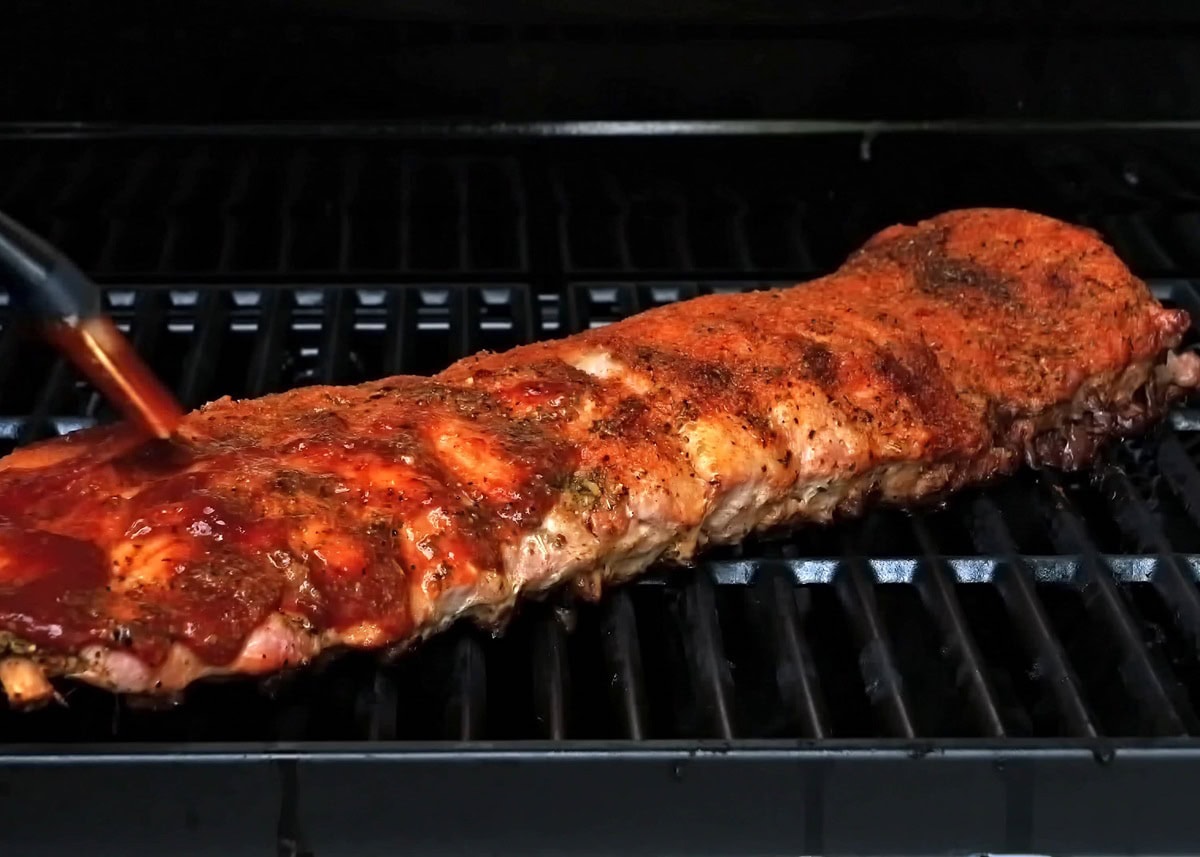
Cook for 5 to 8 minutes. Brush the ribs a second time with BBQ sauce and continue grilling, covered, for another 3 to 5 minutes, keeping in mind the temperature of the ribs and the temperature of the grill.
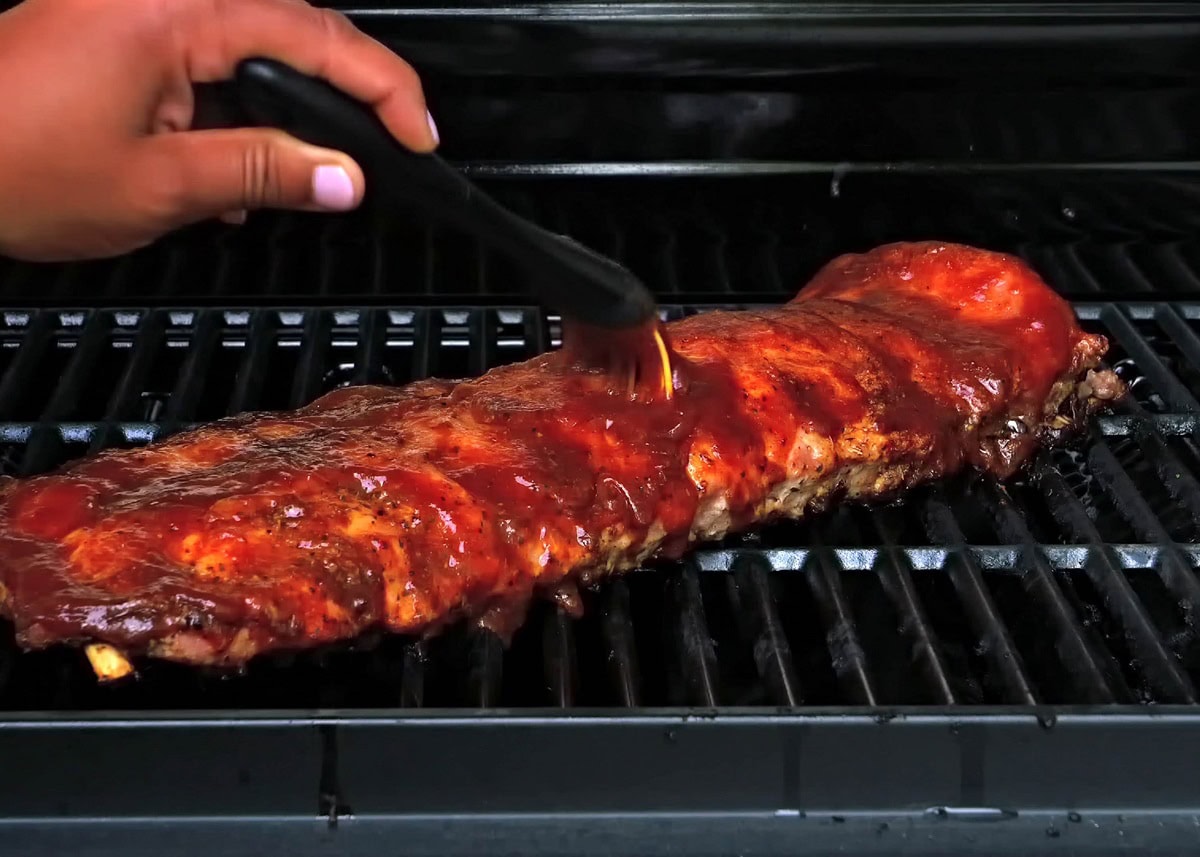
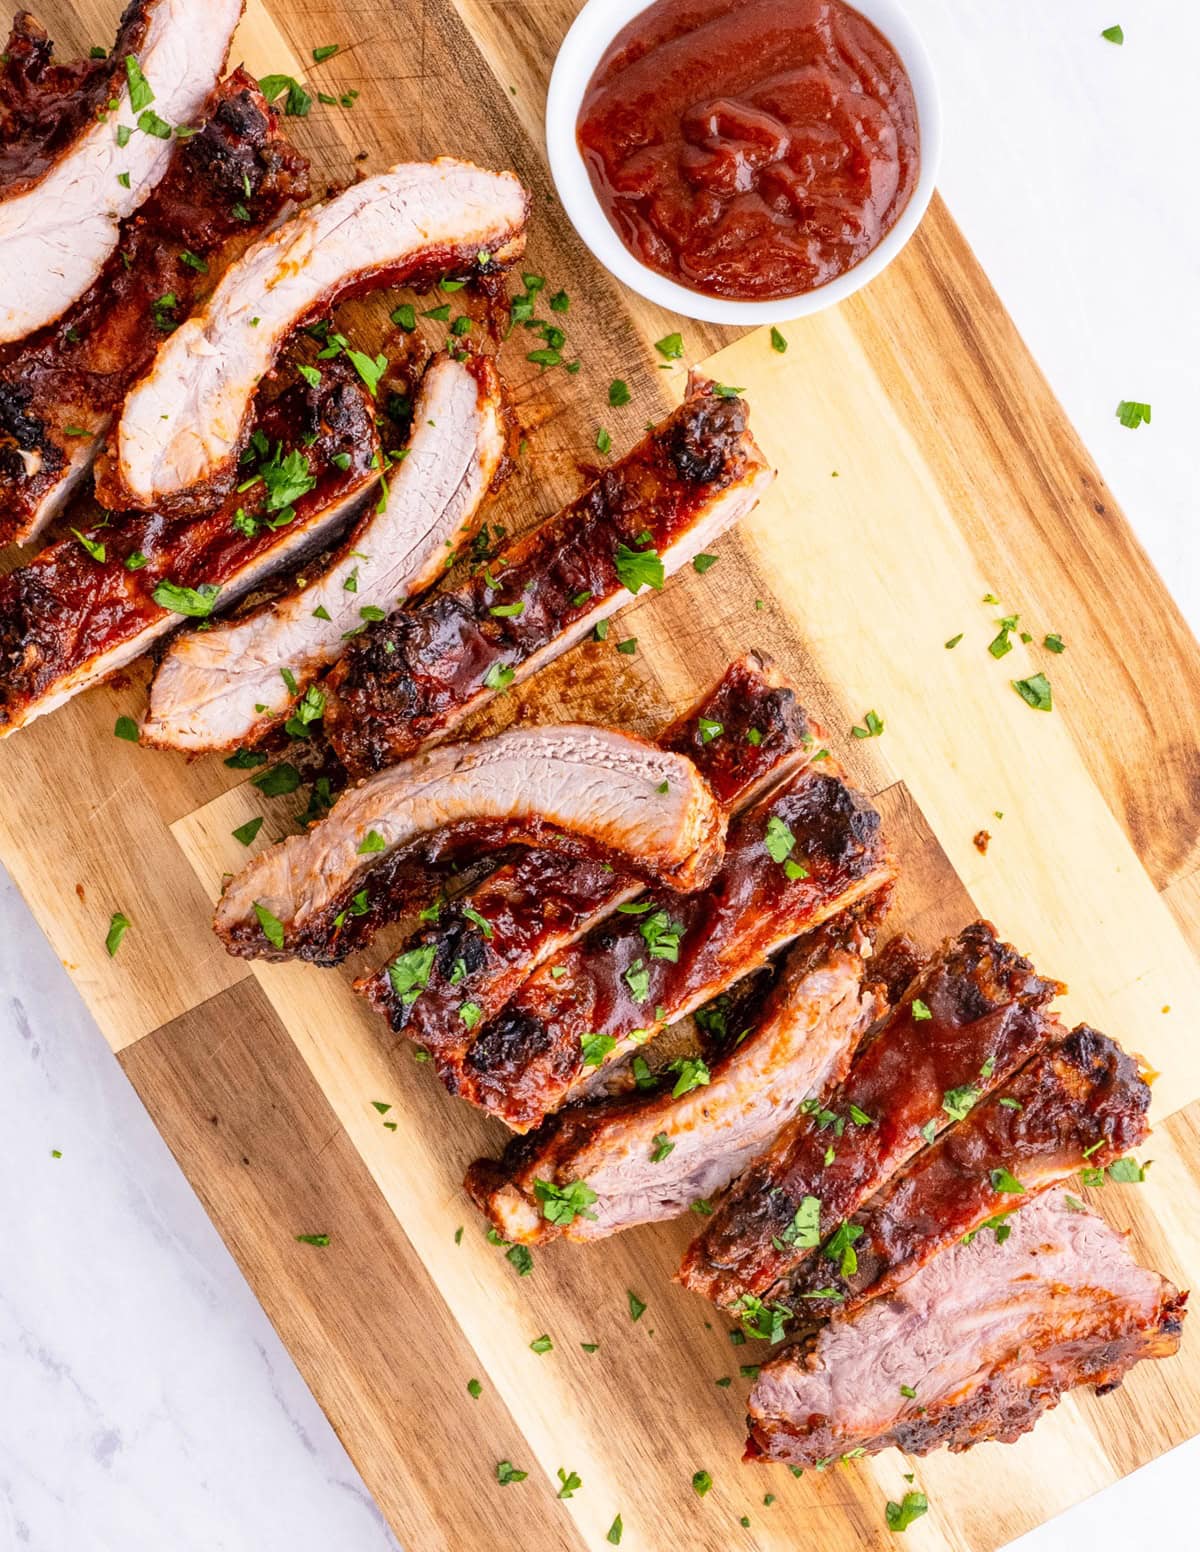
Remove the ribs from the hot grill and place them on a large cutting board.
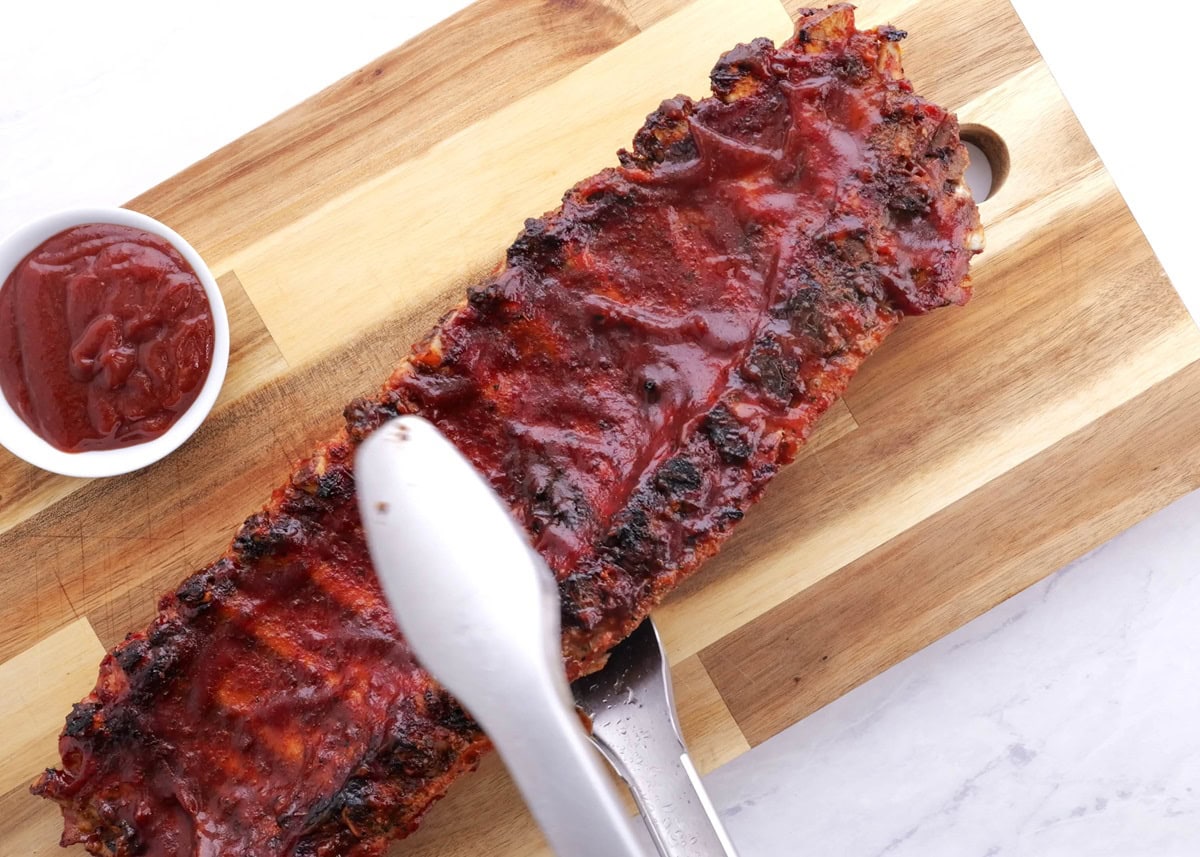
Let ribs rest for at least 10 minutes before slicing into individual ribs and serving.
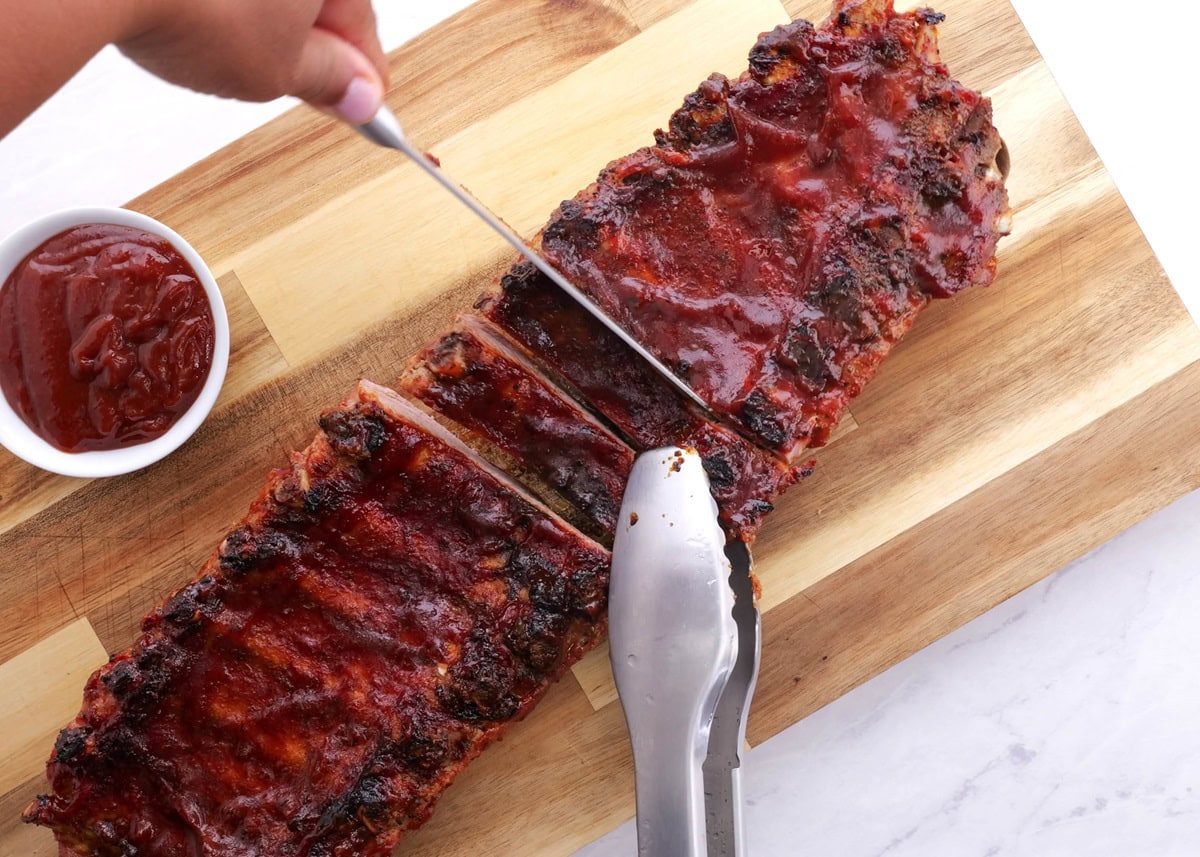
Plate ribs with your choice of side dishes, and enjoy!
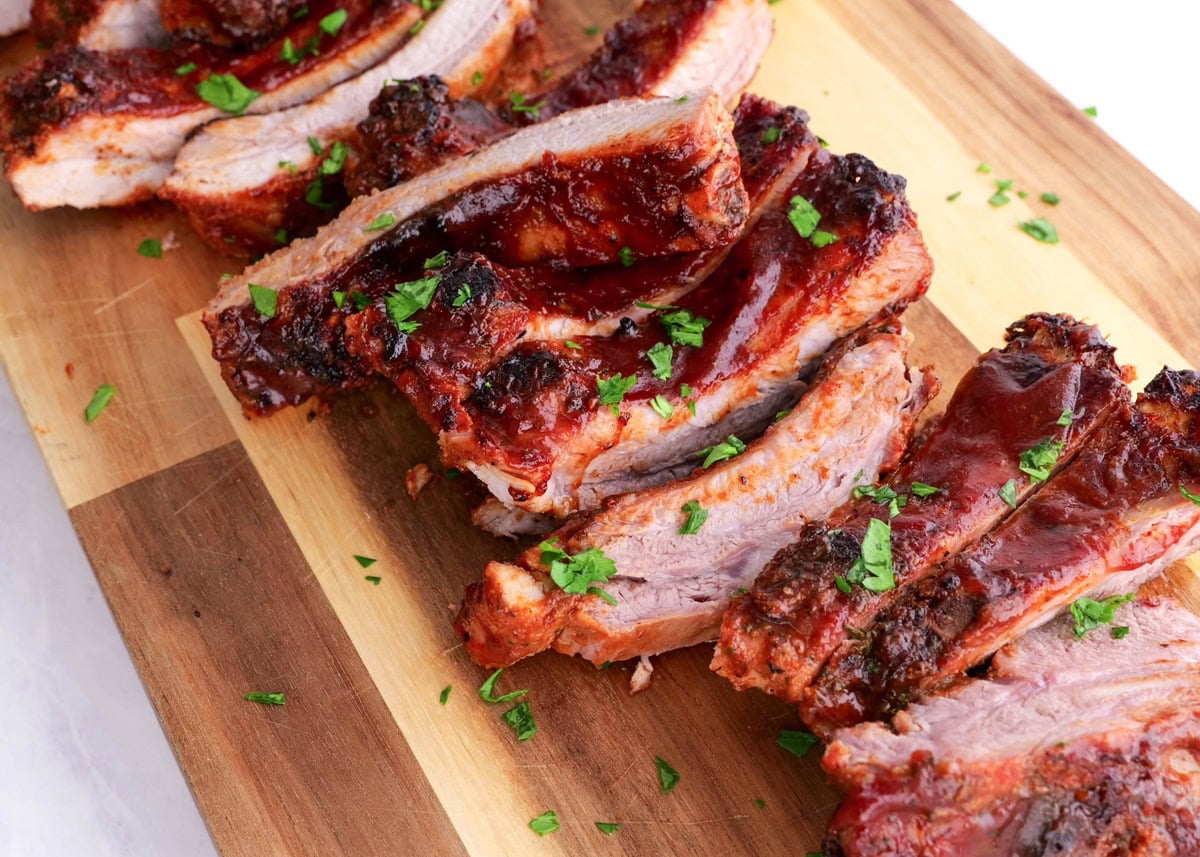
Store any leftover ribs in an airtight container in the refrigerator for up to 5 days.
You can use leftover rib bones to make bone broth, which is spectacular for beef stew.
What to Serve with Ribs:
Looking for side dish suggestions to serve with your rack of ribs? Here are some of my favorite side dishes for ribs.
- The Best Broccoli Salad
- Healthy Creamy Coleslaw
- Gluten-Free Corn Bread
- Hawaiian Macaroni Salad
- Mediterranean Green Bean Salad
- Caramelized Onion and Roasted Garlic Buttermilk Mashed Potatoes
Whether you’re grilling for special occasions or are having a casual evening in, this amazing rack of beef ribs is guaranteed to please the whole family.
Ribs on the barby!
BBQ Beef Ribs
Ingredients
- 3 lbs beef ribs spare ribs, or baby back ribs (1 rack)
- 1 1/2 Tbsp paprika*
- 1 Tbsp garlic powder
- 2 tsp dried oregano
- 1 Tbsp onion powder
- 1 Tbsp kosher salt
- 1 tsp black pepper
- 8 ounces BBQ Sauce plus more for serving
Instructions
- Preheat the grill to 300 degrees Fahrenheit. Once hot, scrape any food particles off of the grill so that it is squeaky clean. Spray or brush the grill with cooking oil.
- Remove one rack of ribs from the packaging and transfer the ribs to a large rimmed cookie sheet lined with aluminum foil. Pat the ribs dry with paper towels. Peel off the silver skin from the under side of the ribs. It should come off fairly easy in one long sheet.
- Combine all of the seasonings in a small bowl and stir well. Sprinkle the dry rub over both sides of the ribs and use your hands to pat it into the meat.
- Cover the baking sheet with aluminum foil and place it on the preheated grill. Cover the grill and cook for 1 to 1.5 hours for pork ribs, or 1.5 to 2.5 hours for beef ribs (depending on the size of the ribs), maintaining a temperature of 300 degrees F as best as possible. If the temperature fluctuates too low, the ribs will require longer to cook – up to 2 hours for pork ribs or 3 hours for beef ribs. Ribs are fully cooked once they reach an internal temperature of 145 degrees F; however, they have the best tender texture when they are cooked to 180-190 degrees Fahrenheit for pork ribs, or 200 to 205 degrees for beef. To test for doneness, insert a digital thermometer into the thickest part of the largest rib. You can also tell the ribs are done when the meat pulls away from the bone easily and they are nice and tender. Because you’ll be grilling the ribs directly on the grill next, it’s perfectly fine to take them off the baking sheet a little early, around 165 to 170 degrees F.
- Use two sets of tongs to carefully remove the ribs from the baking sheet and directly onto the grill. It may be easiest to perform this step using two people.
- Brush the ribs liberally with your favorite BBQ sauce then replace the cover on the grill. Cook for 5 to 8 minutes. Brush the ribs a second time with BBQ sauce and continue grilling, covered, for another 3 to 5 minutes, keeping in mind the temperature of the ribs and the temperature of the grill.
- Remove the ribs from the hot grill and place them on a large cutting board. Let ribs rest for at least 10 minutes before slicing and serving.
- Serve ribs with your choice of side dishes, and enjoy!
- Store any leftover ribs in an airtight container in the refrigerator for up to 5 days.
Video
Notes
Nutrition
This post contains affiliate links, which means I make a small commission off items you purchase at no additional cost to you.

