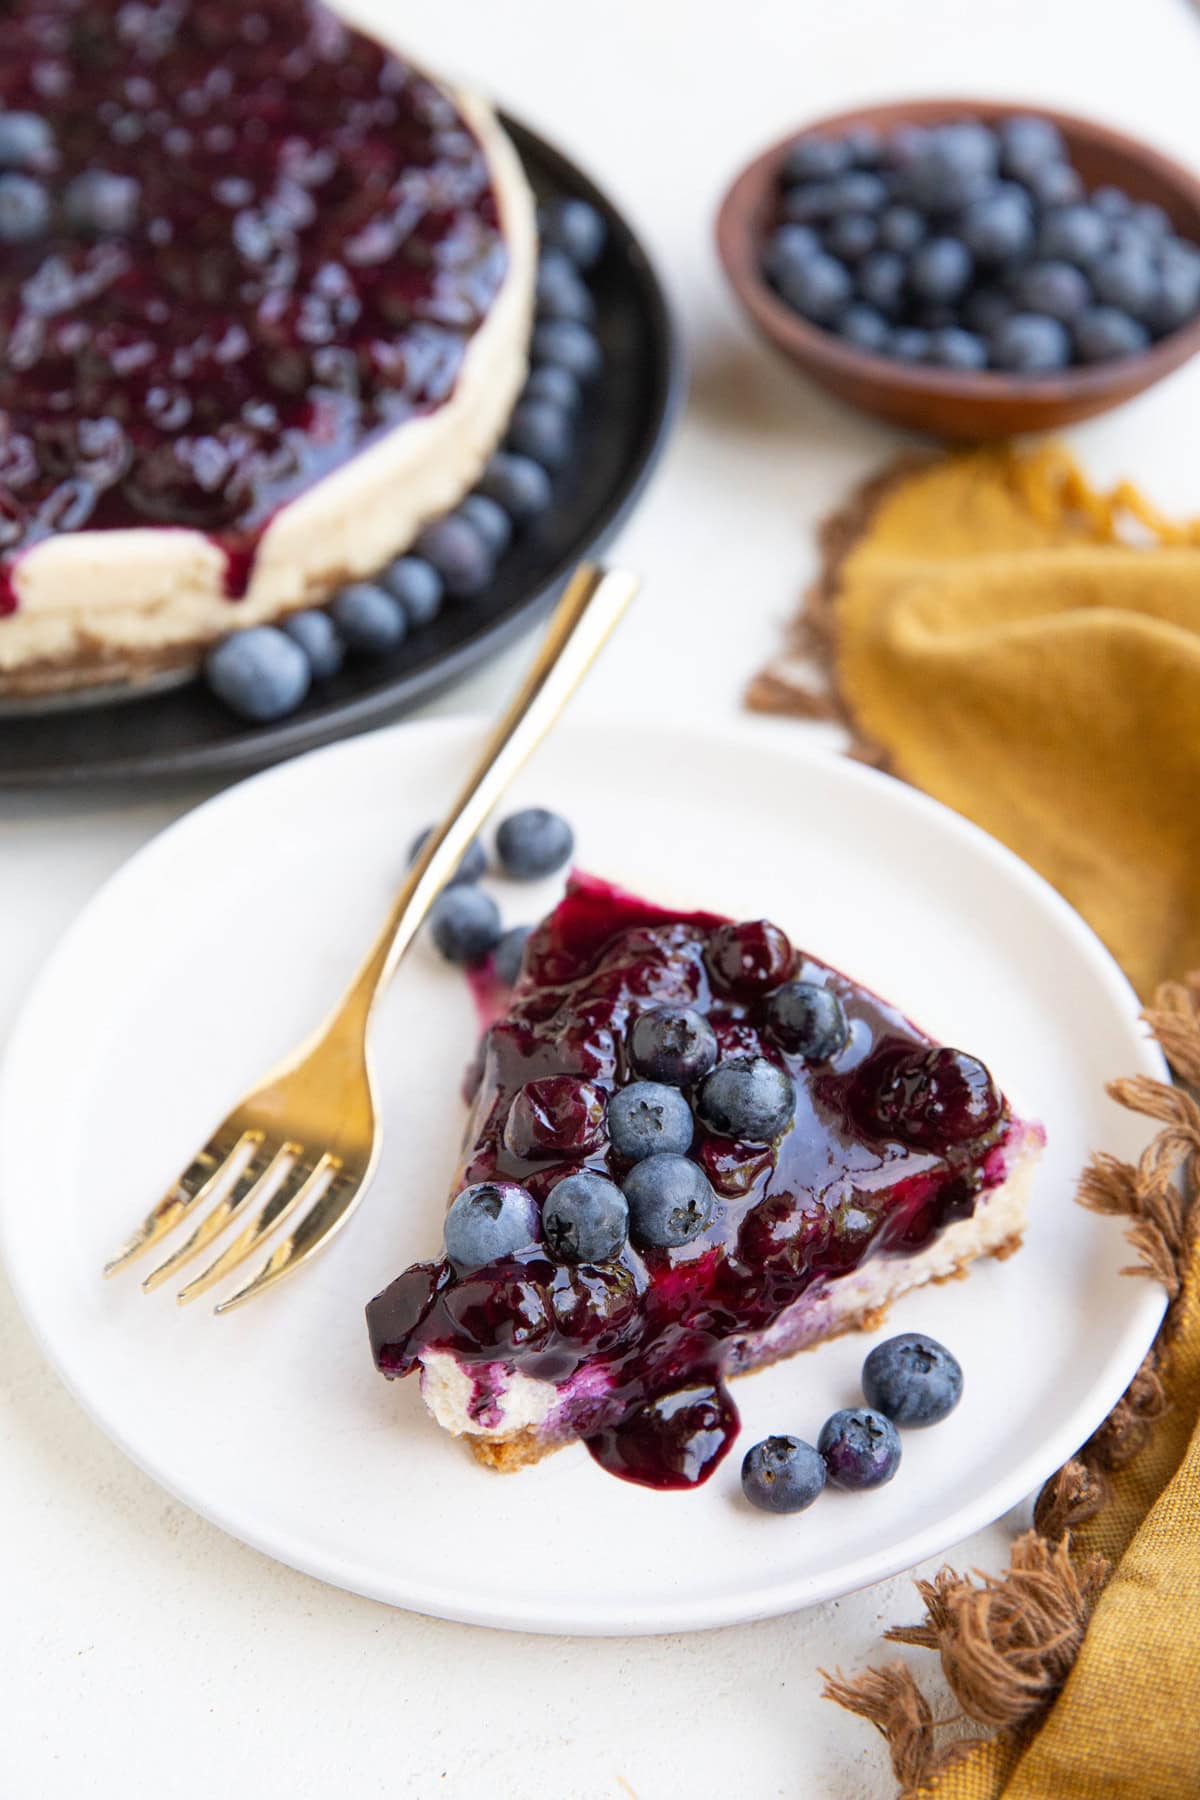
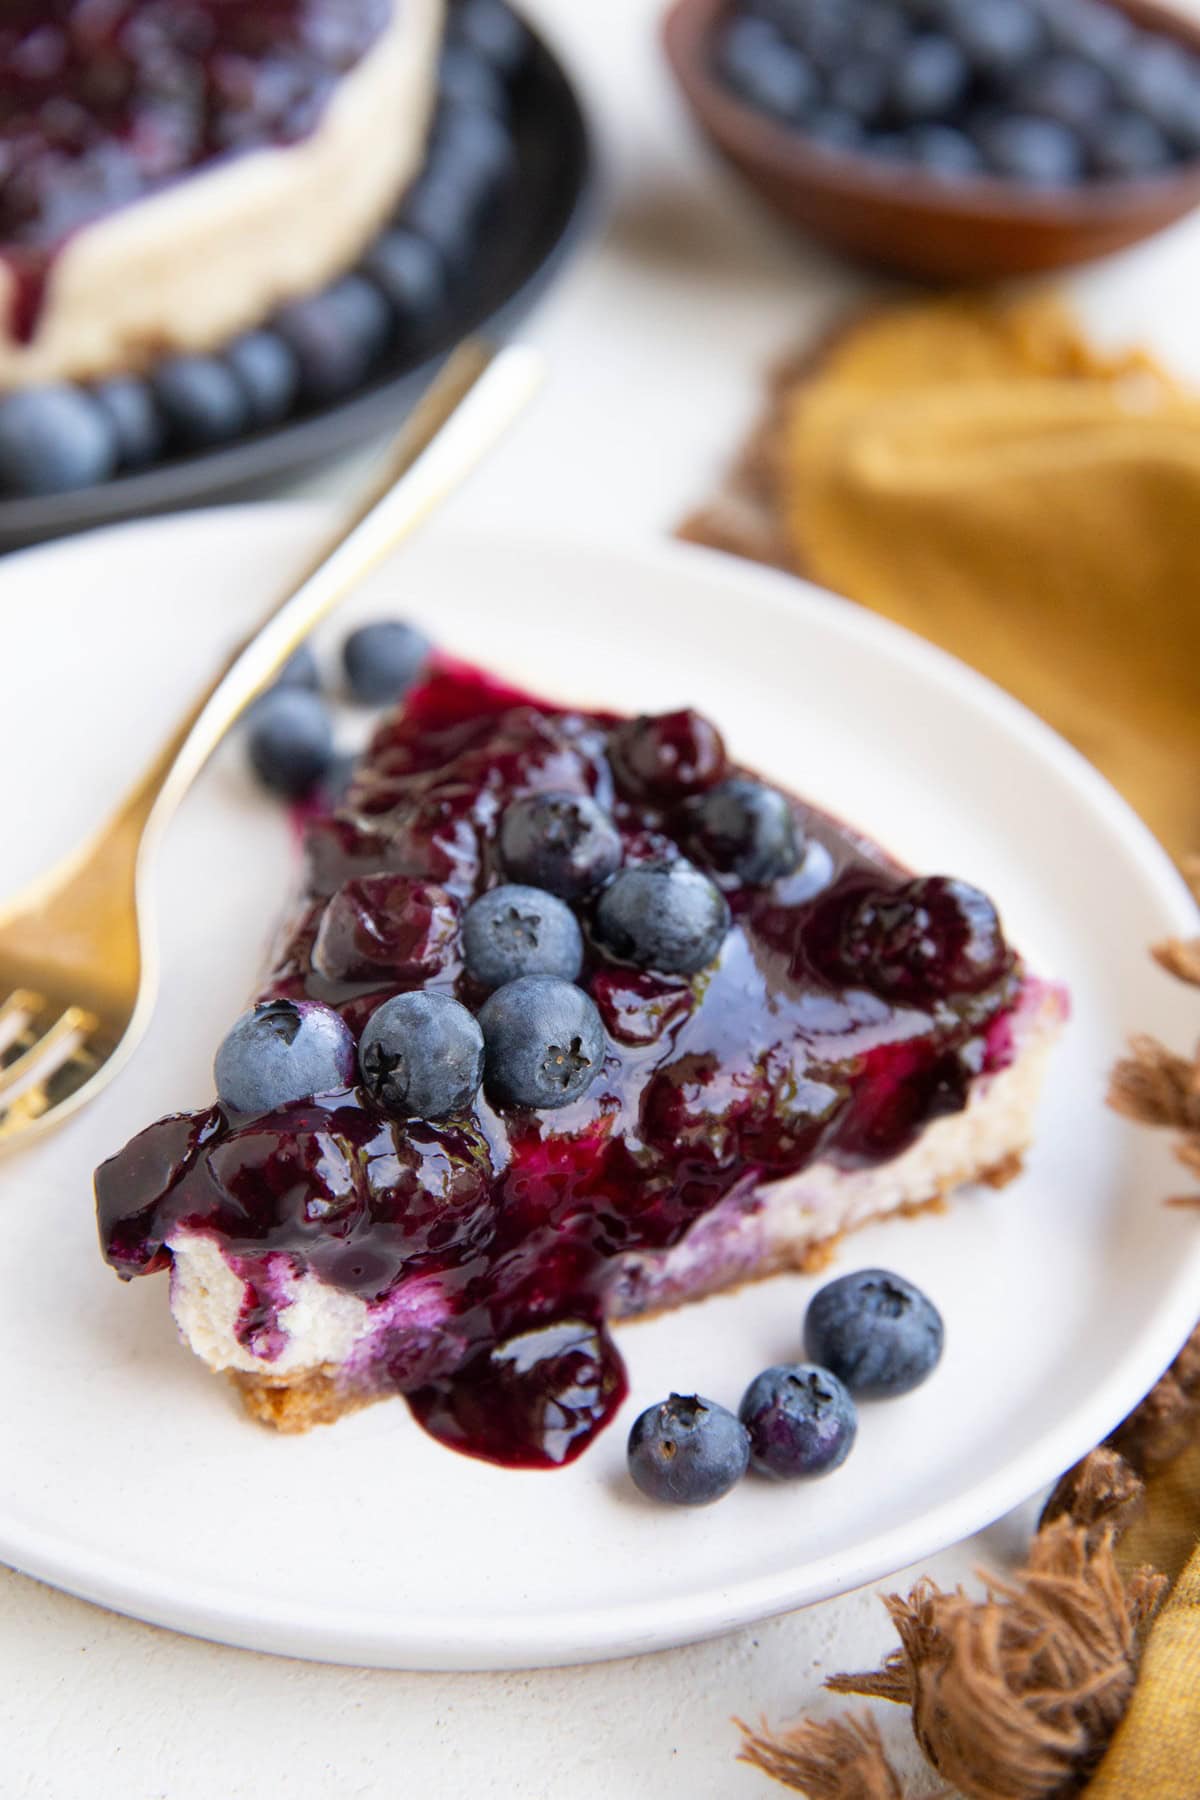
Blueberry Cottage Cheese Cheesecake made with wholesome ingredients for a healthier dessert. Each slice contains 258 calories, 10 grams of protein, and 7 grams of fat. Not too shabby for a tasty treat!
After making my Strawberry Cottage Cheese Cheesecake, I immediately knew I would be revisiting the topic using different kinds of fruit.
So here we are, celebrating berry season with a fresh blueberry cheesecake made with cleaner ingredients than traditional cheesecake.
You may have noticed cottage cheese has made waves on the internet and social media over the last year. And for a good reason: it is low in fat, high in protein and nice and creamy, making it a marvelous ingredient to add to desserts.
From ice cream to cottage cheese pancakes to muffins, cottage cheese has made the rounds wherever a dairy product can go.
As it turns out, this magical high-protein delight is a great all-star main ingredient for cheesecakes, in place of cream cheese.
In addition to replacing the cream cheese with cottage cheese, I like sweetening cheesecake recipes with pure maple syrup or honey. I also use less sweetener than usual for a lower sugar treat.
My favorite part about this delicious blueberry cottage cheese cheesecake is the fact that it tastes refreshing and leaves you feeling energized rather than spiraling into a food coma.
I know what you’re wondering.
Is Cottage Cheese Cheesecake As Good As Regular Cheesecake?:
In a word, no. If you’re a cheesecake aficionado, you’ll notice at first bite that cheesecake made with cottage cheese doesn’t have the same silky smooth texture as a classic New York cheesecake.
The texture is fluffy and airy rather than dense and richly creamy.
Nevertheless, if you’re a cheesecake lover in any form it happens to take, you’ll enjoy this healthier version.
Let’s discuss the simple ingredients for blueberry high-protein cheesecake. The good news is you can find the whole ingredients list at any grocery store.
Ingredients for Cottage Cheese Cheesecake:
Crust Ingredients:
Graham Crackers (gluten-free or regular): The base of the cheesecake is a graham cracker crust made with regular graham crackers or gluten-free graham crackers.
Because the crust is so simple to prepare, you’ll find this easy cheesecake crust to be easier to prepare than a pie made with regular pie crust.
If you have graham cracker crumbs on hand, you can use 1.5 cups rather than having to grind up your own.
Unsalted Butter: A little melted butter brings a little richness to the crust.
Pure Maple Syrup: Bringing sweetness to the crust, we use a little pure maple syrup. While honey works well in the cheesecake filling, I recommend sticking with pure maple syrup for the crust because honey has a tendency to burn easily.
Sea Salt and Cinnamon: A pinch of sea salt enhances the flavors and cinnamon brings warm flavor.
Cottage Cheese Filling:
Cottage Cheese: While you can go super low-fat by sticking with low-fat cottage cheese, I recommend using cottage cheese with a higher fat content for a richer, more luxurious flavor.
Greek yogurt also works as a replacement for cottage cheese. I’d still recommend using a higher fat version rather than nonfat or low-fat.
Eggs: A couple eggs help bring rise to the cheesecake filling and yields a light texture. The eggs can be replaced with ¼ cup of tapioca flour, GF flour, or cornstarch for an egg-free version.
While some recipes call for separating the egg yolks from the egg whites, I don’t find this to be necessary.
Bring the eggs and cottage cheese to room temperature ahead of time if you have the time.
Pure Maple Syrup or Honey: Used to sweeten the cheesecake, we need either pure maple syrup or honey. I like the flavor of honey because it adds a tanginess to the cheesecake, mimicking the tanginess of cream cheese.
Tapioca Flour, Gluten-Free All-Purpose Flour, or Cornstarch: A little flour helps the cheesecake filling set up.
Pure Vanilla Extract: Bringing some warm, enticing flavor to the blueberry cheesecake filling, we need a splash of vanilla.
Blueberry Topping Ingredients:
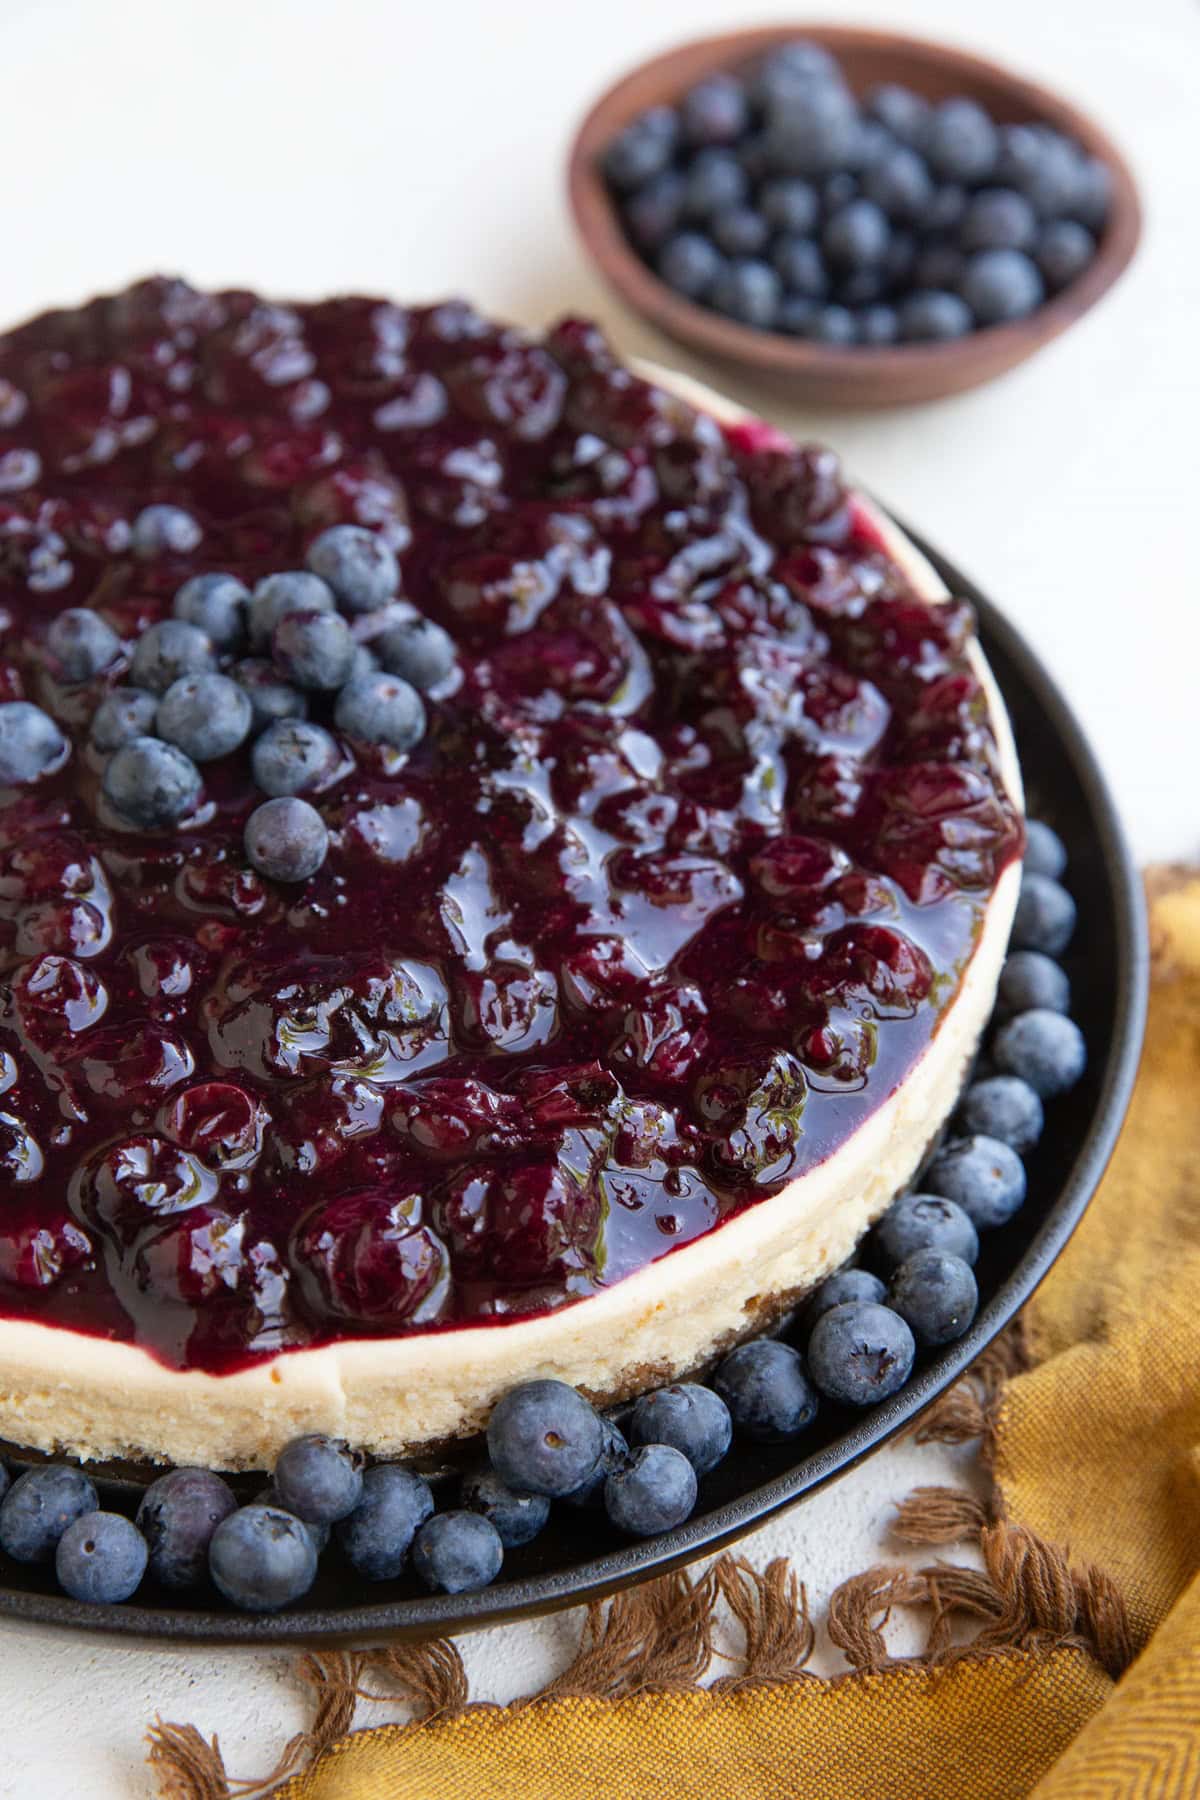
Fresh Blueberries: The star ingredient of the cheesecake topping. Fresh blueberries bring a delightful flavor and texture, making the dessert taste refreshing.
Frozen blueberries work too but I find the flavor and texture is best when using fresh. A mix of fresh berries works here too.
Fresh Lemon Juice: A little fresh lemon juice enhances the flavor of the topping and brings a subtle tangy flavor. For more lemon flavor, add lemon zest to both the cheesecake filling and the blueberry compote.
Pure Maple Syrup or Honey: Used to sweeten the topping.
Tapioca Flour, Gluten-Free All-Purpose Flour, or Cornstarch: Used to thicken the topping so that it is nice and jammy.
Now that we’ve covered the basic ingredients list, let’s bake this healthy cheesecake recipe.
How to Make Cottage Cheese Cheesecake:
Step 1: Prepare the Crust
Preheat the oven to 350 degrees F and line the bottom of a 9-inch springform pie pan with a circle of parchment paper.
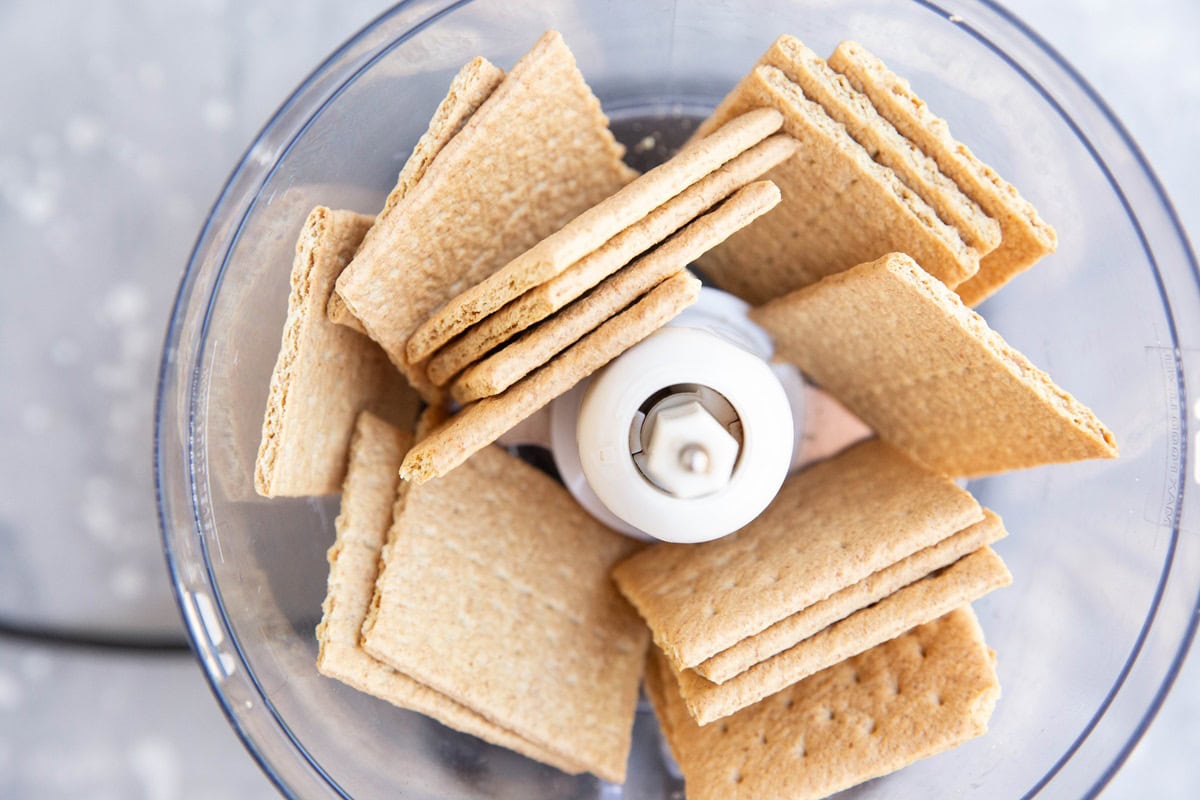
Place the graham crackers in a food processor or blender and blend until a coarse flour forms. If you don’t have a food processor, you can also transfer the graham crackers to a large zip lock bag. Seal the bag and use a rolling pin to break up the graham crackers.
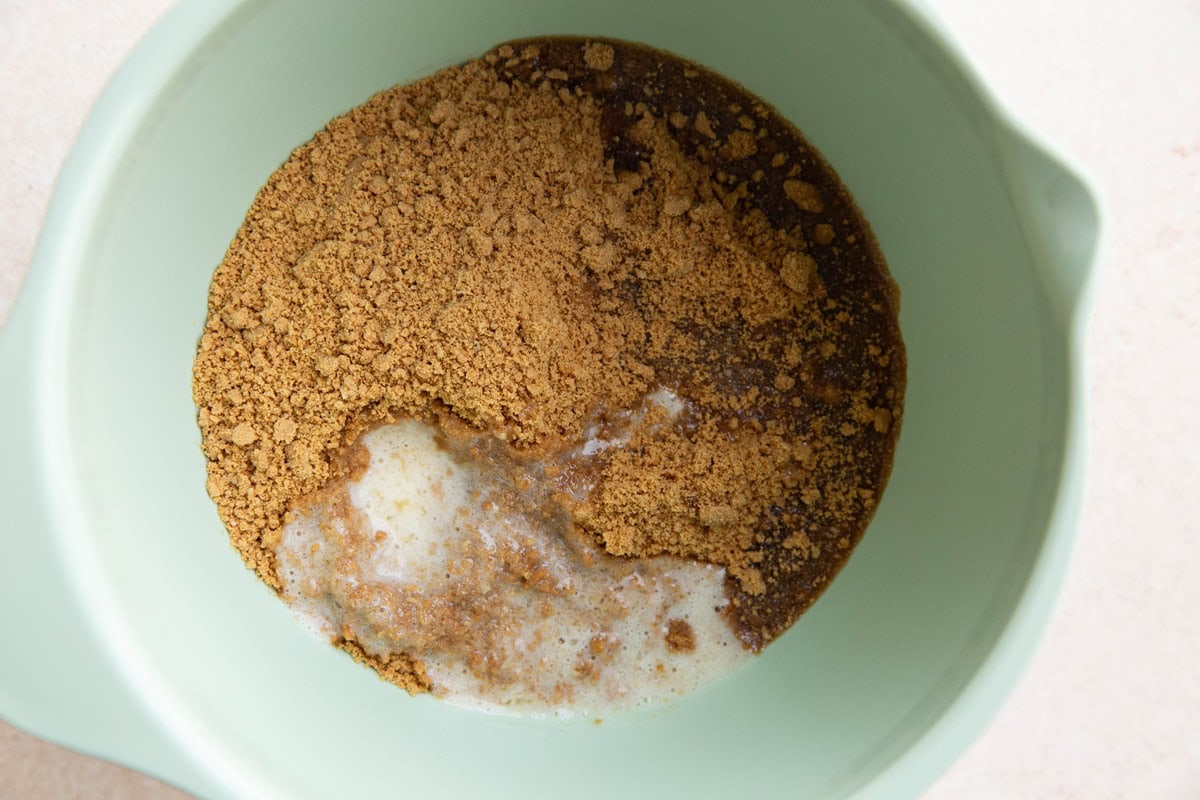
Transfer the melted butter, pure maple syrup, salt, and cinnamon to a large mixing bowl along with the graham cracker mixture. Mix until everything is well combined. The mixture will be crumbly – this is normal.
Pour the graham cracker crust mixture into the bottom of the prepared pie pan and press it into an even layer with your hands.
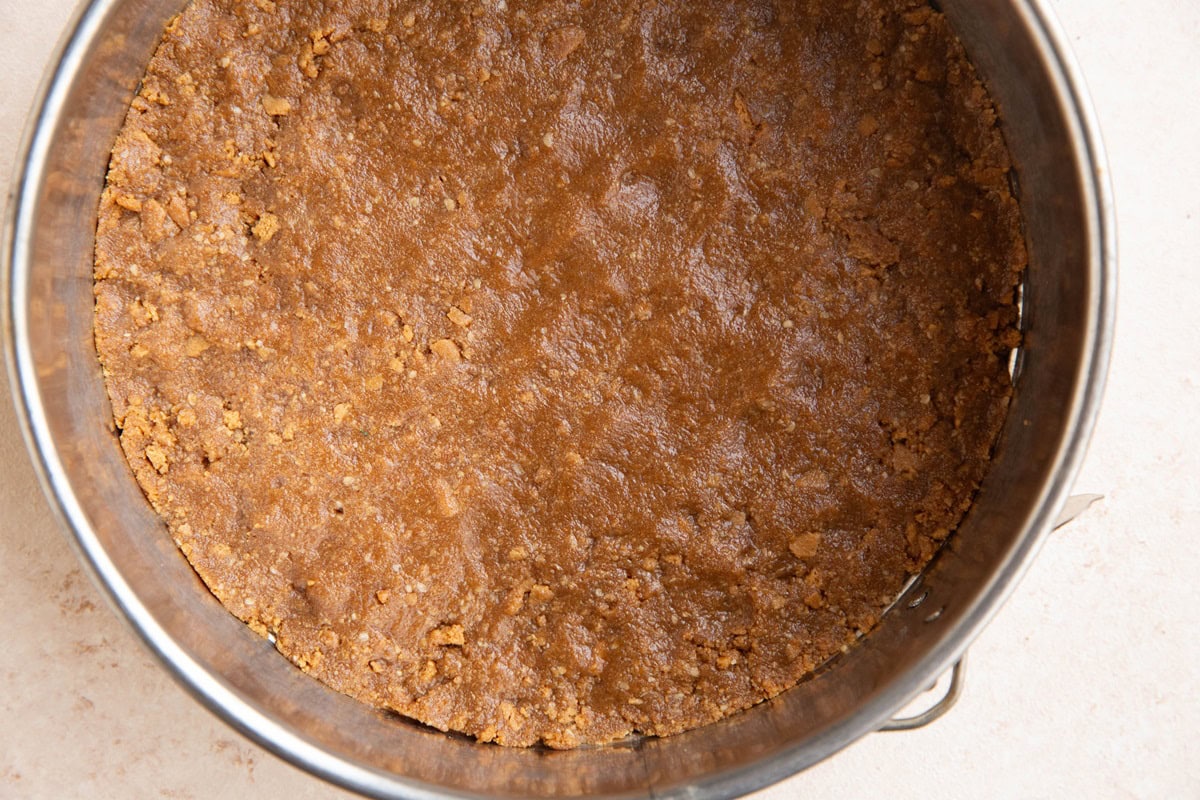
Bake the crust on the center rack of the preheated oven for 10 minutes, or until the edges are slightly golden brown.
Remove the pie crust from the oven and allow it to cool while you’re preparing the cheesecake filling.
Step 2: Prepare the Cheesecake Filling
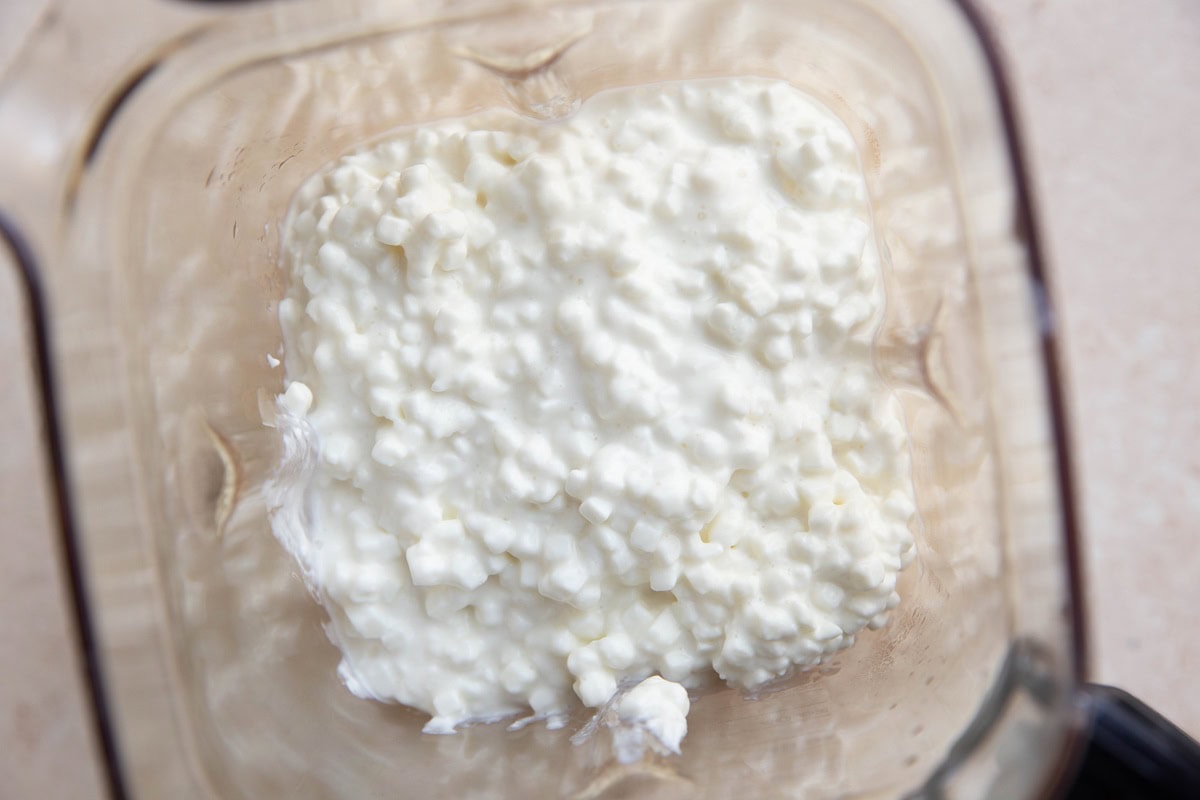
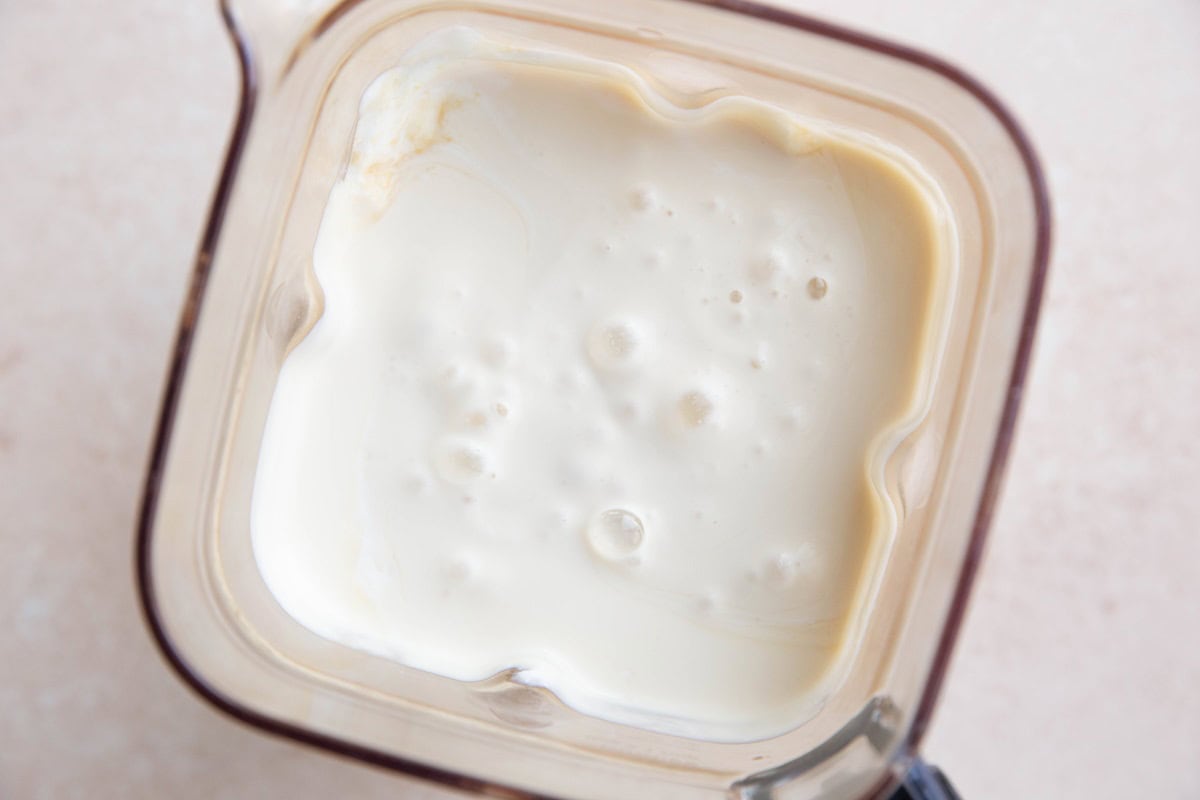
Transfer the cottage cheese and pure maple syrup to a high powered blender and blend on medium speed until completely smooth.
Add the eggs, vanilla extract, tapioca flour, and sea salt to the blender and blend on low speed just until all of the ingredients are combined. Avoid over-blending the mixture.
Step 3: Bake the Cheesecake in a Water Bath
Wrap the bottom and sides of the pie dish with aluminum foil and place it inside of a large roasting pan. Note: you will need a roasting pan that is large enough to accommodate the pie pan with some room around the edges. Spray the inside sides of the pan with nonstick cooking spray.
Heat a kettle of water to a full boil. Pour the hot water around the outside of the pie pan, creating a water bath. The water needs to go about half-way up the outside of the pie pan.
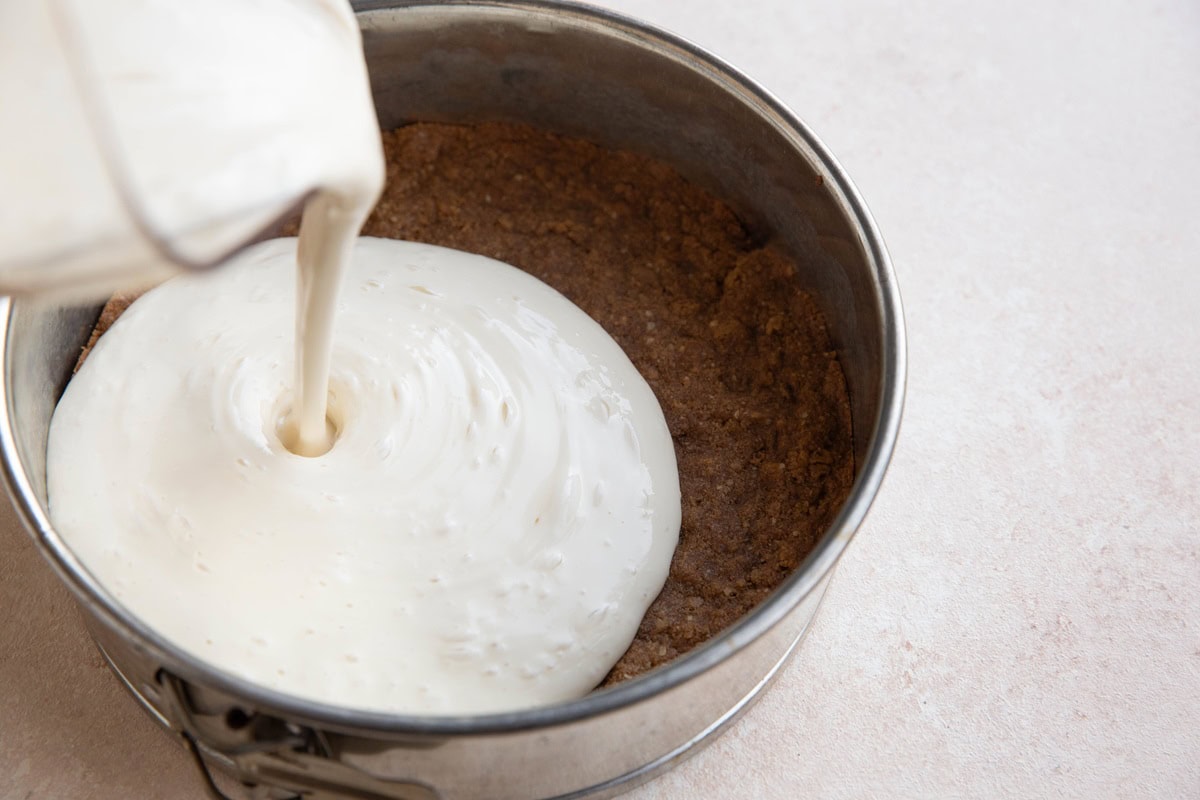
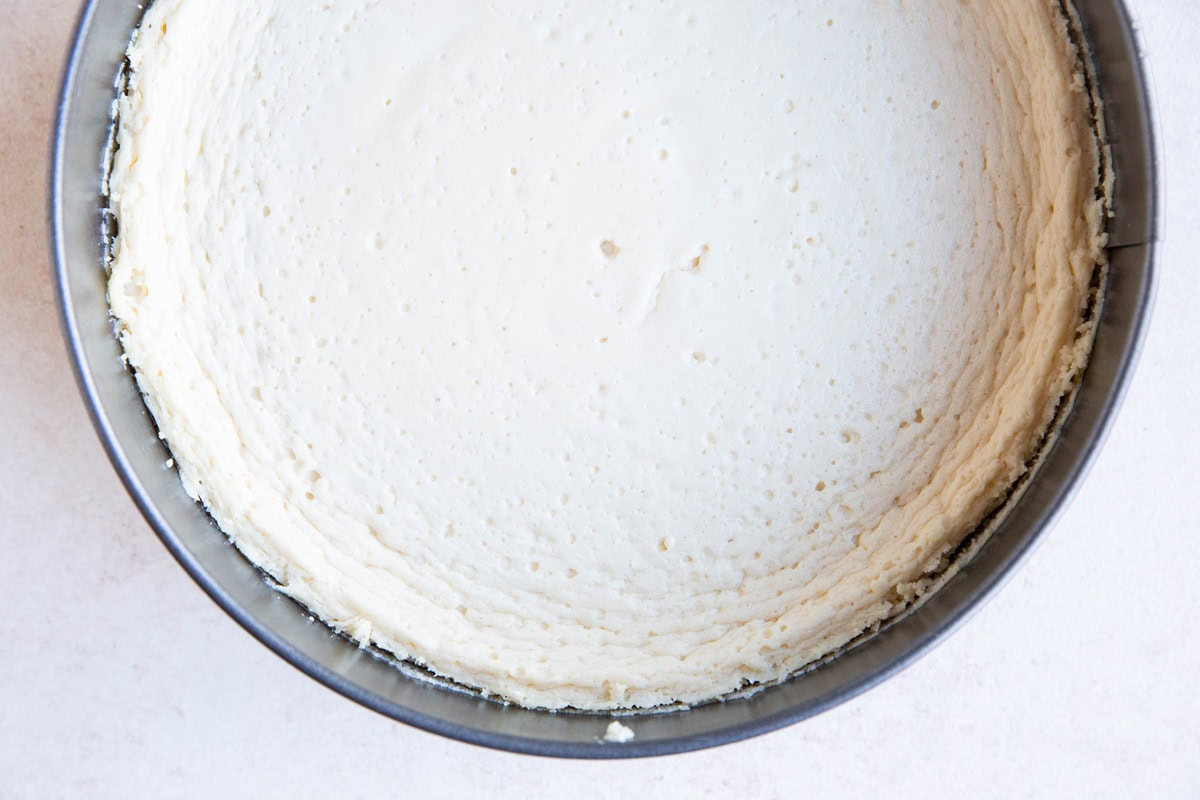
Pour the cottage cheese cheesecake filling mixture into the pie dish and spread it into an even layer. Cover the top of the pie dish with aluminum foil.
While all of these steps may seem like overkill, the water bath and the foil will allow the cheesecake to bake evenly without getting too brown anywhere.
If you’d like to skip the waterbath altogether, you certainly can but the texture of the cheesecake won’t turn out as tender.
Move the roasting pan to the center rack of the preheated oven and bake for 50-60 minutes, or until the sides of the cheesecake have firmed up but the center is still slightly jiggly.
A great way of determining the doneness of cheesecake is by inserting a digital thermometer into the center. Cheesecake is best when it reaches an internal temperature of 150 degrees Fahrenheit.
Step 4: Refrigerate the Cheesecake
Remove the cheesecake from the oven and allow it to cool until the outside of the pan is cool enough to handle, about 20 minutes. Kee the pie pan covered with foil and transfer it to the refrigerator. Chill for at least 4 hours or until the cheesecake has completely cooled and set up.
Cheesecake tastes even better the next day following preparation or the 3 to 4 days following. For this reason, I recommend making the cheesecake ahead of time. Also be sure to give yourself plenty of time because it needs to cool completely before serving.
Cheesecake keeps for up to 1 week in the refrigerator.
Step 5: Make the Blueberry Cheesecake Topping (Optional)
Add the blueberries, lemon juice, and pure maple syrup to a small saucepan. Cover the pot and heat over medium heat on the stove top to bring the blueberry mixture to a full boil.
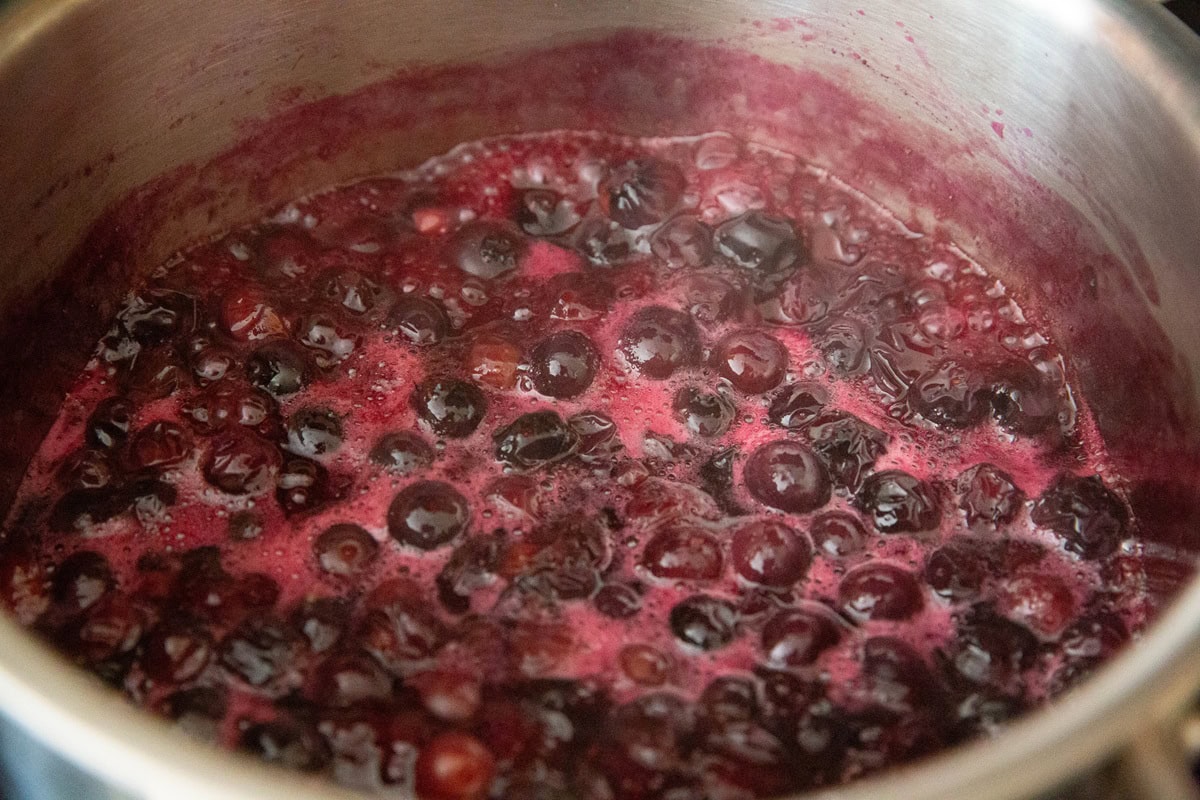
Cook, stirring occasionally, until the blueberries release a great deal of liquid. Stir in the gluten-free all-purpose flour (or tapioca flour or cornstarch) and continue cooking until the sauce around the blueberries has thickened.
Pour the blueberry topping into a bowl and refrigerate until chilled. When you’re ready to serve, release the cheesecake from the springform pan (remove the outer mold).
Transfer blueberry topping to the chilled cheesecake and spread into an even layer. Slice and serve! Alternatively, you can slice the cheesecake first and then drizzle each individual piece with blueberry topping before serving.
How to Store Cheesecake:
Store leftover cheesecake in an airtight container in the refrigerator for up to 5 days. If the cheesecake is still in the pie pan, you can cover the whole pan with plastic wrap and refrigerate it.
You can also freeze cheesecake in a large zip lock bag for up to 3 months.
And that’s it!
The next time you’re looking for an impressive dessert that also comes with an impressive macronutrient profile, make this healthy blueberry cheesecake recipe!
If you love fruity desserts, also try these reader favorites!
More Fruit Dessert Recipes:
- Gluten-Free Vegan Peach Cobbler
- Healthy Apple Crisp
- Raspberry Crumb Bars
- Paleo Blackberry Cobbler
- Healthy Peach Oatmeal Cookies
High protein blueberry cottage cheese cheesecake for breakfast!
Blueberry Cottage Cheese Cheesecake
Equipment
Ingredients
Graham Cracker Pie Crust:
- 1 ½ cups (180g) gluten-free graham cracker crumbs about 11-12 full graham crackers
- 2 Tbsp (30 ml) unsalted butter, melted
- 3 Tbsp (44ml) pure maple syrup
- Pinch sea salt
- ¼ tsp ground cinnamon optional
Cheesecake Filling:
- 24 ounces cottage cheese*
- ½ cup (118 ml) pure maple syrup
- 2 large eggs**
- 2 tsp pure vanilla extract
- 1 Tbsp (9g) tapioca flour or gluten-free all-purpose flour or cornstarch
- ½ tsp sea salt
Blueberry Topping:
- 3 cups fresh blueberries
- 2 Tbsp (30ml) fresh lemon juice
- 3 Tbsp (44ml) pure maple syrup
- 2 tsp tapioca flour gluten-free all-purpose flour, or cornstarch
Instructions
Prepare the Crust:
- Preheat the oven to 350 degrees F and line the bottom of a 9-inch springform pie pan with a circle of parchment paper.
- Place the graham crackers in a food processor or blender and blend until a coarse flour forms.If you don’t have a food processor, you can also transfer the graham crackers to a large zip lock bag. Seal the bag and use a rolling pin to break up the graham crackers.
- Transfer the melted butter, pure maple syrup, salt, and cinnamon to a large mixing bowl along with the graham cracker mixture. Mix until everything is well combined. The mixture will be crumbly – this is normal.
- Pour the graham cracker crust mixture into the bottom of the prepared pie pan and press it into an even layer with your hands.
- Bake the crust on the center rack of the preheated oven for 10 minutes, or until the edges are slightly golden brown.
- Remove the pie crust from the oven and allow it to cool while you’re preparing the cheesecake filling.
Make the Cheesecake Filling:
- Transfer the cottage cheese and pure maple syrup to a high powered blender and blend on medium speed until completely smooth.
- Add the eggs, vanilla extract, tapioca flour, and sea salt to the blender and blend on low speed just until all of the ingredients are combined. Avoid over-blending the mixture.
Bake the Cheesecake:
- Wrap the bottom and sides of the pie dish with aluminum foil and place it inside of a large roasting pan (Note: you will need a roasting pan that is large enough to accommodate the pie pan with some room around the edges). Spray the inside sides of the pan with nonstick cooking spray.
- Heat a kettle of water to a full boil. Pour the hot water around the outside of the pie pan, creating a water bath. The water needs to go about half-way up the outside of the pie pan.
- Pour the cottage cheese cheesecake filling mixture into the pie dish and spread it into an even layer. Cover the top of the pie dish with aluminum foil. While all of these steps may seem like overkill, the water bath and the foil will allow the cheesecake to bake evenly without getting too brown anywhere. If you’d like to skip the waterbath altogether, you certainly can but the texture of the cheesecake won’t turn out as tender.
- Move the roasting pan to the center rack of the preheated oven and bake for 50-60 minutes, or until the sides of the cheesecake have firmed up but the center is still slightly jiggly. A great way of determining the doneness of cheesecake is by inserting a digital thermometer into the center. Cheesecake is best when it reaches an internal temperature of 150 degrees Fahrenheit.
Refrigerate the Cheesecake:
- Remove the cheesecake from the oven and allow it to cool until the outside of the pan is cool enough to handle, about 20 minutes. Kee the pie pan covered with foil and transfer it to the refrigerator. Chill for at least 4 hours or until the cheesecake has completely cooled and set up.
- Cheesecake tastes even better the next day following preparation or the 3 to 4 days following. For this reason, I recommend making the cheesecake ahead of time. Also be sure to give yourself plenty of time because it needs to cool completely before serving.
- Cheesecake keeps for up to 1 week in the refrigerator.
Make the Blueberry Cheesecake Topping (Optional):
- Add the blueberries, lemon juice, and pure maple syrup to a small saucepan. Cover the pot and heat over medium heat on the stove top to bring the blueberry mixture to a full boil. Cook, stirring occasionally, until the blueberries release a great deal of liquid. Stir in the gluten-free all-purpose flour (or tapioca flour or cornstarch) and continue cooking until the sauce around the blueberries has thickened.
- Pour the blueberry topping into a bowl and refrigerate until chilled. When you’re ready to serve, release the cheesecake from the springform pan (remove the outer mold).
- Transfer blueberry topping to the chilled cheesecake and spread into an even layer. Slice and serve! Alternatively, you can slice the cheesecake first and then drizzle each individual piece with blueberry topping before serving.
Notes
Nutrition
This post contains affiliate links, which means I make a small commission off items you purchase at no additional cost to you.


Oh my gosh- this is every bit as light, fresh and delicious as Julia described. The delicate hint of maple and cinnamon made me feel as though I didn’t want to stop eating.
I don’t own a spring form pan so I made mine in a deep dish pie plate.
I will confess that it smells so heavenly while it is cooking that when it came out of the oven- I had some hot cheesecake with the topping still bubbling for BREAKFAST!! Talk about a meal fit for a holiday!!!!!!
My cardiologist might not think it the best breakfast ( I put finely chopped walnuts in my crust- just because I like it) so the protein content was upped and it tasted better than fabulous-he can complain- but I WILL enjoy it again for breakfast.
I am going to try making individual cakes using large muffin tin and see how that works.
When it cools in the fridge- I am already looking for tonight’s dessert.